Home-Cured Olives

If you recall, on January 10 we picked about a half gallon of tiny wild olives on a nearby trail. That day, I sliced each olive about halfway and covered the lot with water. I changed the water every day for two weeks, at which time the olives had lost most of their bitterness. I then prepared a 5% salt brine and added it to the olives, along with garlic cloves, mustard seeds, peppercorns, a bay leaf, and a slug of red wine vinegar. That mixture sat on the counter for two weeks, with me giving it a stir and a taste every couple of days.

Today I decided it was time to jar the finished product, though the olives aren't quite at the flavor that I desire. 

Since the flavor of olives will improve as long as they continue to cure, I decided to pack these in a fresh brine with fresh herbs. I made the saltiest brine I could, so salty that it didn't even dissolve all of the way in the pot! To each jar, I added a fresh garlic clove (the last from our summer 2015 garden), fresh rosemary from the garden, a dried bay leaf from my mom's garden, and mustard seeds. I packed the olives in very tightly and poured the fresh brine over them.

This half gallon of olives made eight of these small Weck jars for gifts, plus a 12 ounce jar for our own use. I believe these jars were about 5 ounces each.

The olives look pretty and will be nice gifts. I think they will reach optimum flavor after another week in this new brine.
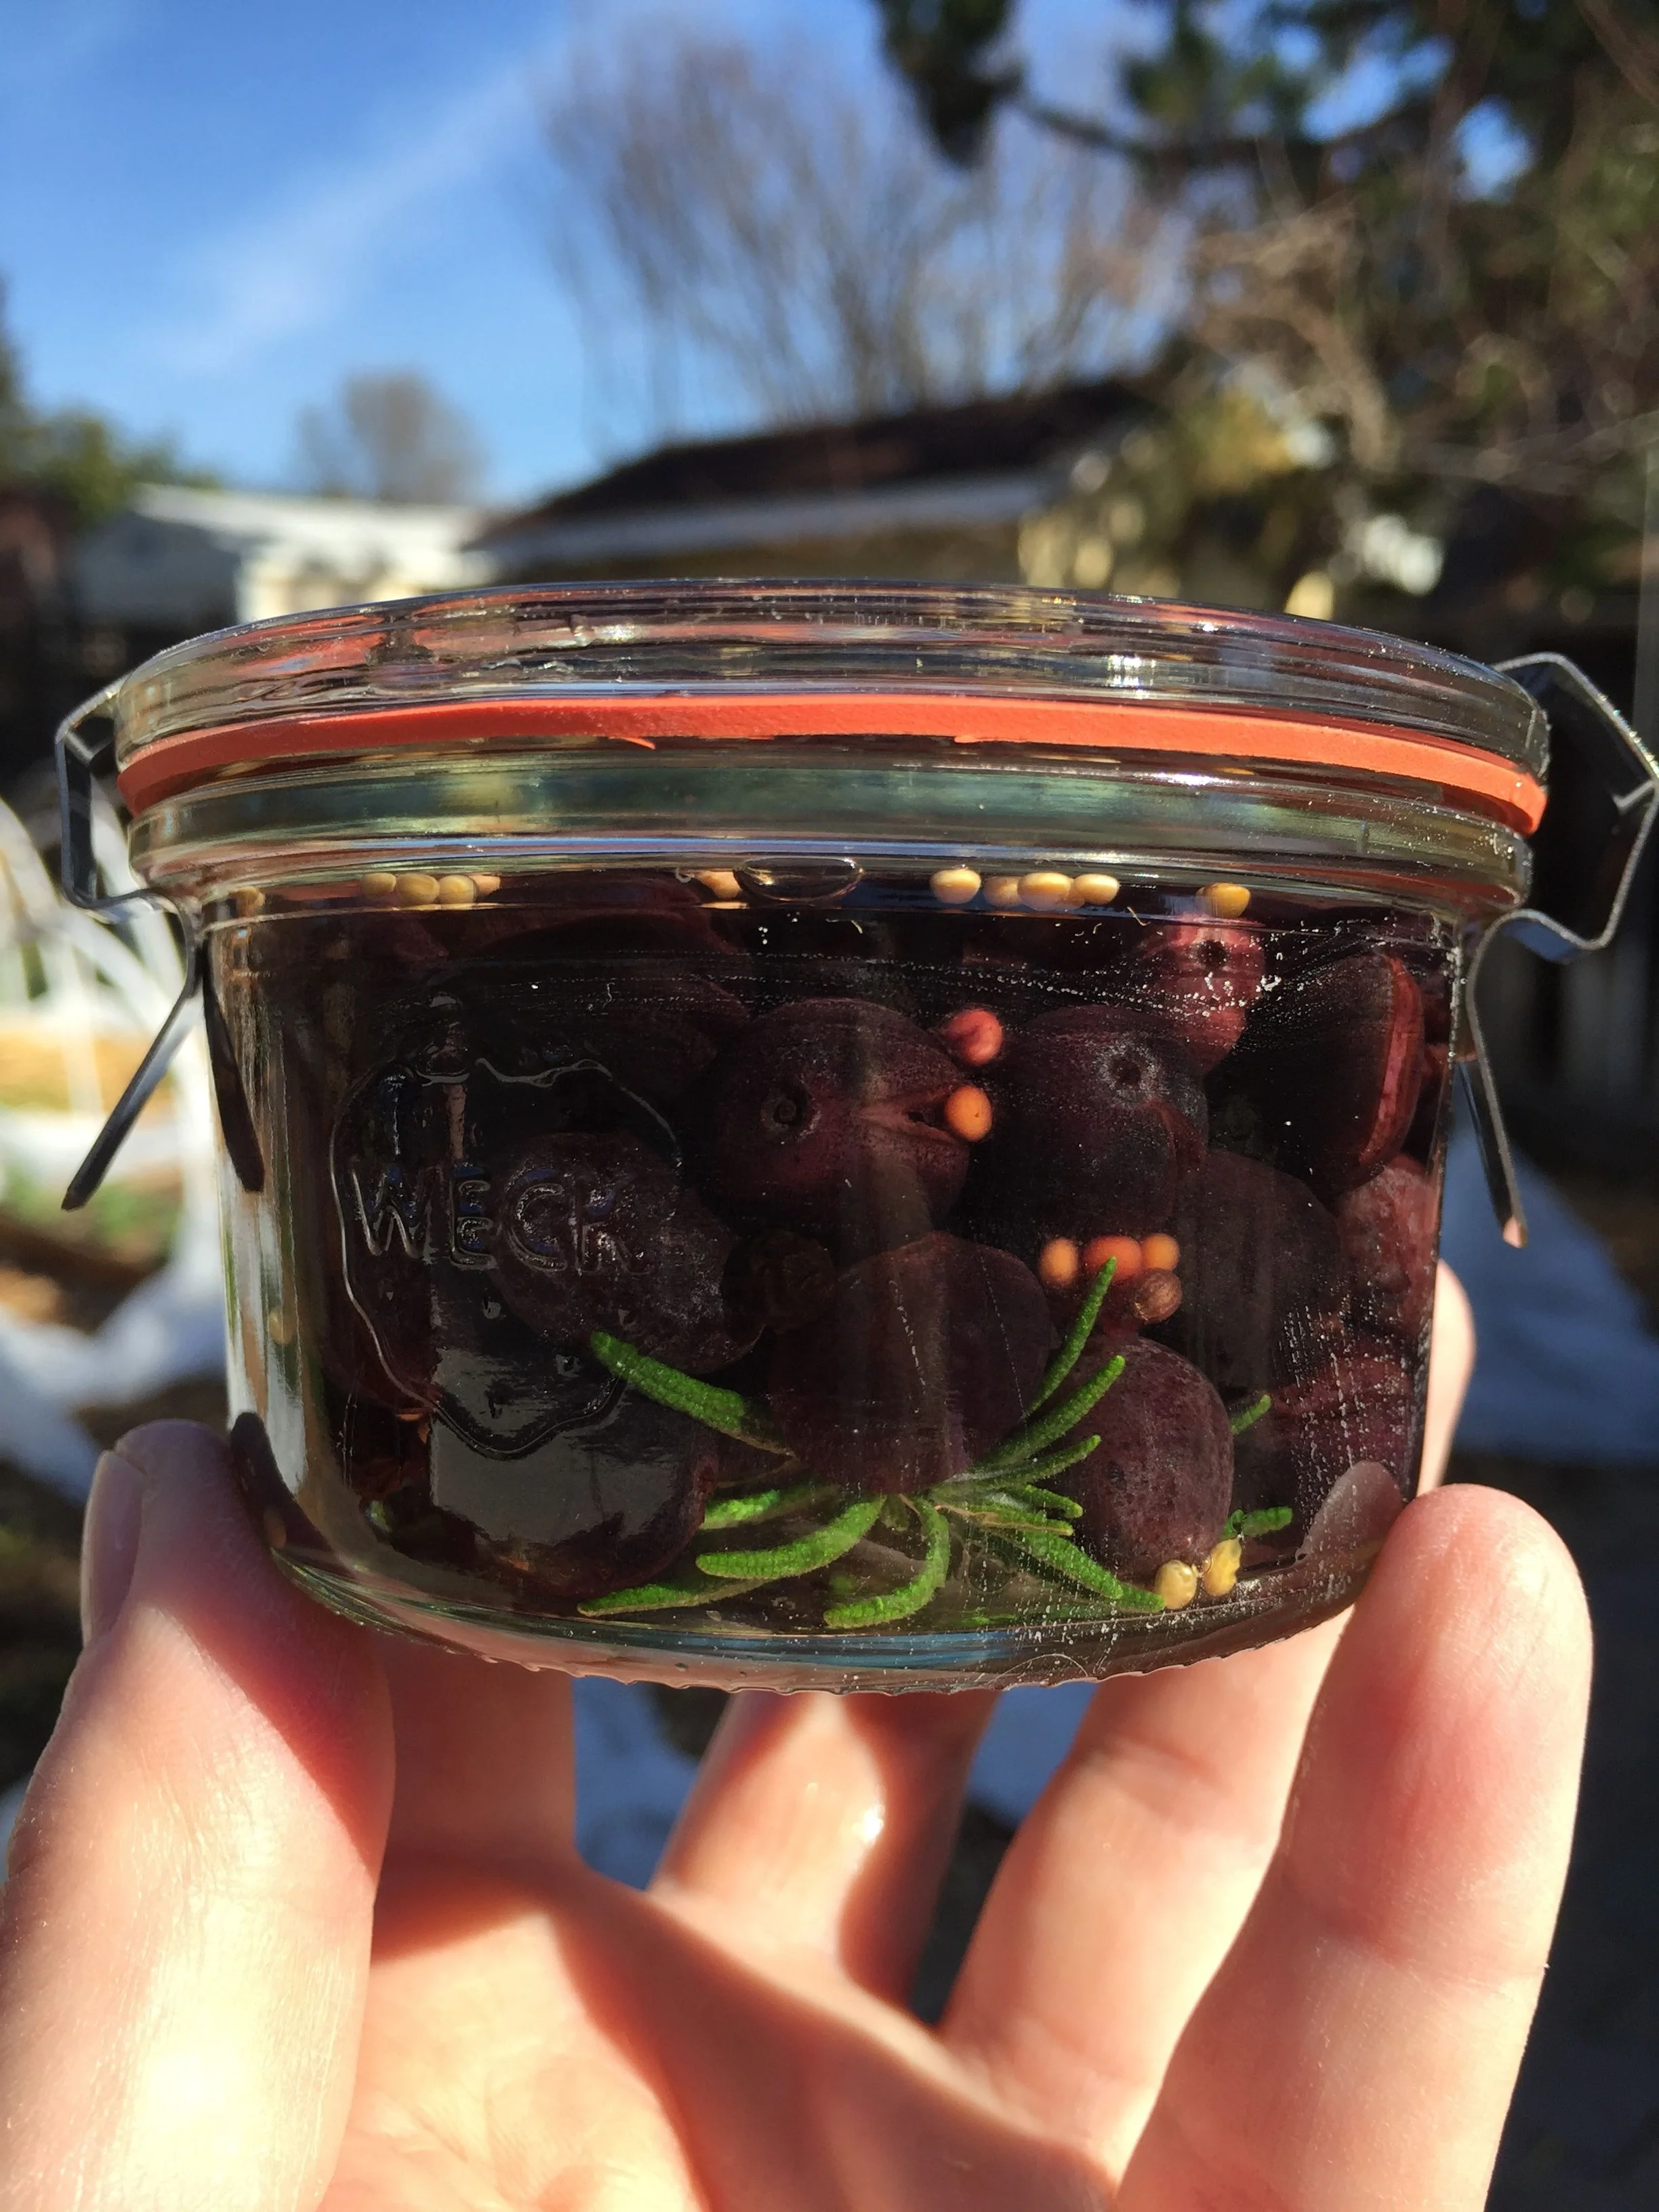
This was a fun project that was not hard, just time consuming. When I look online at prices for artisan olives, they run about a buck an ounce (for conventional olives). Since we had everything on hand other than these cute jars, we really saved quite a bit of money making our own. And, I know that these wild olives were unsprayed and untreated, and organic olives are nearly impossible to find. So! If you find a wild olive tree, you might consider curing your own as well.

*edited 2/8/16 This brine was too salty!!! Please see post of 2/8/16 for corrections.

Dog Damage

Lately I've been noticing more digging in the vegetable beds, and I've been trying so hard not to blame our dog Joe. I kept saying, maybe it's squirrels! because as you know squirrels are primo garden diggers. But today, my daughter caught Joe in the act. 

She came home on foot, from the bus - I was shortly behind her in the car, having taken my son to the orthodontist. Since the dog didn't hear the car, he didn't stop his digging until Kate walked through the gate and surprised him. At that very moment, I pulled in to the driveway and Kate stood frozen, pointing at the raised beds containing the beets. "It was Joe!" she said. And so, our perfect dog has slipped a notch in our eyes, now gaining the title 'Destroyer.'

One example, in the potato bed. This is the second time it's been dug up.

One example, in the potato bed. This is the second time it's been dug up.

In Joe's defense, I think he's a little bored. First he was suffering from a compressed disc, and we weren't allowed to walk him anywhere but our street. Then, even as he got better, I got busier, which meant that I was taking him on quick walks around the block, rather than out in the open spaces where he can run and chase sticks and smell all kinds of creatures. So no wonder he's digging. 

I don't want to leave him inside the house while I'm at work, though - it's nice for him to be outside in the fresh air - but I might have to change my mind on that. Meanwhile, I did some research on ways to deter dogs from the beds. The one I'm going to try first is spices, loads of ground chili powder and cayenne, sprinkled over the loose dirt. We'll see if this works. It's not the cheapest solution.

This is the beet bed, sprinkled with chili powder.

This is the beet bed, sprinkled with chili powder.

So the first thing I did when I saw Kate's frozen finger, despite my fatigue from the day and the dishes that need doing and the groceries that need putting away and the numerous other chores that need accomplishing, was load the dog in the car and head up to our closest open space, which is called Sugarloaf. (The most common name for any minor mountain around, right?) 

And it was glorious. I gripe and moan about the fact we aren't getting rain, but this warm weather is awfully nice, and the rain we have had has turned the hills the most amazing shade of chartreuse.

The Destroyer, eating his greens

The Destroyer, eating his greens

Wildflowers are coming up everywhere, in a few weeks things are going to be so colorful with blooms.

Blue-eyed grass

Blue-eyed grass

Wild mustard

Wild mustard

Hairy vetch

Hairy vetch

This all made me remember how much I like walking in the hills and I vow to do more of it, no matter how busy I am or how many chores need doing. 

In other news, I'm opening the last jar of summer garden salsa tonight to have with dinner. This is very sad. However I still have one jar of roasted sweet peppers left, and a little bit of garlic. Summer 2016 harvests really can't come soon enough.

Speaking of which, the tomato seeds have all sprouted. !!! The first one to come up was "Cherokee Purple" and it came up after only three days germination. Now the peppers are starting to come up as well. I've taken the heating pad out from underneath, but nothing else will change until they get their first sets of true leaves, at which time I'll thin them, transplant them into larger pots, and give them some liquid fish. Heavens, I'm going to have tomatoes ready to go in to the ground way too early. Well, live and learn. Maybe these will be container tomatoes. 

Looking forward to the weekend, how 'bout you?

Concerned about Water

Well, we had a good start to our hyped-up "El Nino" season. December and January were both the kind of rainy I remember having 20 years ago - constant and soaking. We have had enough rain that three apartment buildings are falling off a cliff in Pacifica. There has been mud, and slightly flooded creeks. Plenty of snow for the skiers in the Sierra. This was all quite heartening.

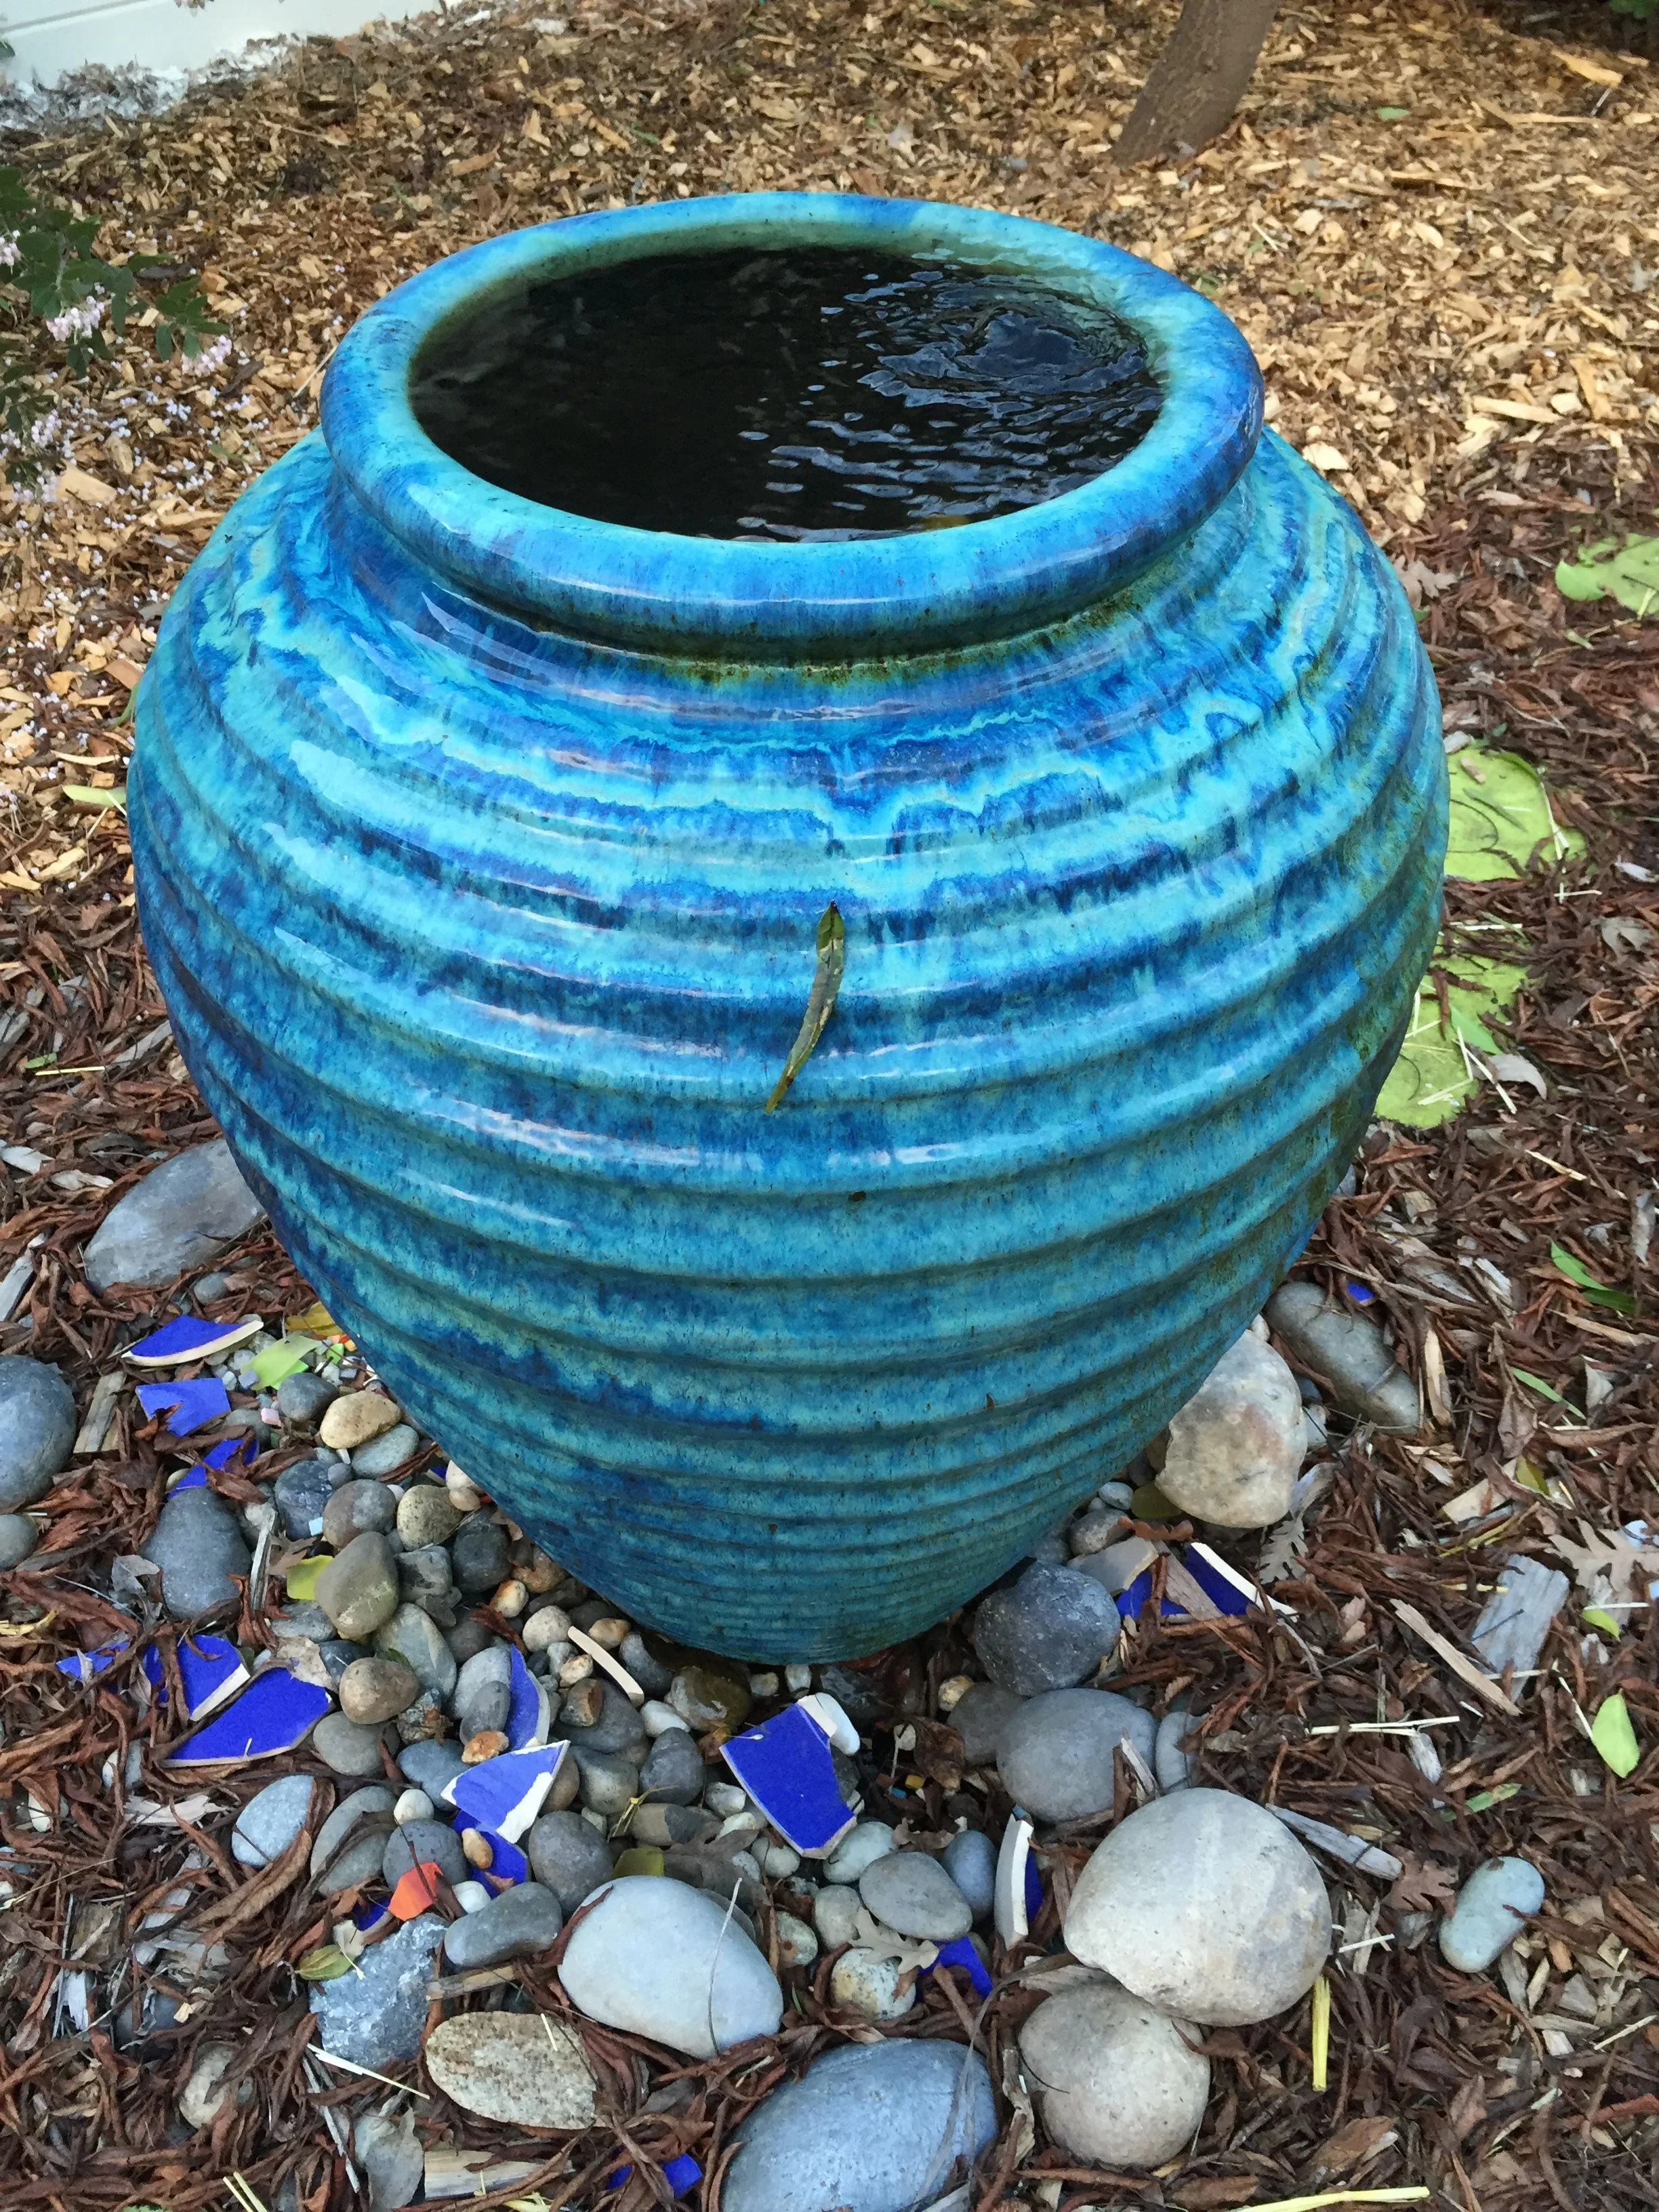
Our water fountain, which hasn't needed filling since October.

Our water fountain, which hasn't needed filling since October.

Then I saw the weather forecast for the coming week - 70 degrees here for the Super Bowl! plus over a week of dry weather! - and shortly after read two articles in the Chronicle that concerned me. The first is about the snowpack - you can read that article here - and it states that while the snowpack levels are good now, it's still no guarantee that we'll have enough for drinking water this summer. (The snowpack provides most of the drinking water here in California. So rains are good and important for many reasons, but the snowpack is the true indicator of the coming year.)

The second article was about good old Punxsutawney Phil - not something I usually give much credence to, but if somehow Phil (or his handlers) has grown psychic powers, an early Spring doesn't bode well for our water supply.

I was so looking forward to gardening without huge water restrictions this summer. I don't think I can ever be unaware of our water deficiencies here, and will always be careful, but it would have been nice to run the drip system twice a day without worrying. Now I understand that "without worrying" is going to be a phrase that's phased out of our vocabulary, for good. 

I mean, last summer sucked. We have neighbors with wells, and the wells dried up. (Washing your cars every week and watering your grass every day will do that, ahem.) We pay for flood insurance on this street; that's how high the water table here used to be. It was a condition of our mortgage. Now the high water table is gone. Imagine the irony, and our wincing, when we write that totally unnecessary $1700 check every year. 

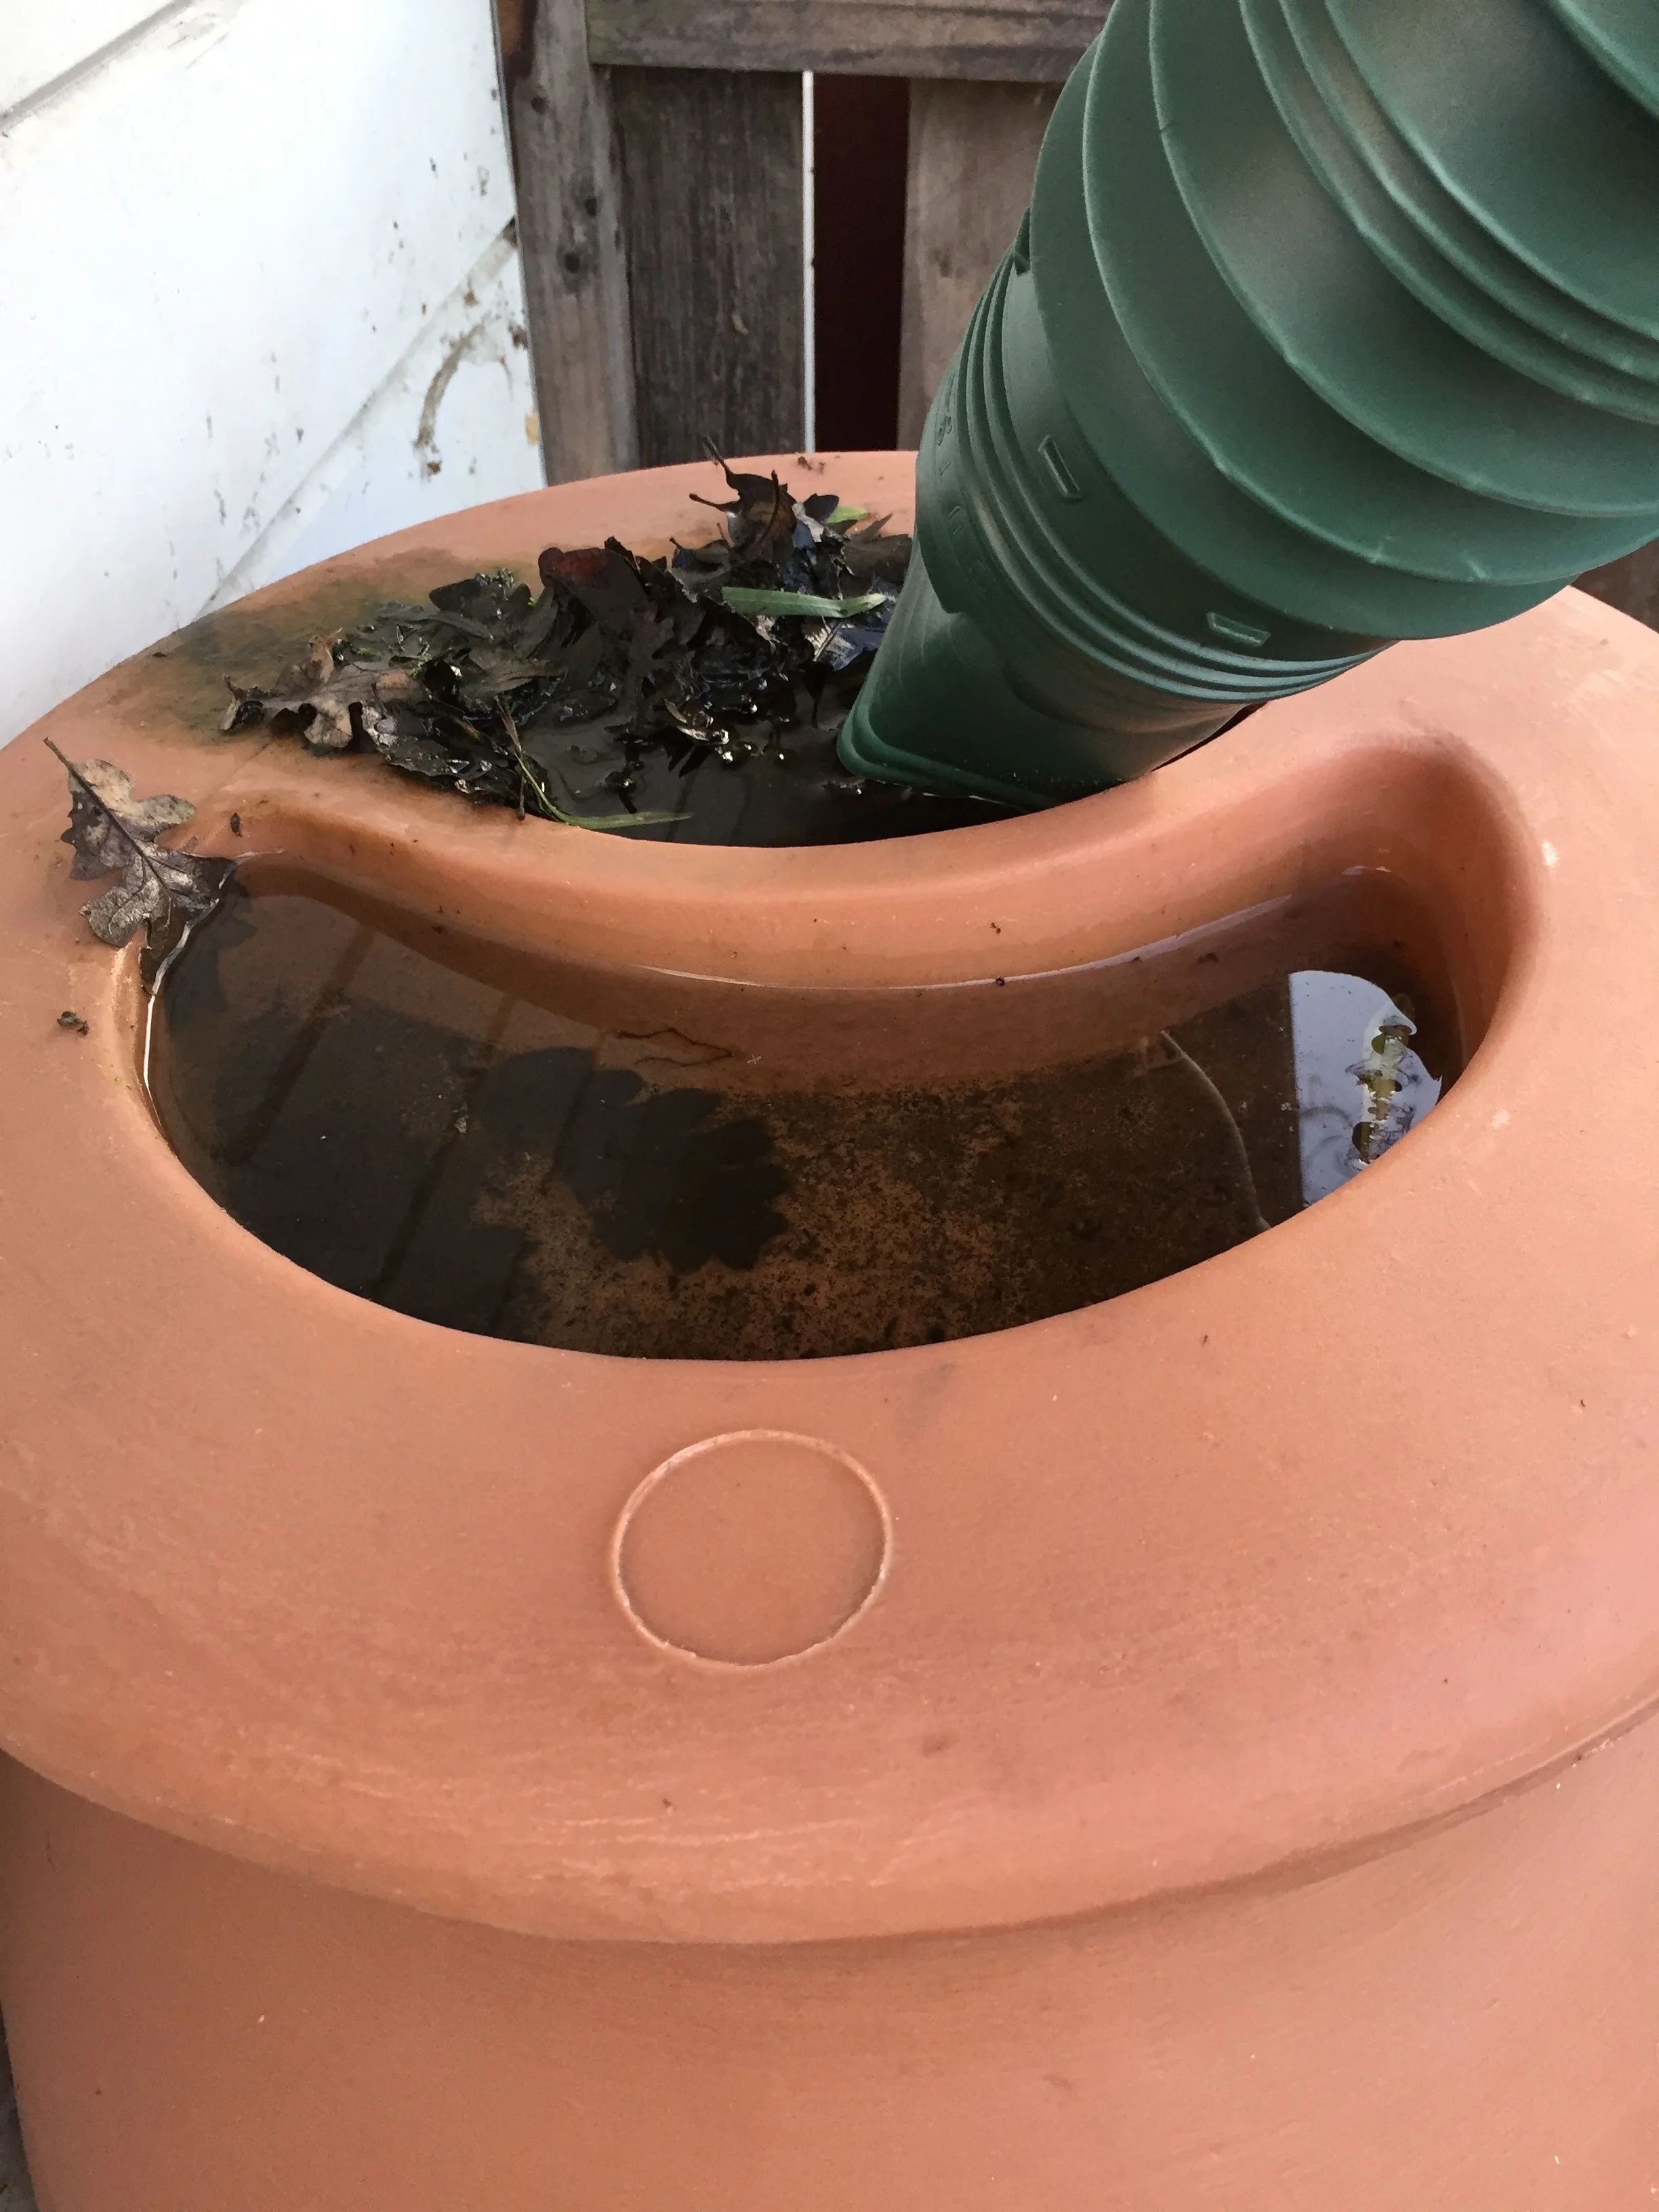
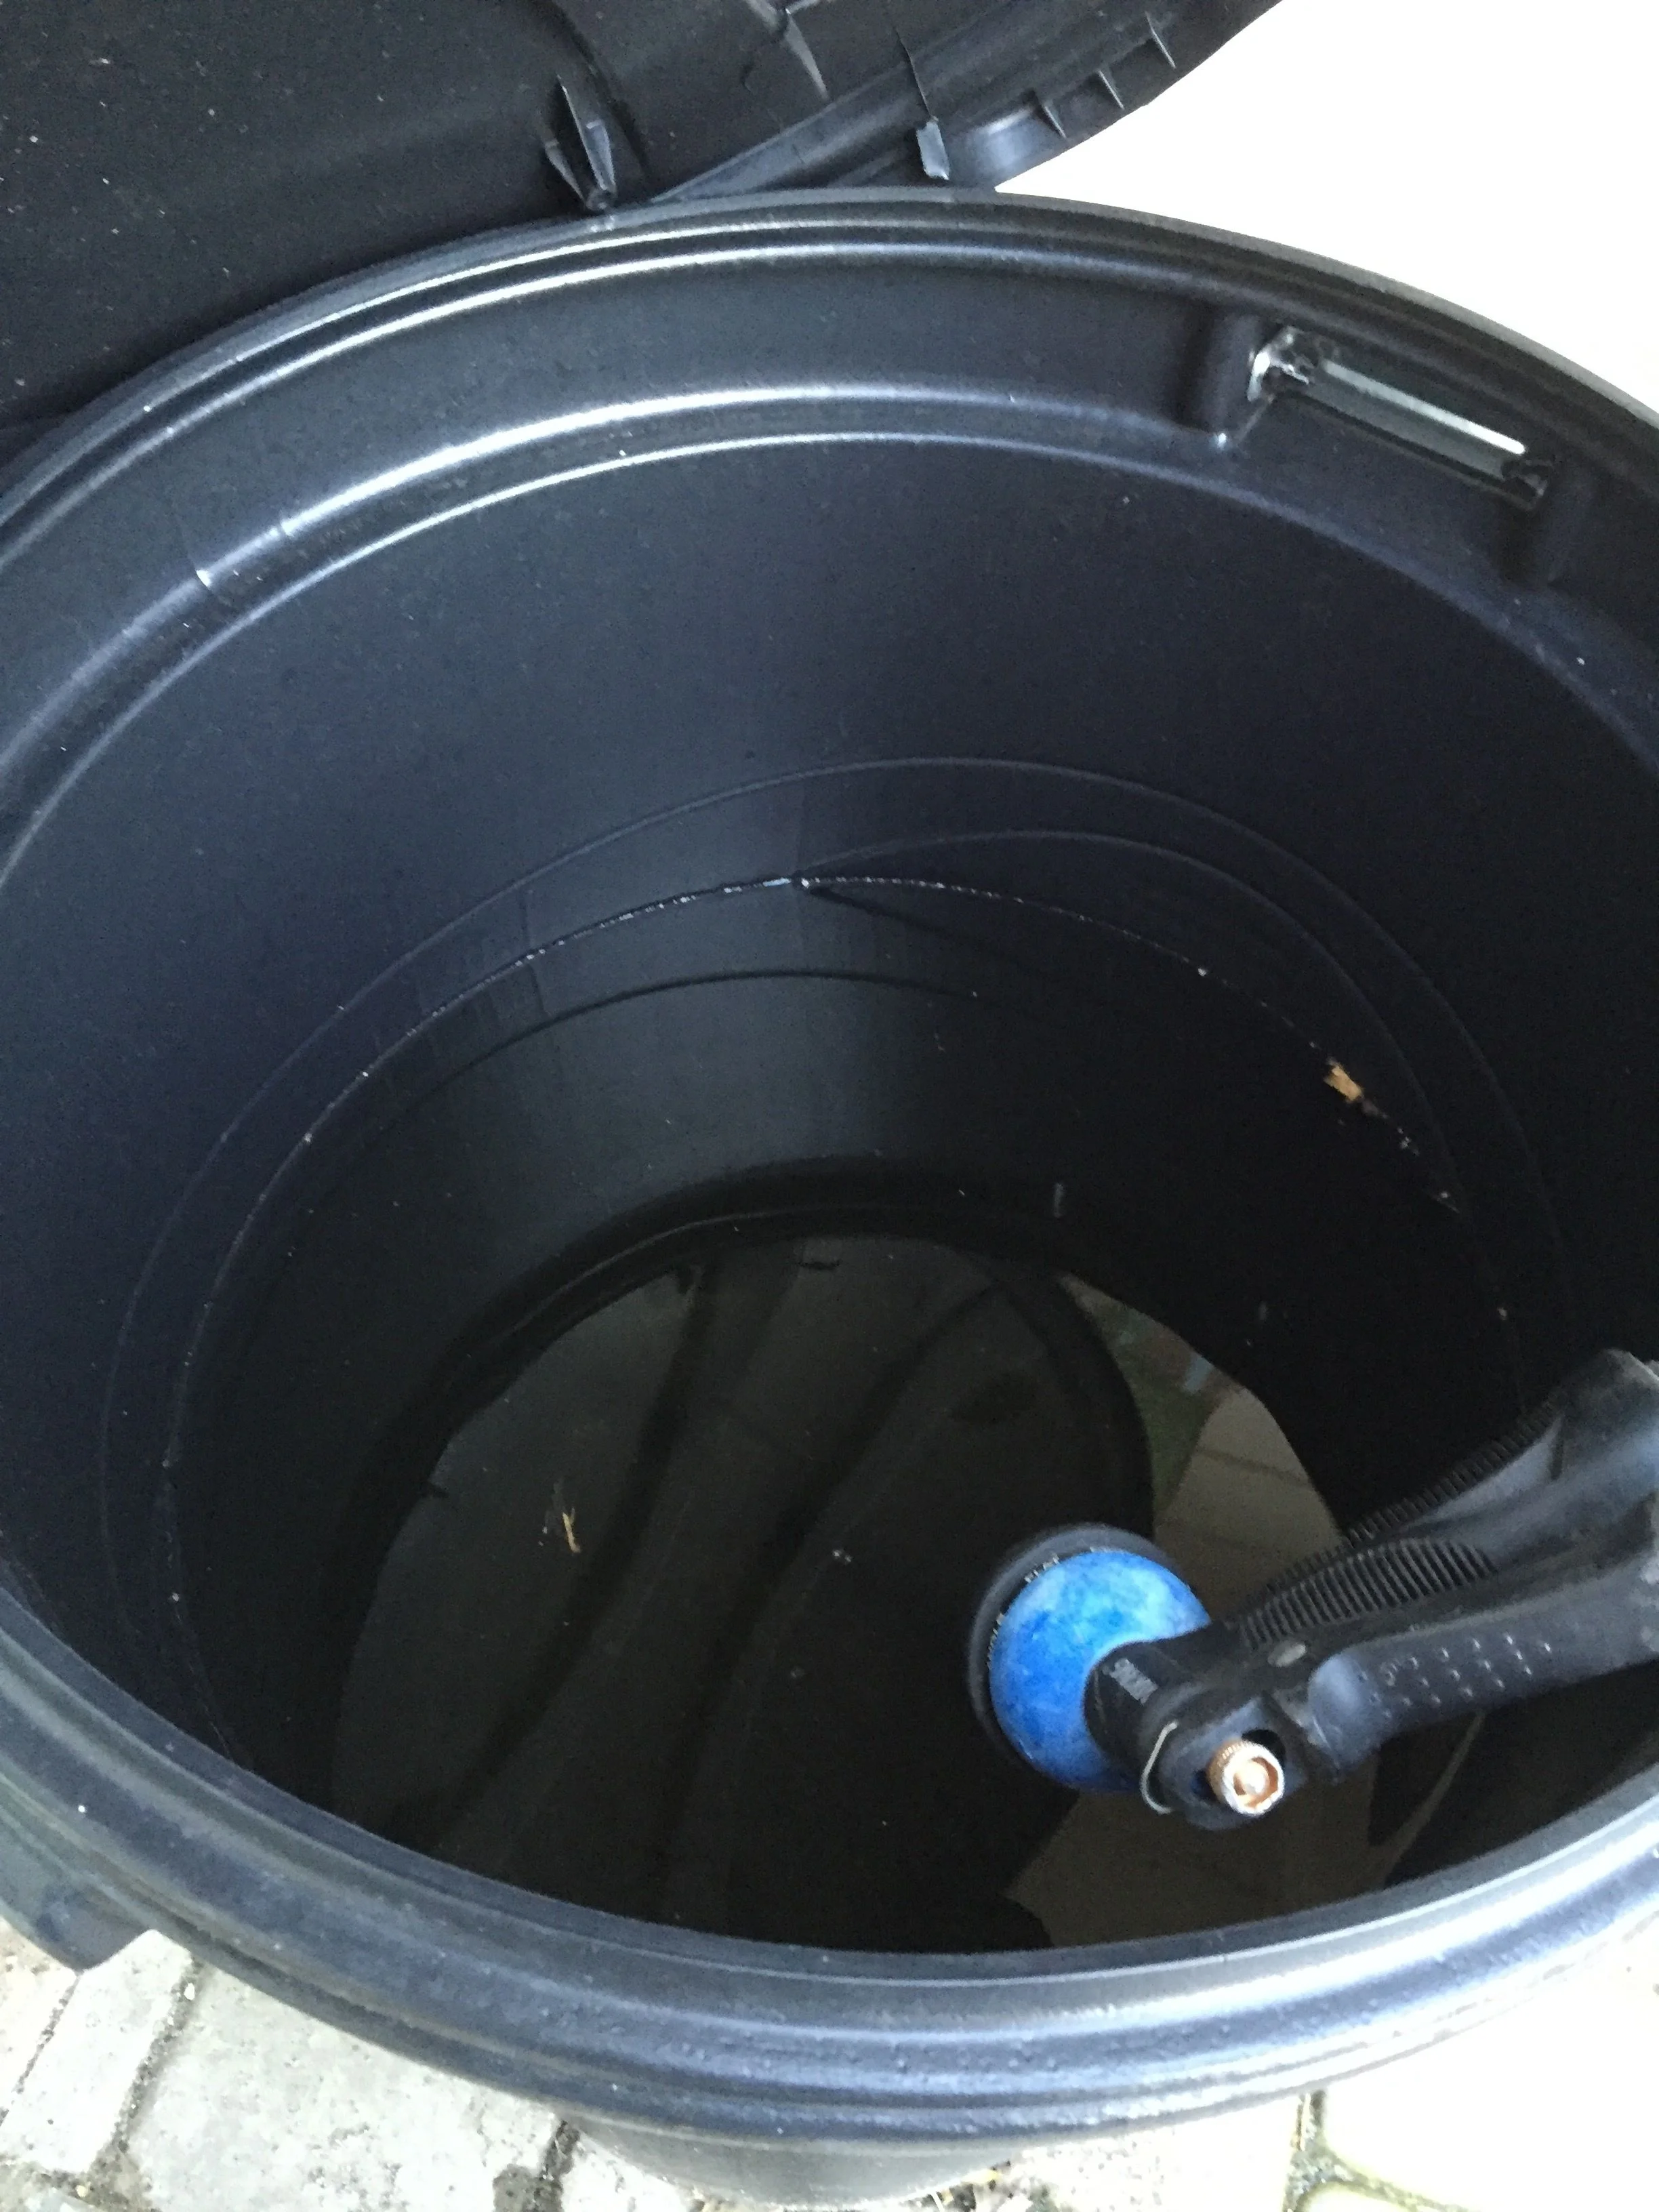
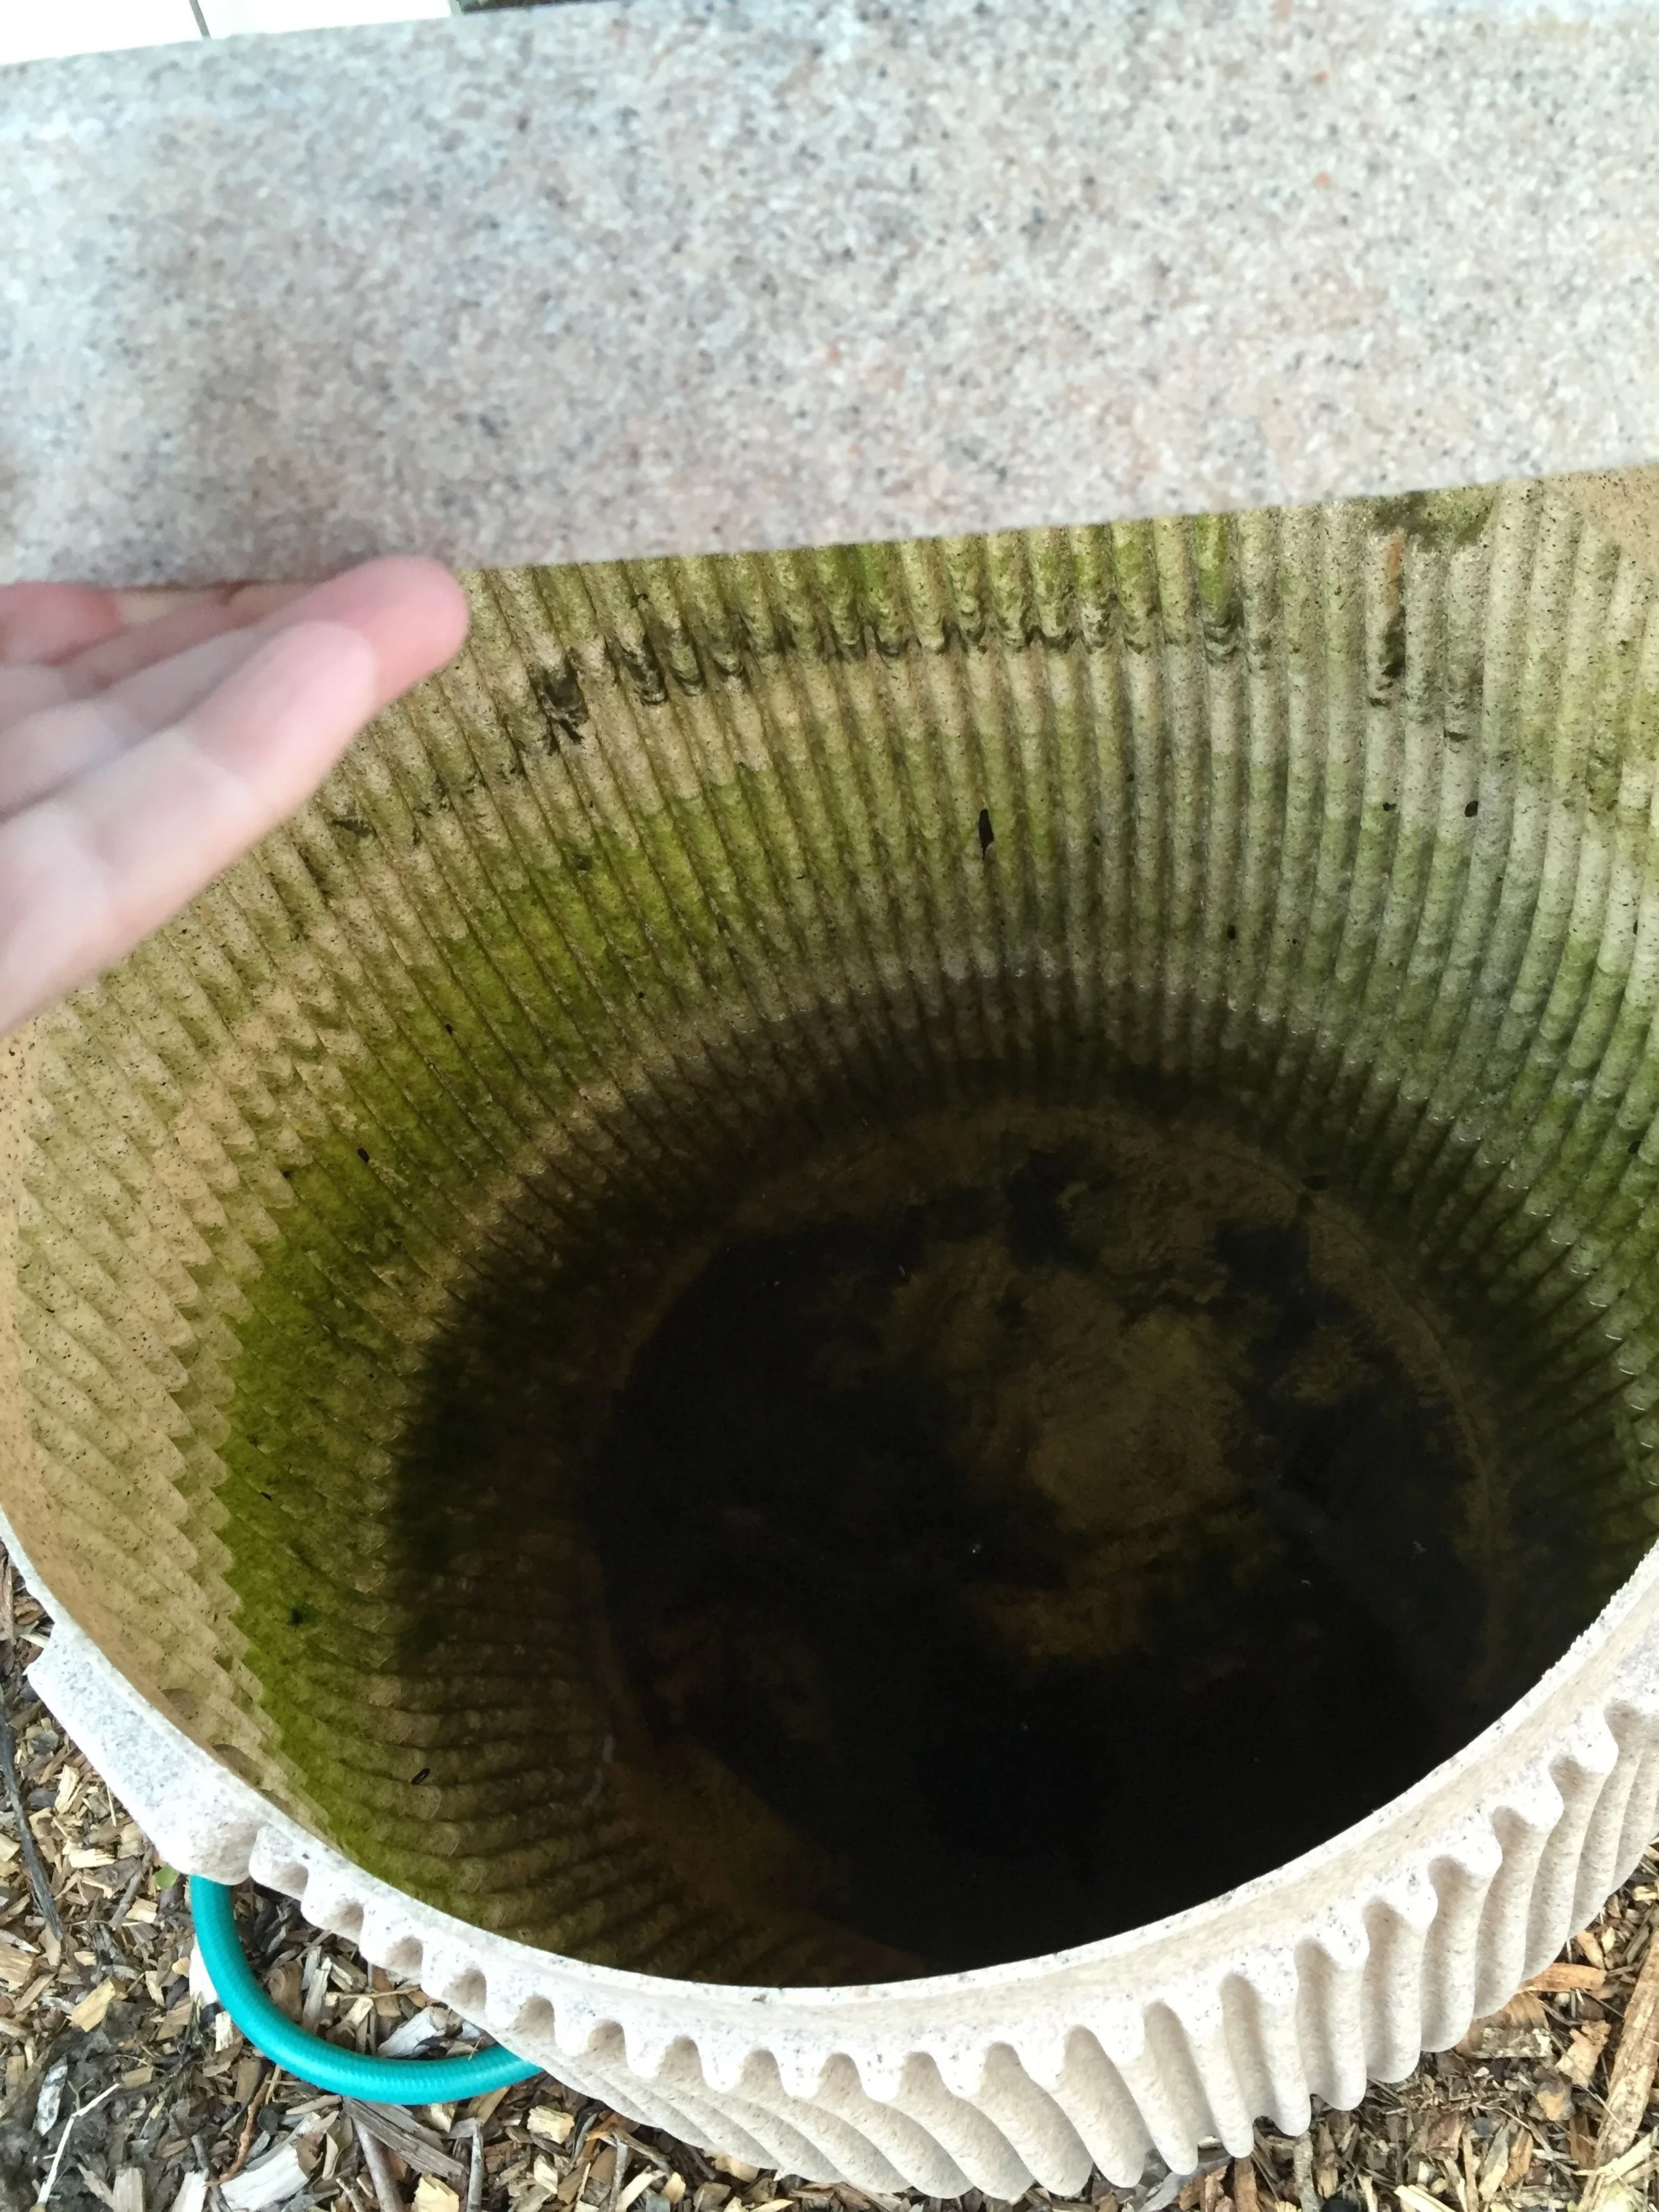
At the moment, our rain barrels are in good form. One is full to bursting, one is about half full, and one has about 12 inches of water at the bottom (that's the one I've been using to water containers that are on the front porch). This coming week, I'll have to use the barrels to water the vegetable garden, since we're going to be dry and it's going to get warm. When the barrels are empty, that's it - we'll have to use municipal water through the drip system. 

Full. Of water AND leaves.

Full. Of water AND leaves.

Halfway

Halfway

Almost empty, but with extra 'nutrients'!

Almost empty, but with extra 'nutrients'!

I dunno, it's just all so discouraging. And it makes me wonder if it's worth it? Am I doing the right thing by growing in drought years? Sunset Magazine reminded me of the good news: we're more likely not to waste food that we've grown ourselves, and it takes far less water and energy to grow and eat from our backyards rather than buying food that is grown elsewhere and transported in (which is also a good argument for eating only seasonal foods). But Sunset also gave me good reminders for gardening in times of drought (and actually, any time):

1) Only grow what we willl actually eat (That means I still won't grow zucchini. :) It also means, don't waste anything that we've grown - preserve it or give it away.)

2) Take extra good care of the soil (No till, add compost, use cover crops wisely, use zero herbicides or pesticides.)

3) Mulch. And mulch some more. (Only, leave just a little bare ground for those ground-burrowing native bees, won't you?)

This all helps me feel much better about my gardening decisions. But you can bet I'll still be watching the weather reports, hoping for more rain.

Hops

Tom and I had a long discussion last night about growing hops. 

photo credit: agales.com

photo credit: agales.com

As you know, Tom has been making beer. And it looks like he'll continue and make it a regular every three-month project. He's really enjoying trying different hops for different flavors, and he'd like to grow his own hops.

I'm ok with that. In fact I have researched it. But hops require a good deal of growing space - they are vines and grow quite tall - and also they tend to spread underneath the ground via their rhizomes. So I never could think of a good place to put them in our (already packed) small yard. 

Some of Tom's beer

Some of Tom's beer

As we were talking, I wondered out loud if you could grow hops horizontally somehow rather than vertically. So we searched that, and lo and behold, there are lots of people growing hops sideways on trellises. Then we wondered if they could be grown in containers, and sure enough, they can be. Which made us think more about our backyard patio.

We have a shade 'sail' over our outdoor table that was very economical but that has never worked perfectly. It needs to attach in all four corners, and we don't really have anything tall enough in our back yard to attach it to. Our house is one story, and two of the corners are attached there. The only trees we have in this particular spot are fruit trees and one large privet that we've allowed to grow because it provides nice shade back there (plus the bees love the flowers). So one corner is attached to the privet and one to our peach tree, which tends to lean over quite a bit when leashed to the sail. Hence, the sail is quite low, causing Tom (and Adam, and anyone over 5'5") to have to duck under. Not a perfect solution.

This is mainly a picture I took of our first 'chicken tractor' design, later scrapped. But you can see the shade sail in the background. 

This is mainly a picture I took of our first 'chicken tractor' design, later scrapped. But you can see the shade sail in the background. 

What if we could make sort of container/trellis for the patio? The hops could grow up to say, ten feet, then across, making a living canopy for us to picnic under? The vines would get full sun all summer and provide shade for us, then would be cut back in the winter, allowing more sun to reach the patio when we are chilled. It's kind of the perfect solution. 

I'm envisioning three half-barrels, like old wine barrels, something with heft, on each side. Maybe even on four sides. With a tall post going up from each container, and then forming a sort of "T" at the top. Then heavy twine or wire going across to the other side. If we did four sides, it would form a sort of cross-hatch in the middle. It could be very pretty, or it could be very rickety. Seems like this would be a good project to design using Sketch Up

photo credit: www.seasonalwildflowers.com

photo credit: www.seasonalwildflowers.com

Then I wondered if hop flowers would be good for the bees. It seems that the flowers are wind-pollinated, and do not produce nectar, but do produce pollen, which of course the bees collect as their protein source. Then, upon further research, I found a scientific article from the Yale Environmental Review about the positive effects of hops on destroying varroa mite!  Here's a link to the article - but to sum up: "The use of HBA (hop beta acids) to combat varroa mites may aid in drastically improving the health, vitality, and robustness of honey bee populations."  This sealed the deal for me!

So, this is yet another project slated for President's Day weekend, along with building and planting the raised beds for perennial veg and herbs over in the Understory Garden. We're trying to find a reputable place to buy hop rhizomes, and here's where you come in: We'd love a local California source, preferably organic. So far, I can only find out-of-state rhizomes and most wouldn't be shipped until April. We'd very much like to get started earlier than that!

Plus, if any of you grow hops, and/or keep bees along with those hops, we'd love to benefit from your experience. Please share with us!


Seed Setup

My seeds and indoor seed starting kit arrived this past week. Today I finally got a chance to get the whole thing set up.

The kit came from HTG, and included a heat mat, growing medium and trays, lights, and adjustable light stand. 

The seeds came from Seed Savers

This is a pretty simple set up. This bedroom window is South-facing, and hopefully this project will go well. I'll let you know! Tiny plant markers are on order and should be here later this week; meanwhile I made myself a map so I can keep everything straight.

I had an interesting conversation with my parents about starting seeds; apparently they used to start everything in pots on the kitchen windowsill - no grow lights, no heating pad. This was in suburban Maryland. So in California, things should be easy, right? As you know, indoor seed starting is new to me, so I'd appreciate any advice you want to give me. Scattering seed directly in the ground is a whole different thing than these little plugs, I have no idea if I did it right. Time will tell. 

I also did some bread baking...

... Tom bottled the cider, finally...

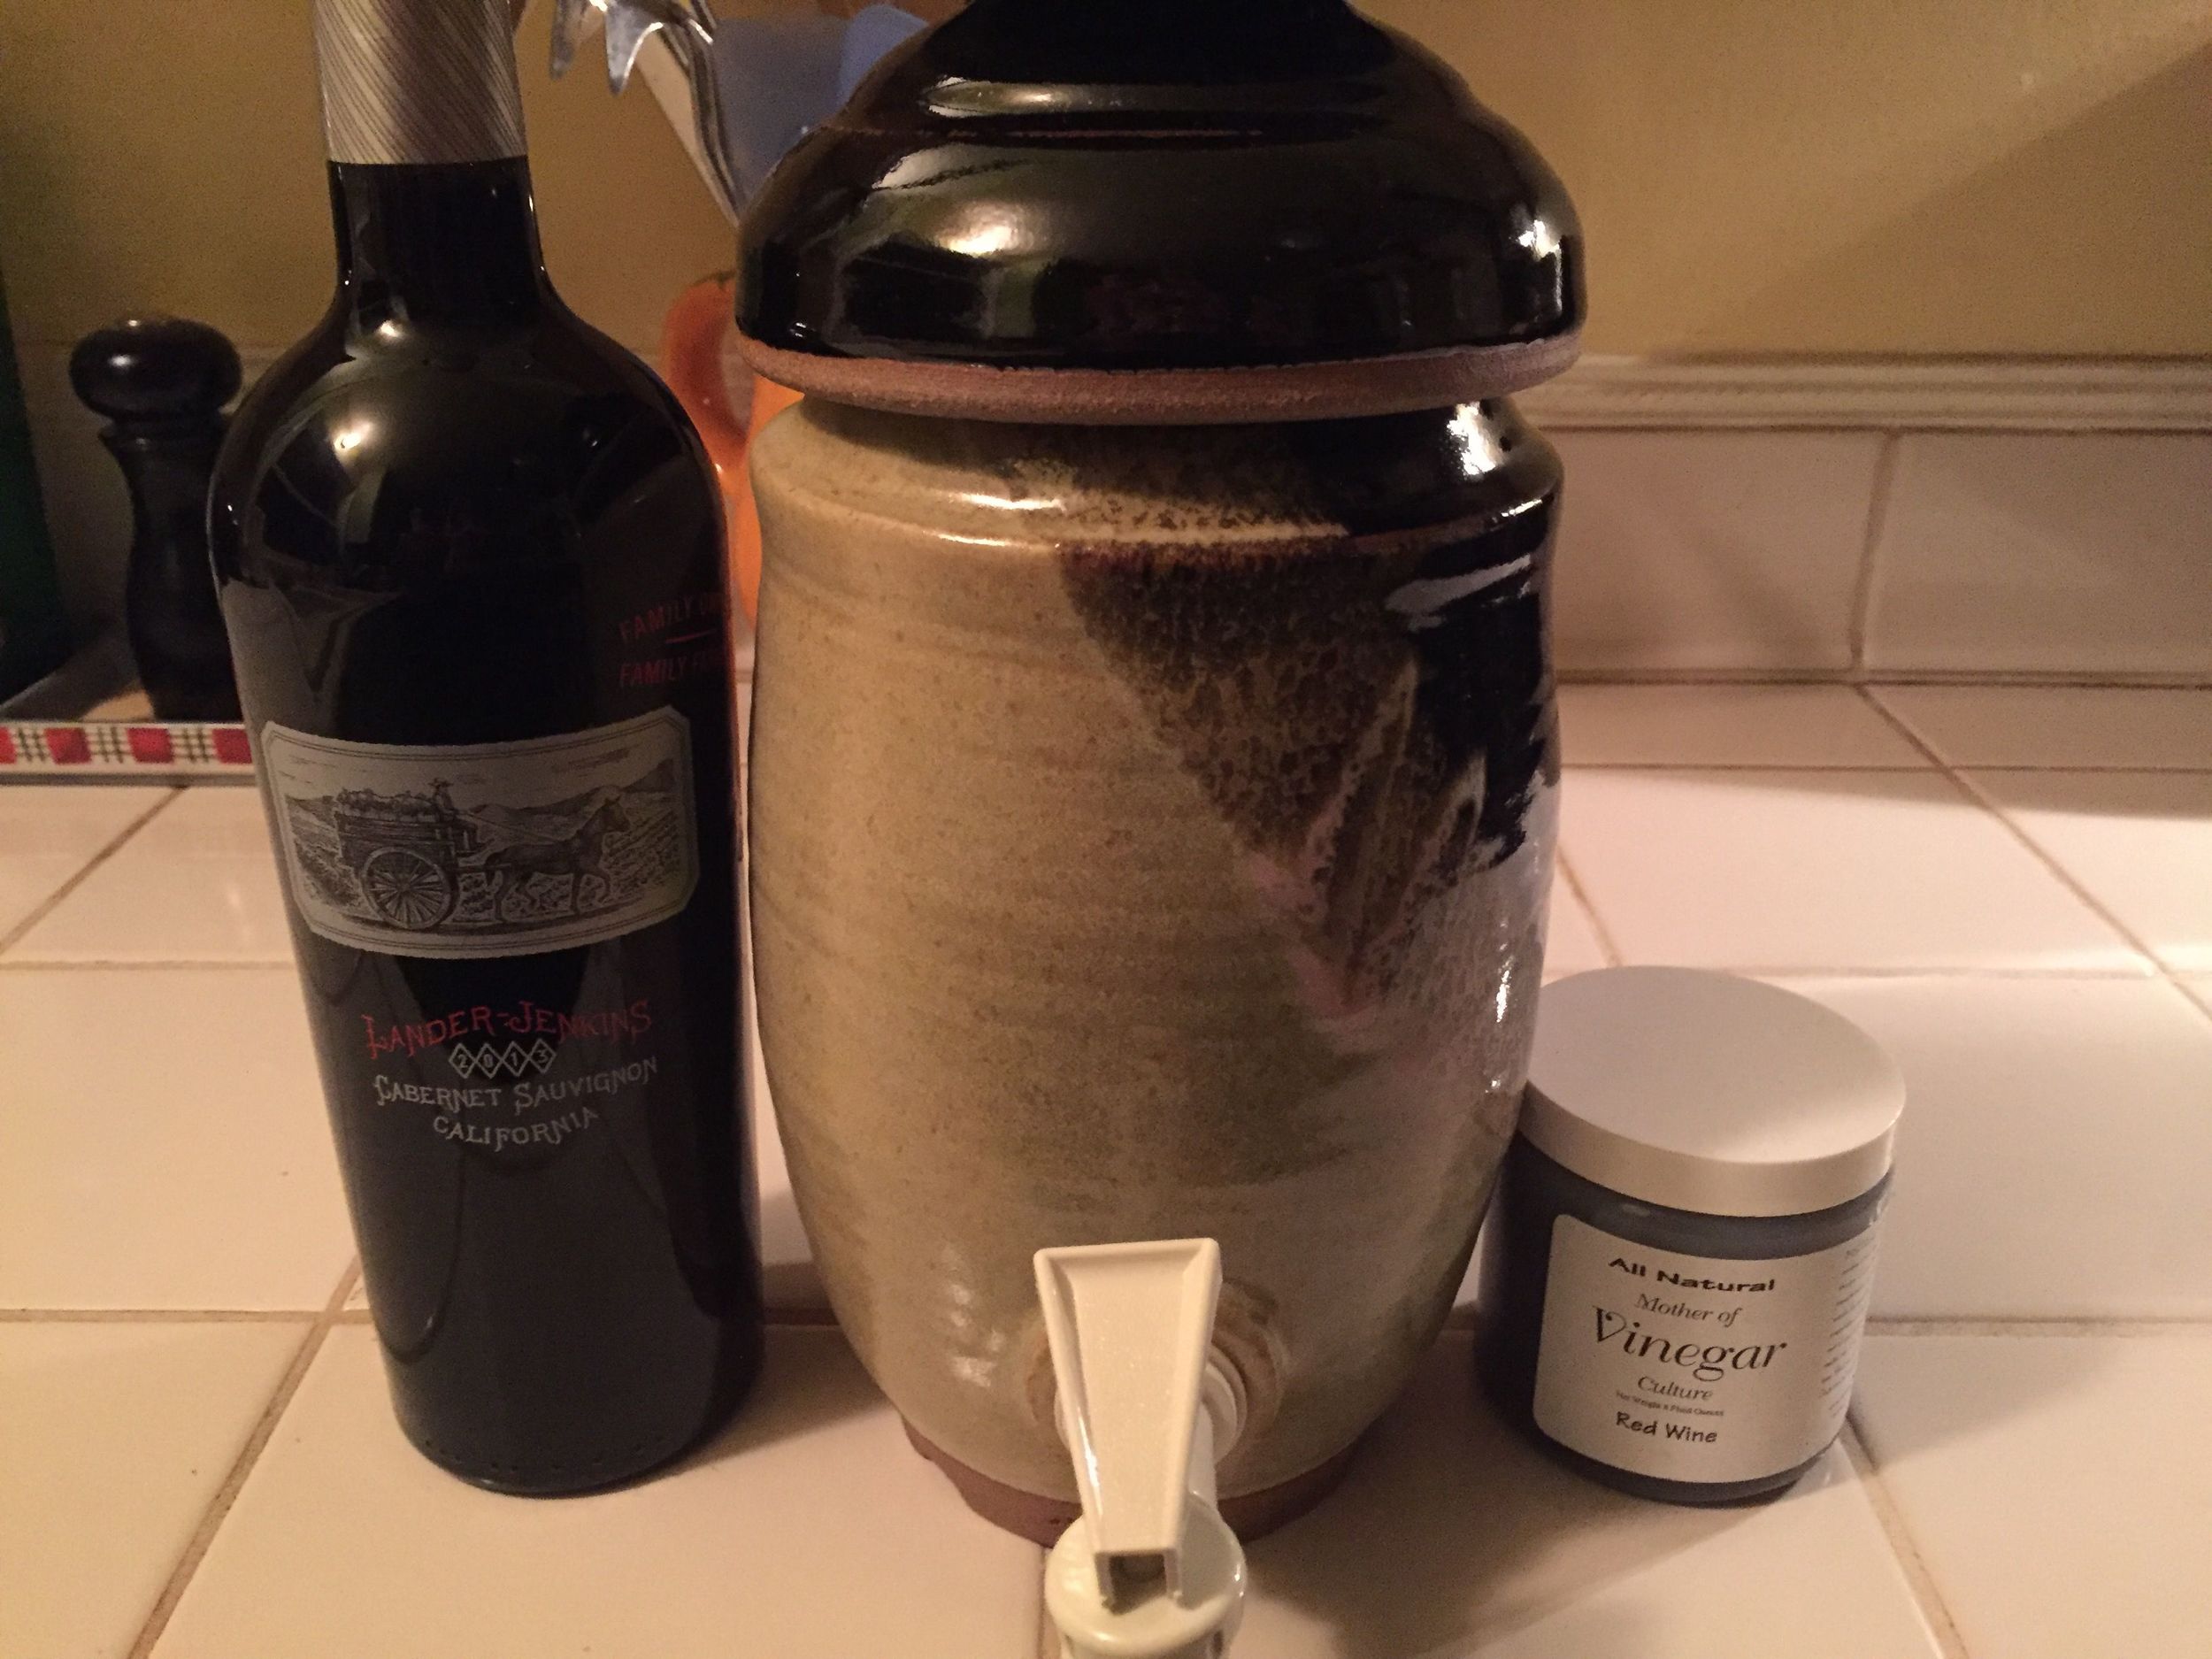
... and we got the vinegar crock set up, with wine, non-chlorinated water, and the mother.


The rest of my time was spent outdoors. I hilled the potatoes with straw, and also gave the asparagus bed a bit too. 

Potato bed

Potato bed

Asparagus bed

Asparagus bed


I put the row covers up, as the next few nights are supposed to be coldish. While I was doing this, I weeded. And I discovered more fun stuff!

I think this mushroom is part of the genus Clitocybe, not sure

I think this mushroom is part of the genus Clitocybe, not sure

Peas are blooming!

Peas are blooming!

It would be nice if weekends would go on forever, yes? Hope you're getting lots of projects done, too!