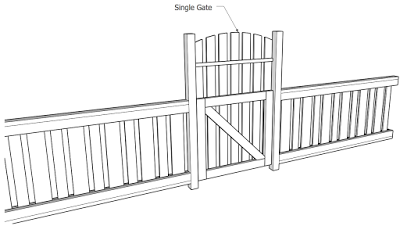
First things first: Today, we finally made beer!
Tom and I bought our supplies a month ago, and between one thing and another, we just haven't had time to get the process going. It takes about five hours to get a batch started. Finding five hours at home is not easy, but today we had lots of little chores, so we were able to do those and brew beer at the same time.
The best part of brewing beer (in my opinion, I'm sure Tom feels differently) is the words you get to throw around. "Time to sparge the mash!" might be my favorite phrase. And, of course, it was fun to do a project together.
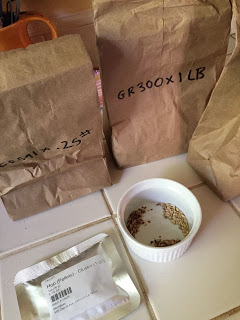
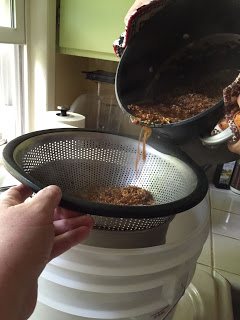
The first part of the process is mashing the grain. Basically you take the dry, cracked grains and combine them with warm water, and make the liquid that will be the base for your beer. It has to remain at a certain temperature for an hour, it's a bit fiddly, but it's basically like making a big batch of oatmeal.
 |
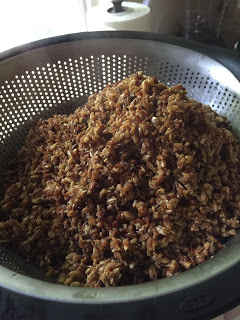
| Sparging the mash! |
I then took the spent mash out to the chickens, and that pile o' grain was gone in about five minutes. They LOVED it.
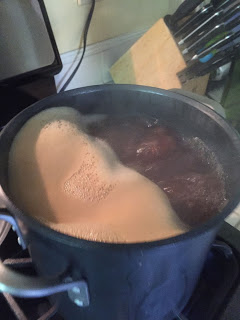
Then we added hops and boiled for quite a while. We added two kinds of hops, bittering and flavoring, and boiled after each addition.
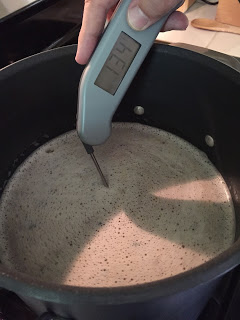
When the foam 'breaks,' you cool the brew down quite a bit. After it reaches 70 degrees, you check the sugar content using a hydrometer.
 |
| cooling |
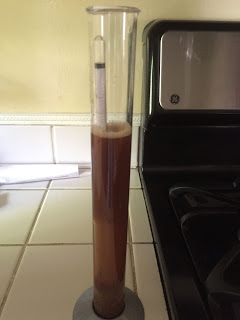 |
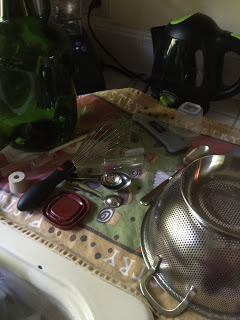
| science! |
Meanwhile Tom had prepared everything with a sterilizer and it reminded us of cancer, funnily enough, where you have to have a sterile field before drawing blood (which we did at home every week for years). This was a sterile field for beer. Much nicer, and not life or death. :)
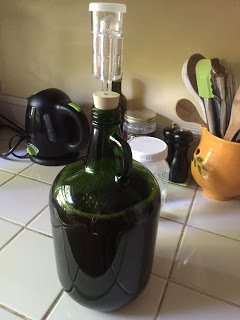
Then the yeast was added to the beer, whisked vigorously, and decanted into our carboy.
The only thing left to do now is wait!
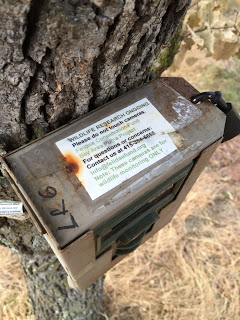
In between beer processes, we got all our chores done. We even had time for some extra fun. I had a nice hike with Joe this morning in a spot I haven't been for a while in Shell Ridge. While walking I came across a camera, for monitoring wildlife. I've never seen one of these in the wild before.
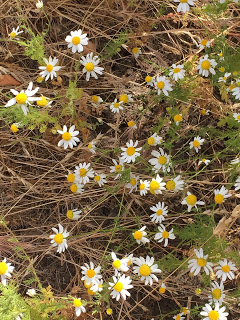
Chamomile is blooming profusely in this part of the hills.
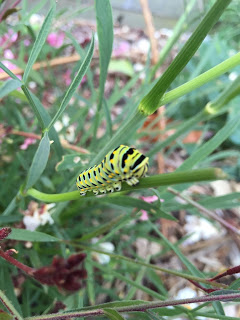
Adam and his friends went mountain biking in the same section of Shell Ridge this afternoon and came across a big rattler. They avoided him and had a great time. Unfortunately Adam took a sail over his handlebars at one point, and has road rash from his upper lip to his knee. He's now on the couch with a bag of ice.
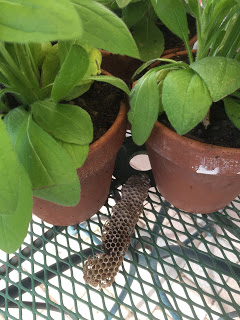
Speaking of creepy crawly things, I found a paper wasp nest blown down from the eaves of our train shed. I have it in pride of place on our outdoor dining table. I appreciate paper wasps and never kill them - they pollinate as well as bees do, and lay eggs on soft-bodied insects, controlling that population.
I managed to get some art made for the chicken coop.
 |
| Let heaven and nature SING! |
And I did some tidying up to ready us for next weekend and the
Urban Farm Tour. Have you got your tickets yet? I'm really excited for the day. I think I'll make honey cake using honey from our hive, to share with our visitors.
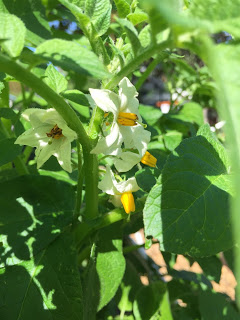
It's definitely fruit time in the garden. These are all ripening and will be ready soon, but not soon enough!
 |
| peach |
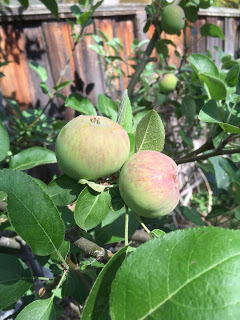 |
| tiny apples |
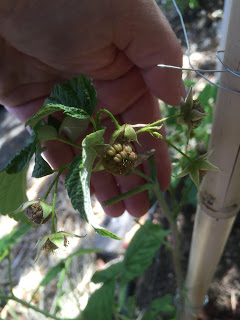 |
| raspberry |
 |
| blackberry |
Meanwhile I'm harvesting and eating strawberries, blueberries, and huckleberries every day. The only veg we're harvesting and eating at the moment is peas, but collards and Bibb lettuce are not far away.
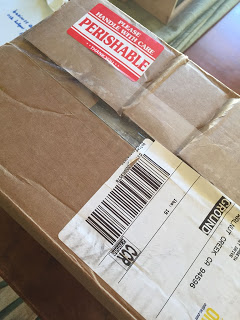
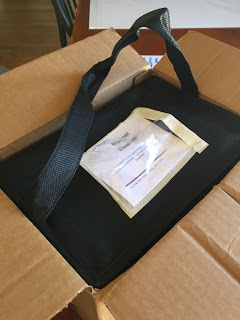
I did something this weekend that I'm particularly proud of. I signed us up for a meat CSA!
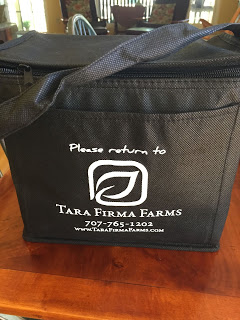
Tara Firma Farms provides pastured beef, pork, and chicken to their members, delivered right to your door! We've visited this farm twice - Mother's Day in 2014, and to get a freshly-killed pastured turkey at Thanksgiving time. The property is idyllic and the animals all living out their lives the way they were meant to. We do eat meat, and I want to make sure that the animals have had good lives, not spending them in dark barns or in small cages with slatted floors, but rather running free in the grass, eating and rooting and mating and being animals. The meat costs more, and it should. Our weekly deliveries will start Friday, and I can't wait to see what we get, and share the cooking results with you!
And speaking of cooking, it's time to get to dinner prep. I've got focaccia risen and ready for the oven, and am making a seared scallop and bacon soup to go with it. Happy June to all of you!