Chickens!

The chickens arrived this morning from Dare 2 Dream Farms. It was a fairly unceramonious transfer and took place in about 10 minutes. The farm workers took the chickens out of their cute van and plopped them in the hen house, filled the feeder they brought for us, instructed us to fill the waterer, and that was it.


The chickens promptly found the part of the house that was furthest away from us, the scary humans, and nestled together, squawking tremendously. After an hour or so, they ventured out to eat from Kate's palm.


After a couple of hours, they hadn't gotten any closer to figuring out the ladder that would lead them out of the hen house and into the larger coop and run. So we lifted them out and put them by the water, and they started drinking right away.


After drinking and eating, they snuggled down to have a nap in the sun.


At 5:30, we helped them up the ladder, with them squawking the entire time, so much so that Kate thought we were hurting them and cried a little bit. Kate has been very active with the chickens all day, sitting in the coop with them and handling them gently. Adam is very interested in helping us care for them and wanted to make sure he knew where all the feed/supplies were kept. The kids are fascinated by this whole adventure. As are others; we had three sets of visitors today, as well as some random neighborhood kids.

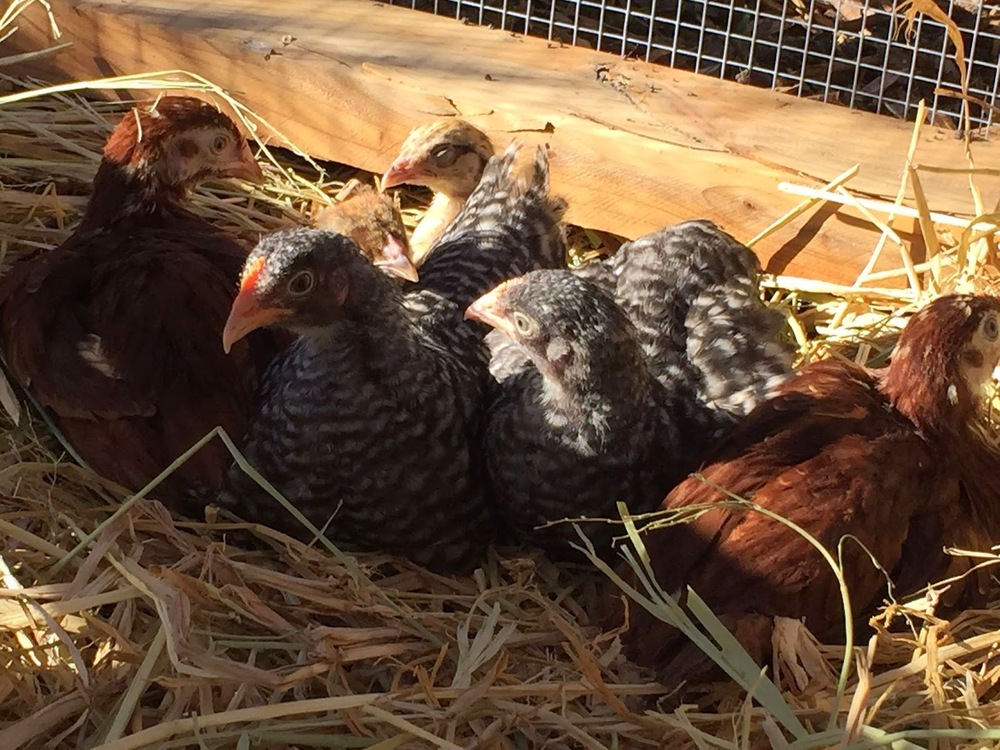
We got two Rhode Island Reds, two Plymouth Barred Rocks, and two Easter Eggers. Here is a good picture of one of each of them.


The two Barred Rocks (black and white) are called Hermione Granger and Minerva McGonagall, as they seem clever and brave. The two Reds are called Ginny and Molly, as the Weasleys are red-haired, and the two Easter Eggers are called Luna Lovegood and Professor Sprout. We can tell the two Easter Eggers apart, but we can't tell Hermione and Minerva apart, nor Ginny and Molly. They are all quite lovely though I think the Easter Eggers have the most beautiful feathers, at least right now.

The chickens don't seem like awkward teenagers at all, they just seem like miniature chickens. So far they seem fairly uninterested in eating anything except their 'baby' food - crumbles with vitamins added in. As they grow, I imagine they will enjoy all sorts of our scraps.

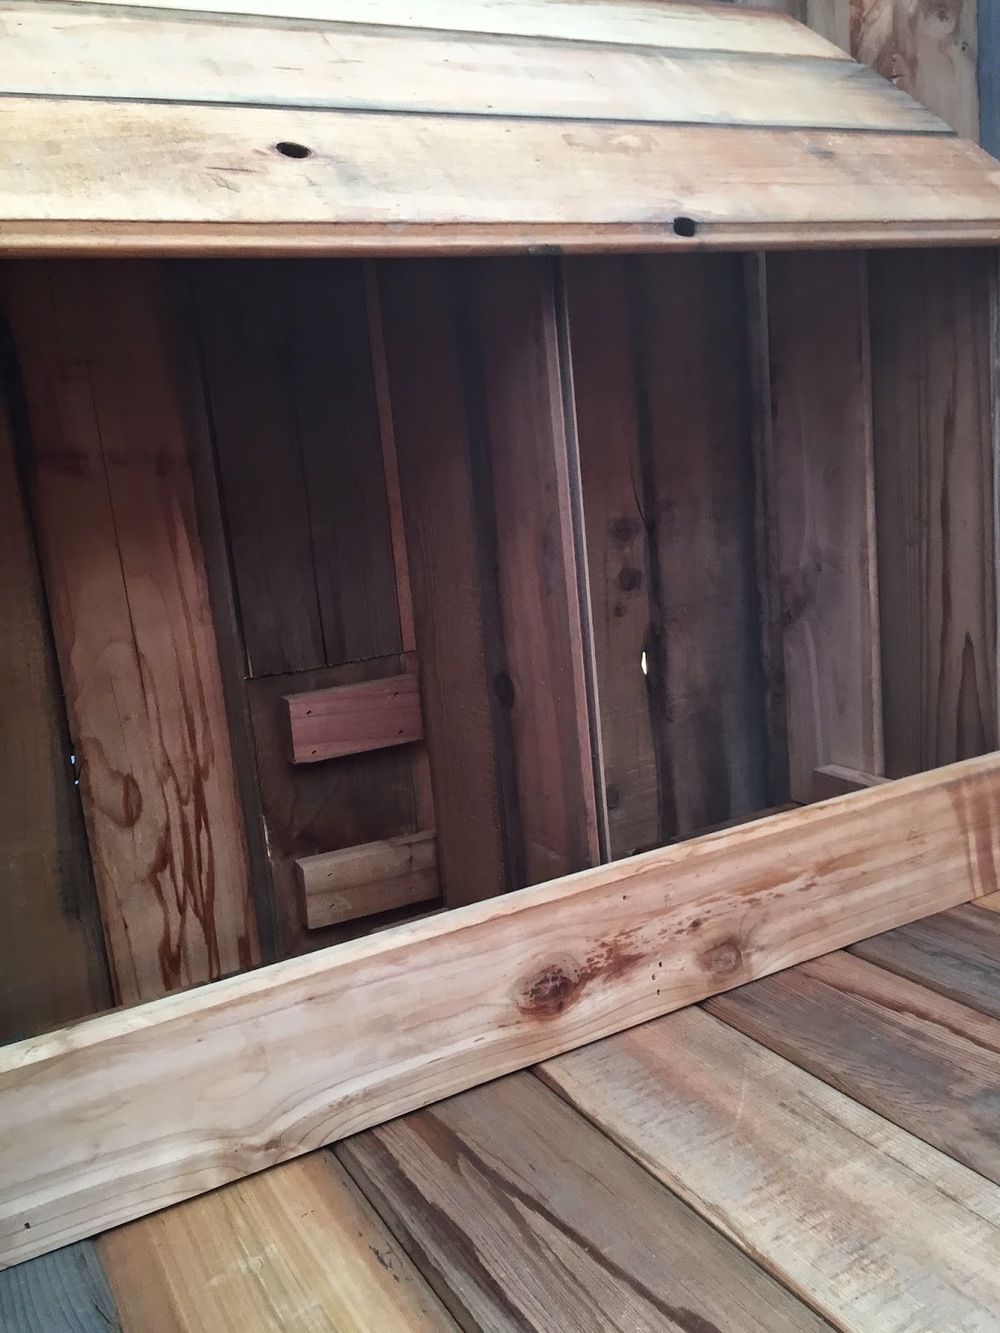
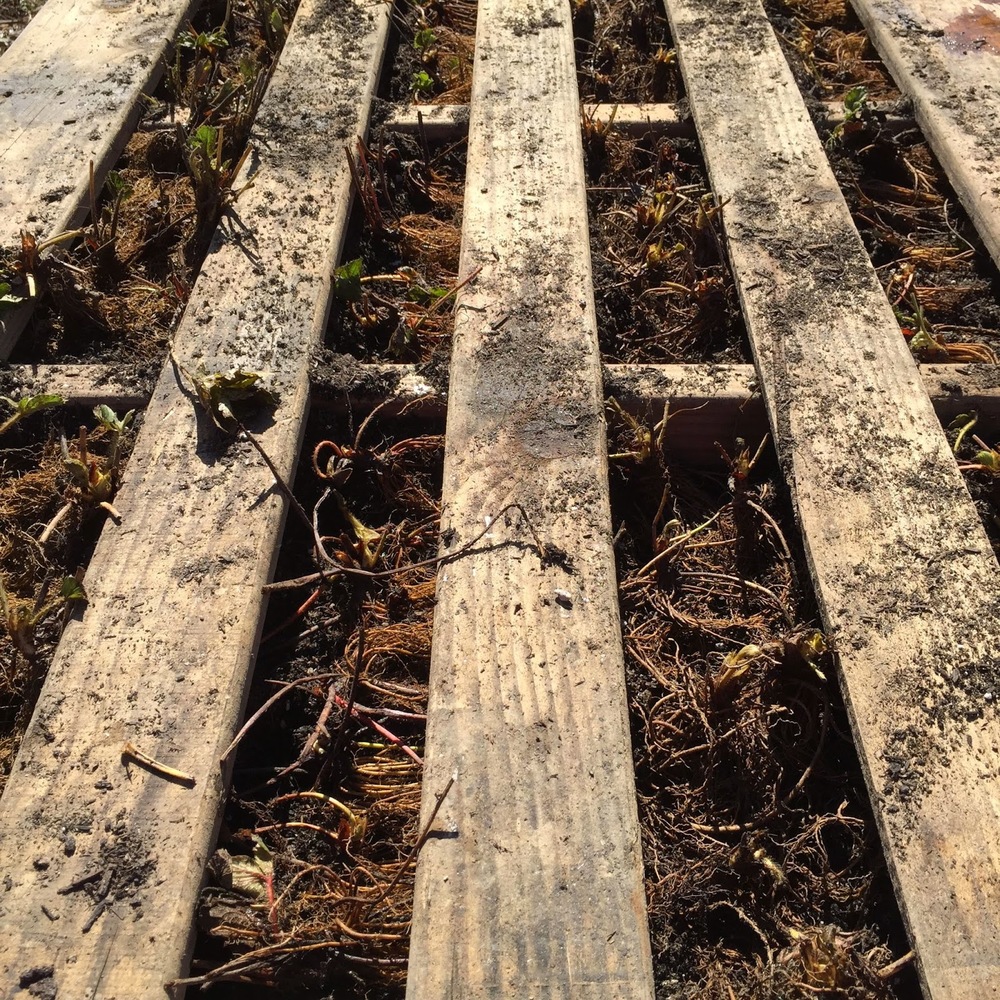
Already, the poop is copious. I'm glad we got two new compost bins built, out of pallets, for the coop waste.


Nothing makes you feel more like a genuine farmer than hauling straw bales around. Those suckers are HEAVY.


Another use for the tried and true little red wagon
It was an exhausting day, and we didn't even get that much done around here - just welcoming our new livestock was tiring enough. Hope they stay warm tonight and the opossums stay away!!!

In the Garden, In the Woods

Interesting things are happening both in the garden and in the woods. First, the garden:

The first asparagus has popped up!

We ate the first baby beets, delicious!

It's ceonothus season - here's one with white blossoms about to open...

... and one with the more traditional purple/blue. You can see why it's called the 'lilac of the West.'

I'm finding the white threads of mycelium everywhere, especially on wood chips.

The peas began to fruit!

And, in the woods (and trails):

Interesting bark on a fallen tree

Poppies and Buttercups blooming; this is how I picture spring in Northern California 
Sulfur Buckwheat is growing new leaves

Dutchman's Pipevine everywhere


Thimbleberry; hoping the ones in my yard bloom soon 
Yarrow

A rare sighting of two elusive creatures. 65ish degrees today.

That Dutchman's Pipevine is everywhere this year, and it's the main feeding ground for the Pipevine Swallowtail butterfly. On our walks with the kids at work (I work at a school for kids with disabilities), we've seen numerous cocoons of this butterfly, attached to the underside of a bridge railing.


All evidence points to spring. 

Finishing the Coop

Why am I suddenly reminded of Stephen Sondheim's lyrics for Sunday in the Park with George? It's a little out of context, but just as George Seurat (in the show) says, "Look I made a hat/Where there never was a hat!" That's how I feel. We made a coop, where there wasn't one before! And this is a big-footprint item; it has height and heft and presence in the garden. It looks like an accomplishment.

The accomplishment is definitely mostly Tom's. I helped in certain stages and I can say I had a hand in creating it, but Tom is the star of this show. He continued on, weekend after weekend, working every spare minute on the construction. All the bits that were one-person jobs, he did, and did brilliantly. Have a look at our finished building:


The egg collection door

Ladder going up into the hen house

Nesting boxes

We have a couple things left to do. One is to buy locks for both doors. This is to keep the raccoons out, as they can open latches. The other is to make some sort of corner braces to hold roosts, both in the hen house and in the run. I cut some branches off one of our trees last week, and we'll use those for the roosts. And I'll need to buy some straw for nesting; I already have bags of sawdust from Dad for the run. 

The chickens have been ordered and are arriving next Sunday. We'll be getting two Rhode Island Reds, two Barred Rocks, and two Easter Eggers. They will all be older chicks, ready to live outdoors in the coop. Eggs will not be forthcoming until summer. But I think this age is the best of both worlds: They're still young enough to bond with us, but old enough to live outside and take care of themselves.

This was a challenging project and we again thank The Garden Coop for their excellent plans. We had never built anything of this size before, but we learned a lot of new skills and feel confident about building again in the future. 


Vertical Strawberry Wall

Ok, not an entire wall!

I watched an episode of Growing a Greener World which was all about living walls, and immediately I knew I wanted to try this with strawberries. When I ordered bare-root raspberries and blueberries, I also ordered 100 bare-root strawberry plants in anticipation of this project.

The fruit came yesterday. I left it in the boxes overnight, then around 7 this morning I unwrapped everything and put it into buckets of water to rehydrate.


The blueberries (Jubilee and Misty varieties) and raspberries (Latham) were planted in the conventional way, in open spots that get morning sun and afternoon shade, but we made a living wall with the strawberries.

First we needed a pallet. When we went to the hardware store to ask if they had any available, they said "how many can you take?" so pallets are easy to find. The first step is to wash it and make sure it's not made of yucky or treated wood.

You'll need landscape fabric, a plywood sheet, plastic sheeting, and lightweight potting soil. You'll also need some way to attach the pallet to the wall; we used L-brackets.

Here's the place we decided to put the living wall. This is Adam's Make-A-Wish train shed. I removed the train signs (he'll keep them inside the shed), and we marked out our spot.


Then we got the sawhorses in place and started working on the back of the pallet. First we attached the landscape fabric, then the plastic sheeting, with our staple gun. Then the plywood went on with screws. We also made a bottom panel out of some leftover tongue-and-groove from the chicken coop and drilled drainage holes in it. After the back was complete, we lifted it up and made sure we knew where we wanted it to go. Tom did some prep work with the brackets.


Then we turned the pallet over and dumped in two cubic feet of potting soil. We spread that out, then untangled the 100 bare-root strawberry plants (I got two June bearing varieties, Allstar and Honeoye, and two Everbearing varieties, Eversweet and Tristar) and spread them out on top of the dirt. Then we filled in with another bag of potting soil.


Next we had to mount this behemoth. This took three strong people. Tom putting in some brackets beforehand was genius, as we could rest it there. Plenty of dirt spilled out during this stage. After the pallet was secure, Tom finished bolting it to the studs of the shed.


I planted the top with several leftover plants, and packed dirt in. Watering it was a little scary, as lots of dirt fell out. I imagine as I water it (and it's going to need a lot of water, as it's in full sun against a white background), and over time, I'll have to add dirt.

Now that we've done this once, I'd like to do another living wall with coleus for our front porch, which gets only one hour of sun per day. I'd like to modify the pallet so that it stands up on feet. I can see lots of uses for this kind of planting.

Here are the raspberries and blueberries, planted with plenty of compost. It was a fruit day, for sure!


Enameling Class

I spent a few hours at The Crucible today, taking an Enameling class that Tom had given me for Christmas. It was interesting, and I had a good time.

The Crucible is a fascinating place in West Oakland. They have classes in glass blowing, metal arts, leatherwork, etc. All kinds of things that people don't do very often any more. None of us has ever taken a class there before, although I do like attending their winter art sale - I always find very unique gifts.

First of all I should say that I had never even heard of enameling before Tom gave me this gift, and I had no idea what to expect, so I went with a very open mind. My class consisted of seven people in a smallish room near the back of the warehouse, equipped with three kilns. All of my classmates were my age or older, which surprised me, since everyone I had seen at The Crucible before this was extremely young and hip. But I fit right in to this crowd.

The teacher explained that enamel is basically ground-up glass, applied in layers and then fired by heat. There is liquid enamel, too - which is how our Le Creuset pots are made, enamel over cast iron. Cloisonné and Limoges china are made by the enamel method, as well.

We used powdered enamel rather than liquid. We were given a small rectangle of copper and we went through four layers of enameling, with various stages in between of cooling and cleaning. The kilns are kept at 1500 degrees (!!!) so there was a good amount of time spent on safety procedures. We all ended up with a product that we liked, and I intend to put mine on our Christmas tree. I'm not sure I'll ever do this sort of thing again (unlike a cheesemaking class, say, which is easy to replicate at home), but I enjoyed learning about it.

Some tools at a workstation. The red things are sifters.

Colors and examples

Colored jars of powdered enamel in a drawer

my rectangle of copper, covered with the first layer of enamel, before firing

a rectangle on a screen, just out of the kiln


The kilns. If you look at the one on the far right, you can see the heat coming out the crack of the open door.

The temperature in the kiln. Yikes!

Finished products. Mine is the one with the poppies that look more like misshapen orange fish underwater.