• About
  • Blog
  • Contact
  • Favorites
  • Archive
Menu

Poppy Corners Farm

Street Address
Walnut Creek, California
Phone Number
Walnut Creek, California

Your Custom Text Here

Poppy Corners Farm

  • About
  • Blog
  • Contact
  • Favorites
  • Archive

New Garlic and Shallot Hanging Racks

June 1, 2019 Elizabeth Boegel
IMG_2356.jpg

This year, I planted two 4x8 beds each of garlic and shallots, hoping to get a really good crop after last year’s failure. It was a successful growing year; we have scads of Spanish Roja garlic, German Red garlic, and Red Shallots. We have two Shaker peg rails to hang cured alliums, but I knew that would not be enough this year. So I crossed my fingers and asked Dad to make me a couple ‘pot rack’ thingys for this purpose. At first he just couldn’t figure out a way to make them that would provide him a new learning experience. As Tom says, my dad is such a brilliant and accomplished woodworker that he is now in the Evel Knievel phase of it all, making things purely to prove he can (a dresser without any right angles? check. Veneer, banding, and inlay? check). Unless I can come up with an idea that presents a challenge, Dad won’t take it on. No boring furniture for this daredevil!

Evel-Knievel.jpg

Dad spent some time mulling it over, and then one day while weeding his back hill, he got a brilliant idea. Why not take the wood from the French Broom that he was removing from the hillside? French Broom is a highly invasive woody plant here in the Bay Area. Beautiful, but a nightmare to get rid of, and it crowds out all the natives.

16555_original.jpg

Turns out, it’s beautiful wood - extremely strong and perfect for this purpose. How handy that Dad had just built himself a new shaving horse; two garlic hanging racks were in my possession post-haste.

Good thing, because the shallots had finished curing on top of the chicken coop, and the second bed of garlic was ready to harvest and put up there to cure (and melon seeds to plant in the vacated bed). So we did the big switcheroo and then Tom put up our new hanging racks.

IMG_2365.jpg

They join the Spanish Roja Garlic that I already hung on the peg rail there. The German garlic will go over on the canning shelf peg rail, which at the moment is holding the last of the dried hot peppers from last summer. These racks can also hold bunches of drying herbs, too. They are multi-purpose!

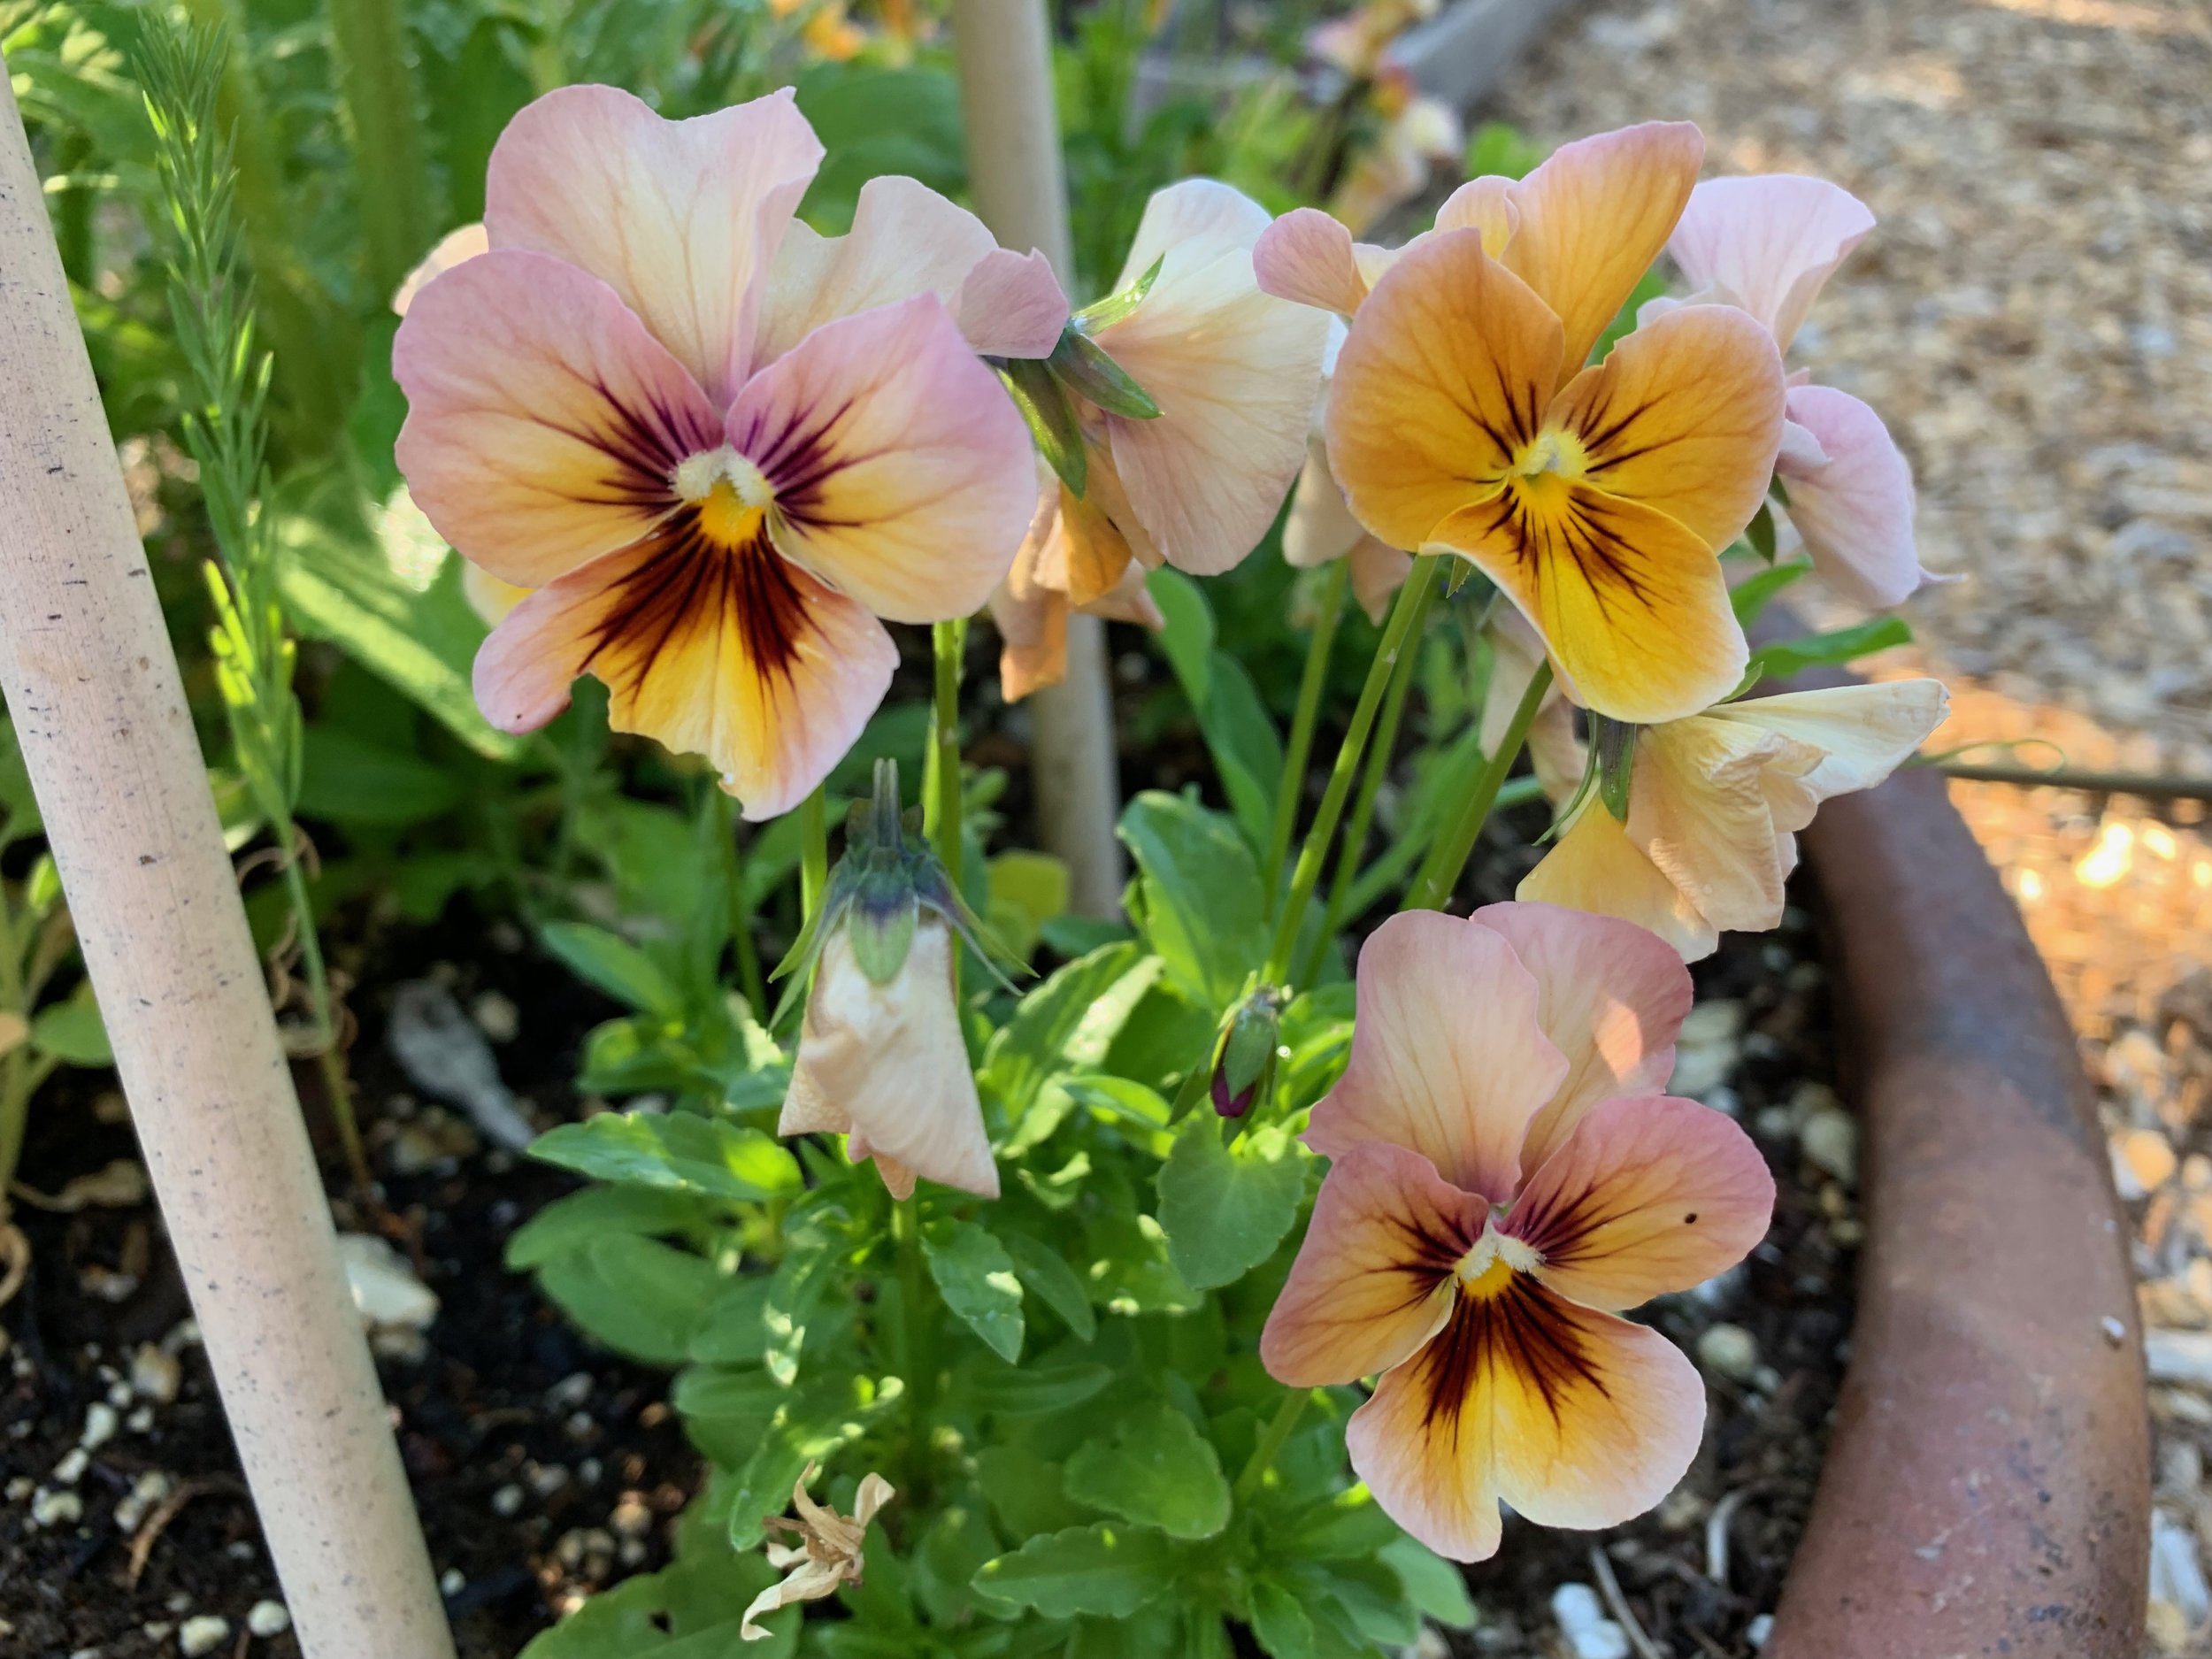
Adam watched Tom tie up the shallots and said, “I love how we decorate our house with food.” We won’t be featured in Architectural Digest any time soon, but we don’t mind. Our dinners will be delicious.

Tags vegetable garden, preserving
2 Comments

Comfrey - the miracle plant?

May 30, 2019 Elizabeth Boegel
IMG_2345.jpg

If you have any interest in permaculture or regenerative farming/gardening, chances are you’ve heard many miraculous things about Comfrey. For instance: The deep roots ‘mine’ for nutrients and collect them in the leaves/it’s a biodynamic accumulator! It is a fabulous forage plants for livestock/chickens love it! You can brew a nutrient-dense/though extremely smelly compost tea with it! It can be used to cure cuts and bruises! … and many more. Go ahead, search ‘comfrey permaculture’ on Google and see whatcha get. I’ll wait.

IMG_2153.jpg

Whenever something has these kinds of inflated claims, I am suspicious. It happens regularly in the gardening world (coffee grounds and eggshells, anyone?). Let's get one thing straight: plants are miraculous, period. Take a carrot seed. It’s unbelievably tiny. Within its microscopic proportions, it has everything it needs to send down roots and produce cotyledon leaves, which provide enough photosynthate to make those huge feathery fronds and develop a long, fat, juicy, orange, delicious tap root. This is simply crazy. Or how about the tomato flower, which is self-pollinating? It has everything it needs, both male and female parts, to produce fruit by itself - it doesn’t need the services of a pollinator. Or the humble bean, which allows a bacteria in the soil to colonize on its roots in order to take nitrogen from the air and provide it to the plant. Or the hormone in all plants called auxin, which is produced in the stem and root tips that cause the elongation of the plant? I mean. You can’t look at plants and not see how miraculous they are, doing things that we didn’t engineer them to do; they’ve simply evolved to do them over millions of years. Comfrey is no different.

IMG_2346.jpg

Comfrey is in the Borage family, and we’ve already sung the praises of the flowers in this family. They are very attractive to bees (carpenter bees in particular), though I have also noticed hummingbirds love the bell-shaped comfrey flowers too. And they are lovely little inflorescences, in a curled shape called a ‘cyme.’ A cyme is a curved stalk of flowers; the terminal bud flowers first, and the others further down and underneath flower afterwards. The leaves are winged, with the wings going down a large part of the petiole, or stem, of the leaf. As you can see, the leaves can get quite large, up to two feet long.

You start comfrey from a root cutting. No special treatment is needed. Just cut some of the root out (which doesn’t hurt the existing plant at all), and bury it. Soon you’ll have a plant. By its second year of life, it’s ready to be ‘harvested,’ if you want to go that route. If not, the plant’s leaves will slowly sort of keel over to the sides, like flowers in a vase, and new leaves will come up from the center. It tends to die back in frost or cold, and re-sprouts reliably every year.

The added benefit of comfrey lies in its ability to be ‘chopped’ down several times a season, and it will come right back. Why would you want to do this? There’s value in the leaves. Like all leaves, comfrey’s have a lot of nutrients in them. After all, that is how trees (and many other plants) fertilize themselves; they drop their leaves to the ground to decompose and provide nutrients over time. Comfrey leaves have a pleasant nutrient ratio of about 3-1-5. That means it’s a pretty good fertilizer. You can add them to your compost, especially if you have a lot of ‘brown’ in your pile like dead leaves or bark; the nitrogen in the leaves will help the compost break down faster (just like grass clippings will). You can feed them to your chickens (apparently they also have a lot of calcium, so that is nice for your egg-producing birds), but they will likely snack on them rather indifferently, not inhale them like they do kale. Comfrey leaves are fuzzy, like borage, and kind of hurt your hands and, I imagine, livestock mouths. You can also use them as a mulch, which is what I did with my latest batch - I put them around a bed of tomatoes.

IMG_2347.jpg

As for the claim that the deep taproot of comfrey ‘mines’ the soil for minerals: That’s kind of a fallacy. Taproots are generally formed to help anchor the large up-top biomass of the plant. Only really large plants get them, and sometimes not even then. It’s also used as a place to store the sugar and carbohydrate that the plant gains from photosynthesis (that’s what makes carrots so delicious!). Most plants get their water and nutrients from surface roots, which are in the top 3-8 inches of soil, pretty shallow.

And please, for the love of God, do not make the kind of comfrey compost tea everyone suggests on the forums. They tell you to put comfrey leaves in a bucket, weigh them down with a brick, fill the bucket with water, cover it, then let it sit for 3-6 weeks! There’s a reason it smells so bad when you open the bucket, and it’s called anaerobic bacteria! Anything anaerobic is not going to be healthy on your soil or your plants. One reason compost is successful is because it’s aerobic and full of oxygen!

comfreydraw67x380.jpg

There is some evidence that comfrey is a good plant to have around for bee stings, cuts, inflammation, and muscle soreness. To quote the NCBI: “Comfrey has a centuries-old tradition as a medicinal plant. Today, multiple randomized controlled trials have demonstrated the efficacy and safety of comfrey preparations for the topical treatment of pain, inflammation and swelling of muscles and joints in degenerative arthritis, acute myalgia in the back, sprains, contusions and strains after sports injuries and accidents, also in children aged 3 or 4 and over.” You can see their paper for more information about the clinical trials that have been conducted.

So grow comfrey for its beauty and its value for pollinators, and use it for mulch or compost if you feel so inclined. It can’t hurt to have it around for topical pain relief or to ease swelling. And it is a great plant to put under fruit trees and in neglected parts of your garden. It will spread easily, so be warned that if you dig it up and cut the roots, you could have plants everywhere (and it reseeds - another particularly borage-like trait). But it’s a pretty plant, so that might not be a bad thing!

Tags flower garden, learning, compost, mulch
Comment

Fertilizer/Comments

May 29, 2019 Elizabeth Boegel
IMG_2336.jpg

I had a question from a new gardener; she wanted to know if I use fertilizer on my plants. The short answer is yes. The larger answer is, sometimes and in some places. The super-large answer is, mostly we shouldn’t need to use fertilizer. And the ecological answer is, using fertilizer is a tricky business, both in the way they are made and the way they interact with our environment, so less is better.

IMG_2334.jpg

Let’s start with the easy stuff first: Yes, I do fertilize. Plants in pots must be fertilized, because they can’t form connections with a larger soil community. About once a month, I use a liquid, organic fish emulsion on my potted flowers, fruits, herbs, and vegetables. The product I use is Neptune’s Harvest. It has an NPK of 2-4-1. This is a good, low ratio; the amount of Nitrogen won’t hurt the plant, and it has slightly more Phosphorus which is good for developing roots and fruits (or blooms). The thing you want to look for on the package is, how much of the Nitrogen is soluble? Soluble/insoluble is an important thing to know. If it’s soluble, it’s available to the plant right away; it will enter the soil solution and be taken up by the roots. Whatever is not used immediately will not be stored, it will run out with your water. Generally organic products have a low NPK ratio, most of the nutrients are insoluble, and they take some time to work, as the biology in the soil has to incorporate them into their bodies, then poop them out, before they are available to the plants. In soil biology, this is known as the poop-loop. This is an important cycle and is the best way to feed plants. It’s like micro-manure.

I also fertilize the rest of my garden, but maybe not in the way you’d think. I add organic matter regularly. Good quality compost, two inches on each planting bed, is added every fall. Compost is added to the pollinator gardens when I add seeds. And every time I put a new ornamental plant in the ground, I mulch with compost. This way, organic matter is constantly being returned to the soil, and that is the very best way to fertilize your plants. The roots form connections to everything around via fungi, and there is a constant exchange of nutrients going on. We also add wood chips every year or so to all the paths and around large plants and trees. These break down over time and add nutrients, as well as providing habitat for soil creatures. We also incorporate cover crops, which add different nutrients and soil-aggregating qualities. Having a living root inside the ground at all times is the best way to ensure your soil has plenty of food - the microbiology lives on and near roots; the plant pumps out food for the biology, and the biology in turn feeds the plants. So yes, in these ways we also fertilize.

And, when I plant summer crops in the raised beds, I add a granular organic vegetable fertilizer such as Jobe’s Vegetable Fertilizer which is 2-5-3. This breaks down slowly over the course of the season. I do this for summer crops because they are heavy feeders (meaning they need a lot of nutrition to produce big fruit, like tomatoes, peppers, or melons) and I am planting them very closely spaced.

IMG_2335.jpg

Another thing to consider is your soil type. I tend to have clay soil, which has the ability to hang on to nutrients (this has to do with its chemical composition, cation exchange of electrons, and the minerals that make up clay, factors too large to get in to here). If you have a sandy soil, you’ll have less nutrients available. If you have ‘fill,’ then you have very little soil life, and you’ll need to feed it in order for it to thrive. The best way to do this is through the addition of organic matter.

All fertilizers have an ecological cost. Rock phosphorus is mined in a horrible system that wreaks havoc on the earth. Peat moss is an element that takes hundreds of thousands of years to form, and we are stripping it far faster than it can be replenished. Synthetic nitrogen is applied at enormous amounts in conventional agriculture because soils are depleted; much of it runs off and has caused all kinds of problems downstream. lt’s easy to add cover crops that have the ability to form associations with bacteria that fix nitrogen - the pea family does this of course. The thing is, you have to cut down the cover crop before the fruit is produced - and don’t pull up the roots, let them rot in the ground. Some large-scale farmers have found ways to supply 90% of their nutrient needs with cover crops alone.

I’d like to refer you, once again, to a great movie called Symphony of the Soil. In it, several scientists and farmers explain how soil is formed and how we can hold on to it, and farm with best practices to retain nutrients. I’d also like to suggest the book Growing a Revolution by David Montgomery. You can also find his lectures online. He and Elaine Ingham are my soil mentors.

I loved getting this question from this new gardener, and I love getting questions and comments generally. I know that leaving a comment here on the blog has been difficult. A while ago, we disabled anonymous comments because we were getting some advertisements for porn (!), but we’ve enabled them again in the hopes that perhaps we will get a community going in the comments section (well, a community that doesn’t involve porn, at least). If you are unable to ask a question here, please feel free to email me using the contact page - I love getting your questions.

IMG_2338.jpg

It’s heating up here - summer might finally be on the way!

Tags learning, plant nutrition
5 Comments

May Cooking: Summer Cake

May 27, 2019 Elizabeth Boegel
IMG_2328.jpg

Happy Memorial Day! I must confess it hasn’t felt much like summer here, with very unusual late-season rains and chilly weather, but the garden is thriving despite that. Late-spring and early-summer fruit is coming ripe. I’m sure you can now find strawberries, rhubarb, and blueberries in your farmers markets if not in your gardens. Here, we have all three.

IMG_2325.jpg

When it comes to berries, we never have enough for both fresh eating and cooking - it’s a rare day that I don’t go out and snack on them right from the garden and it’s a miracle anyone else ever gets some. So we buy both of these as well when we want to make a dessert, or even have a guaranteed amount for lunches or breakfast yogurt, or when we need large quantities for making jam.

I’ve already shared the clafoutis recipe we got from The Apple Farm, but we like fruit crumbles, fruit crisps, and fruit cakes as well. Smitten Kitchen has a great fruit cake recipe which can be made from any fruit. The trick is to adjust the sugar and liquid levels when you use different fruits. For instance, when using rhubarb, I macerate it with some sugar first, because it needs a little breaking down. That will release some liquid which you need to drain. Also, the rhubarb needs some sugar. If using fresh berries, no need to macerate, just add them as-is, and you may want to cut down on the sugar in the cake. If using something like peaches, you’ll want to cut down the amount of milk in the recipe. You’ll just have to make this a lot, with a lot of different fruits, and experiment. All of it will be delicious, and I’m sure your family won’t mind trying all of those experiments out.

IMG_2329.jpg
“Fruit Cake (adapted, barely, from Smitten Kitchen):

One pound fruit, sliced or whole depending on the kind
6 Tbsp unsalted butter at room temperature, plus more for the pan
1-1/2 C all-purpose flour
1-1/2 tsp baking powder
1/2 tsp fine salt
1 C sugar, more or less, depending on the fruit, plus any extra for macerating, plus 2 Tbsp for sprinkling on top of the cake before baking
1 large egg
1/2 C milk
1 tsp vanilla
Whipped cream or sweetened creme fraiche, to serve

Preheat oven to 350. Butter a dish. Probably a cake pan of 9” will be too small and your cake will run over, so you need something a bit deeper - deep dish pie plate? Casserole dish? Sometimes I use a pie plate, sometimes a larger casserole, and in that case you’ll want to watch your cooking times. Also might be wise to place your baking dish on top of a cookie sheet just in case.
Whisk flour, baking powder, and salt together in a small bowl, set aside. Beat butter and cup of sugar until fluffy, about three minutes. Add egg, milk, and vanilla until just combined. Add flour mixture gradually, mixing until just smooth.
Pour into prepared dish. Arrange fruit on top, then sprinkle with reserved 2 T of sugar. Try to make the fruit one layer if possible but if not, a little overlap is fine.
Bake for 10 minutes at 350, then reduce oven temperature to 325 and bake a further 50-60 minutes. Your cake should be golden brown and your cake tester should come out free of wet batter. The fruit on top will be jammy. Let cool in pan on a rack. Cut into wedges and serve with cream of your choice.”
IMG_2330.jpg

Enjoy!

Tags seasonal recipes, fruit garden, cooking
Comment

Home Improvements

May 21, 2019 Elizabeth Boegel
new roof and new exterior paint

new roof and new exterior paint

Tom’s mom Joan died a little more than a year ago. She and Tom’s dad were master providers and savers, on one public school administrator’s income, and with five children to provide for. Somehow they had enough money to comfortably get them through retirement and their senior years and various health issues. Somehow they managed to save enough over and above that, to pass on to all their children. It was such a surprise, and such an incredible gift, to receive a check from the estate after Joan passed.

We decided that we needed to talk to a financial planner to get an idea of how this gift should be spent, as we really wanted to honor it. When he heard about the state of our 1949 home, he was very adamant that we needed to invest in taking care of the structure, making sure it was both safe and protected for the coming years. Our roof was literally falling off, piece by piece. The roofing over the garage was rotting and leaking. The exterior paint was chipping and flaking, exposing the redwood structure. Both of these issues were expensive and we hadn’t been able to save a large chunk of money to get them addressed. Tom’s parents provided us the means to do so, and we are so grateful.

We chose companies owned by people who had grown up in our neighborhood, folks who appreciated the history of the area and the houses. The roofer was amazed that our interior was dry, the roof was in such bad shape. When the workers came to demolish it, they found all kinds of rot. Many boards were removed and replaced before the new roof was laid. They also replaced all our leaking, rusty, crooked gutters.

the old roof, little more than tar paper.

the old roof, little more than tar paper.

IMG_1762.jpg
the garage

the garage

rotted boards

rotted boards

new roof. new gutters. old paint.

new roof. new gutters. old paint.

With the roof safe and secure, we next turned our attention to exterior paint. From my geography teacher, I had learned that paint color affects how hot your house can get. If you choose dark colors, the paint will absorb more radiation from the sun (insolation), causing the molecules to vibrate fast and creating friction, which would heat up. That heat would be moved into our home by conduction. And when I talked to the painter, he told me that darker colors fade faster and don’t last as long. The trend in our neighborhood has been painting the houses a very dark color, and using a very bright color for the front door. It looks nice, but I knew that a lighter color was the way to go. Plus, our front door was handmade by my dad and would NOT be painted! But I was sick to death of a white house and green shutters. And the trim was a sort of pukey olive color. My painter gave me several palettes that Sherwin Williams had put together for ‘California Modern Ranch Houses.’ We all voted, and ended up with a paint that is somewhere between brown and grey. The painter also commented on how our house was a ‘gem.’ That everyone is tearing down and rebuilding, or enlarging the footprint, but that our house was unique because it was historically intact. He wanted to protect the redwood, which was a-ok with me. We were on the same wavelength. The painters had to work between rainstorms (rainstorms! in May! very unusual) but we now have our beautiful new exterior. And oh, they said that our 70-year-old house had had only two coats of paint in that entire time… can you believe it?

I love the dark brown trim

I love the dark brown trim

IMG_2289.jpg
IMG_2291.jpg

You see that door? That leads to the garage. We had the most disgusting door before, both here and the one leading to the laundry room. Oh, I found a picture, here you go:

IMG_2191.jpg

Holes had been hacked out of both doors (not by us) for animals, and they were gross. Plus do you see that hole to the left of the door? Someone hacked that out to put a dryer vent in the garage (we have ours in the laundry room where it belongs!). Tom was able to make a circle of redwood to fit most of the hole, and the painters sealed the rest up with a special putty. You’d never know that hole had been there! Anyway, Tom and I bought ‘new’ doors at Urban Ore, a great cavernous warehouse in Berkeley that has a bunch of scavenged materials from building sites that are being torn down. We found two of the exact same doors, and Tom bought new hardware, and somehow managed to get the doors to work in this old, crooked house. The painter looked at the ‘new’ doors and said “Those are $300 doors!” We paid $75 each, so we feel pretty proud of ourselves.

After these two major projects, we still have a little money left, so we made a list of all the things we want to tackle in the house, none of which are urgent issues, and many of which are aesthetic, like refinishing the oak wood floors. We couldn’t figure out what was best to do first. We plan to be in this house another 10-15 years, and we want to enjoy our time here. We see people redo their houses all the time and then sell them right away, never getting to enjoy what they’ve done. We want to increase the property value, but we also know that trying to make it right for a buyer’s taste is not the right thing to do, since they’ll probably change everything anyway. And our yard - our weird, permaculture farmy yard - is already going to skew our sale to a certain kind of person. Anyway, I remembered that the real estate agent who helped us find this house 15 years ago is married to a contractor - he helped us put in a duct system when we first moved in, for central heat and air (all it had was a wall heater). I contacted them and he agreed to come over and help us prioritize. He didn’t think it was worth it to try to add another bathroom (we only have one) since the kids will be going to college soon. He didn’t think a whole bathroom redo for our one bathroom was worth it. He thought redoing the shower might be good, and redoing the kitchen counters. When we told him about our old pipes, he thought repiping would be a good investment. And he also was very much on the side of adding solar panels, which is something we very much want to do, but weren’t sure it was worth it. I mean ecologically it is VERY worth it, what I mean is if it would improve the value of our home. He said a very vehement ‘yes’ and also said it was important to buy, not lease.

It is worth it to add that when we asked the kids what they thought we should do with the last bit of money, they both immediately said ‘solar panels.’ No hesitation. It’s good to listen to the younger generation. They’re pretty smart.

So, now we are deep into that research and learning curve and are gobsmacked at how much it all costs. We need subsidies for clean energy!!!! How is anyone supposed to afford to do the right thing? Anyway, I will keep you updated on what we decide and the entire process, if it happens.

Meanwhile we are feeling very safe and protected in our newly roofed and painted home! I can’t get enough of walking around and just looking at it. Thank you Joan and Tom Boegel, for being such amazing savers and such generous people!!! I hope you’re looking down on us and smiling in approval.


Tags home improvements, old house, thank you
Comment
← Newer Posts Older Posts →

Subscribe

Sign up to get email when new blog entries are made.

We respect your privacy. We're only going to use this for blog updates.

Thank you! Please check your email for a confirmation notice to complete the subscription process.

Powered by Squarespace