Some Firsts

Here are the first blossoms of the plum tree we planted just last spring.

This is the first shoot of asparagus this spring (we ate it raw, shortly after taking this picture). We're excited because we planted this asparagus bed three years ago, and now we finally get to eat what comes up. We're hoping for lots and lots more.

This is the first time I've ever potted up tomato seedlings that I started from seed. I was surprised how long the roots were.

And this morning we had the first taste of Tom's home-cured bacon. I don't have a picture (because we scarfed it down so quickly!) but it was delicious. 

Morning in the Garden

We've had a busy week, as our daughter Kate performed in "Guys and Dolls," and all our free time has been taken up with volunteering backstage, and of course watching the show. Tom managed to get a few things done yesterday. We traded some hard cider and eggs with Ruby Blume of the Institute of Urban Homesteading for some of her freshly-dug 'Cascade' hops. Tom got those settled in to one of the new planters. He'll order three more kinds of hops from Freshops, in early March, for the other three planters. Hopefully we'll get the hop trellis built today. Tom also obtained a smoker from some dear friends (thanks Jo and Bob!) and so he's getting ready to smoke some bacon. 

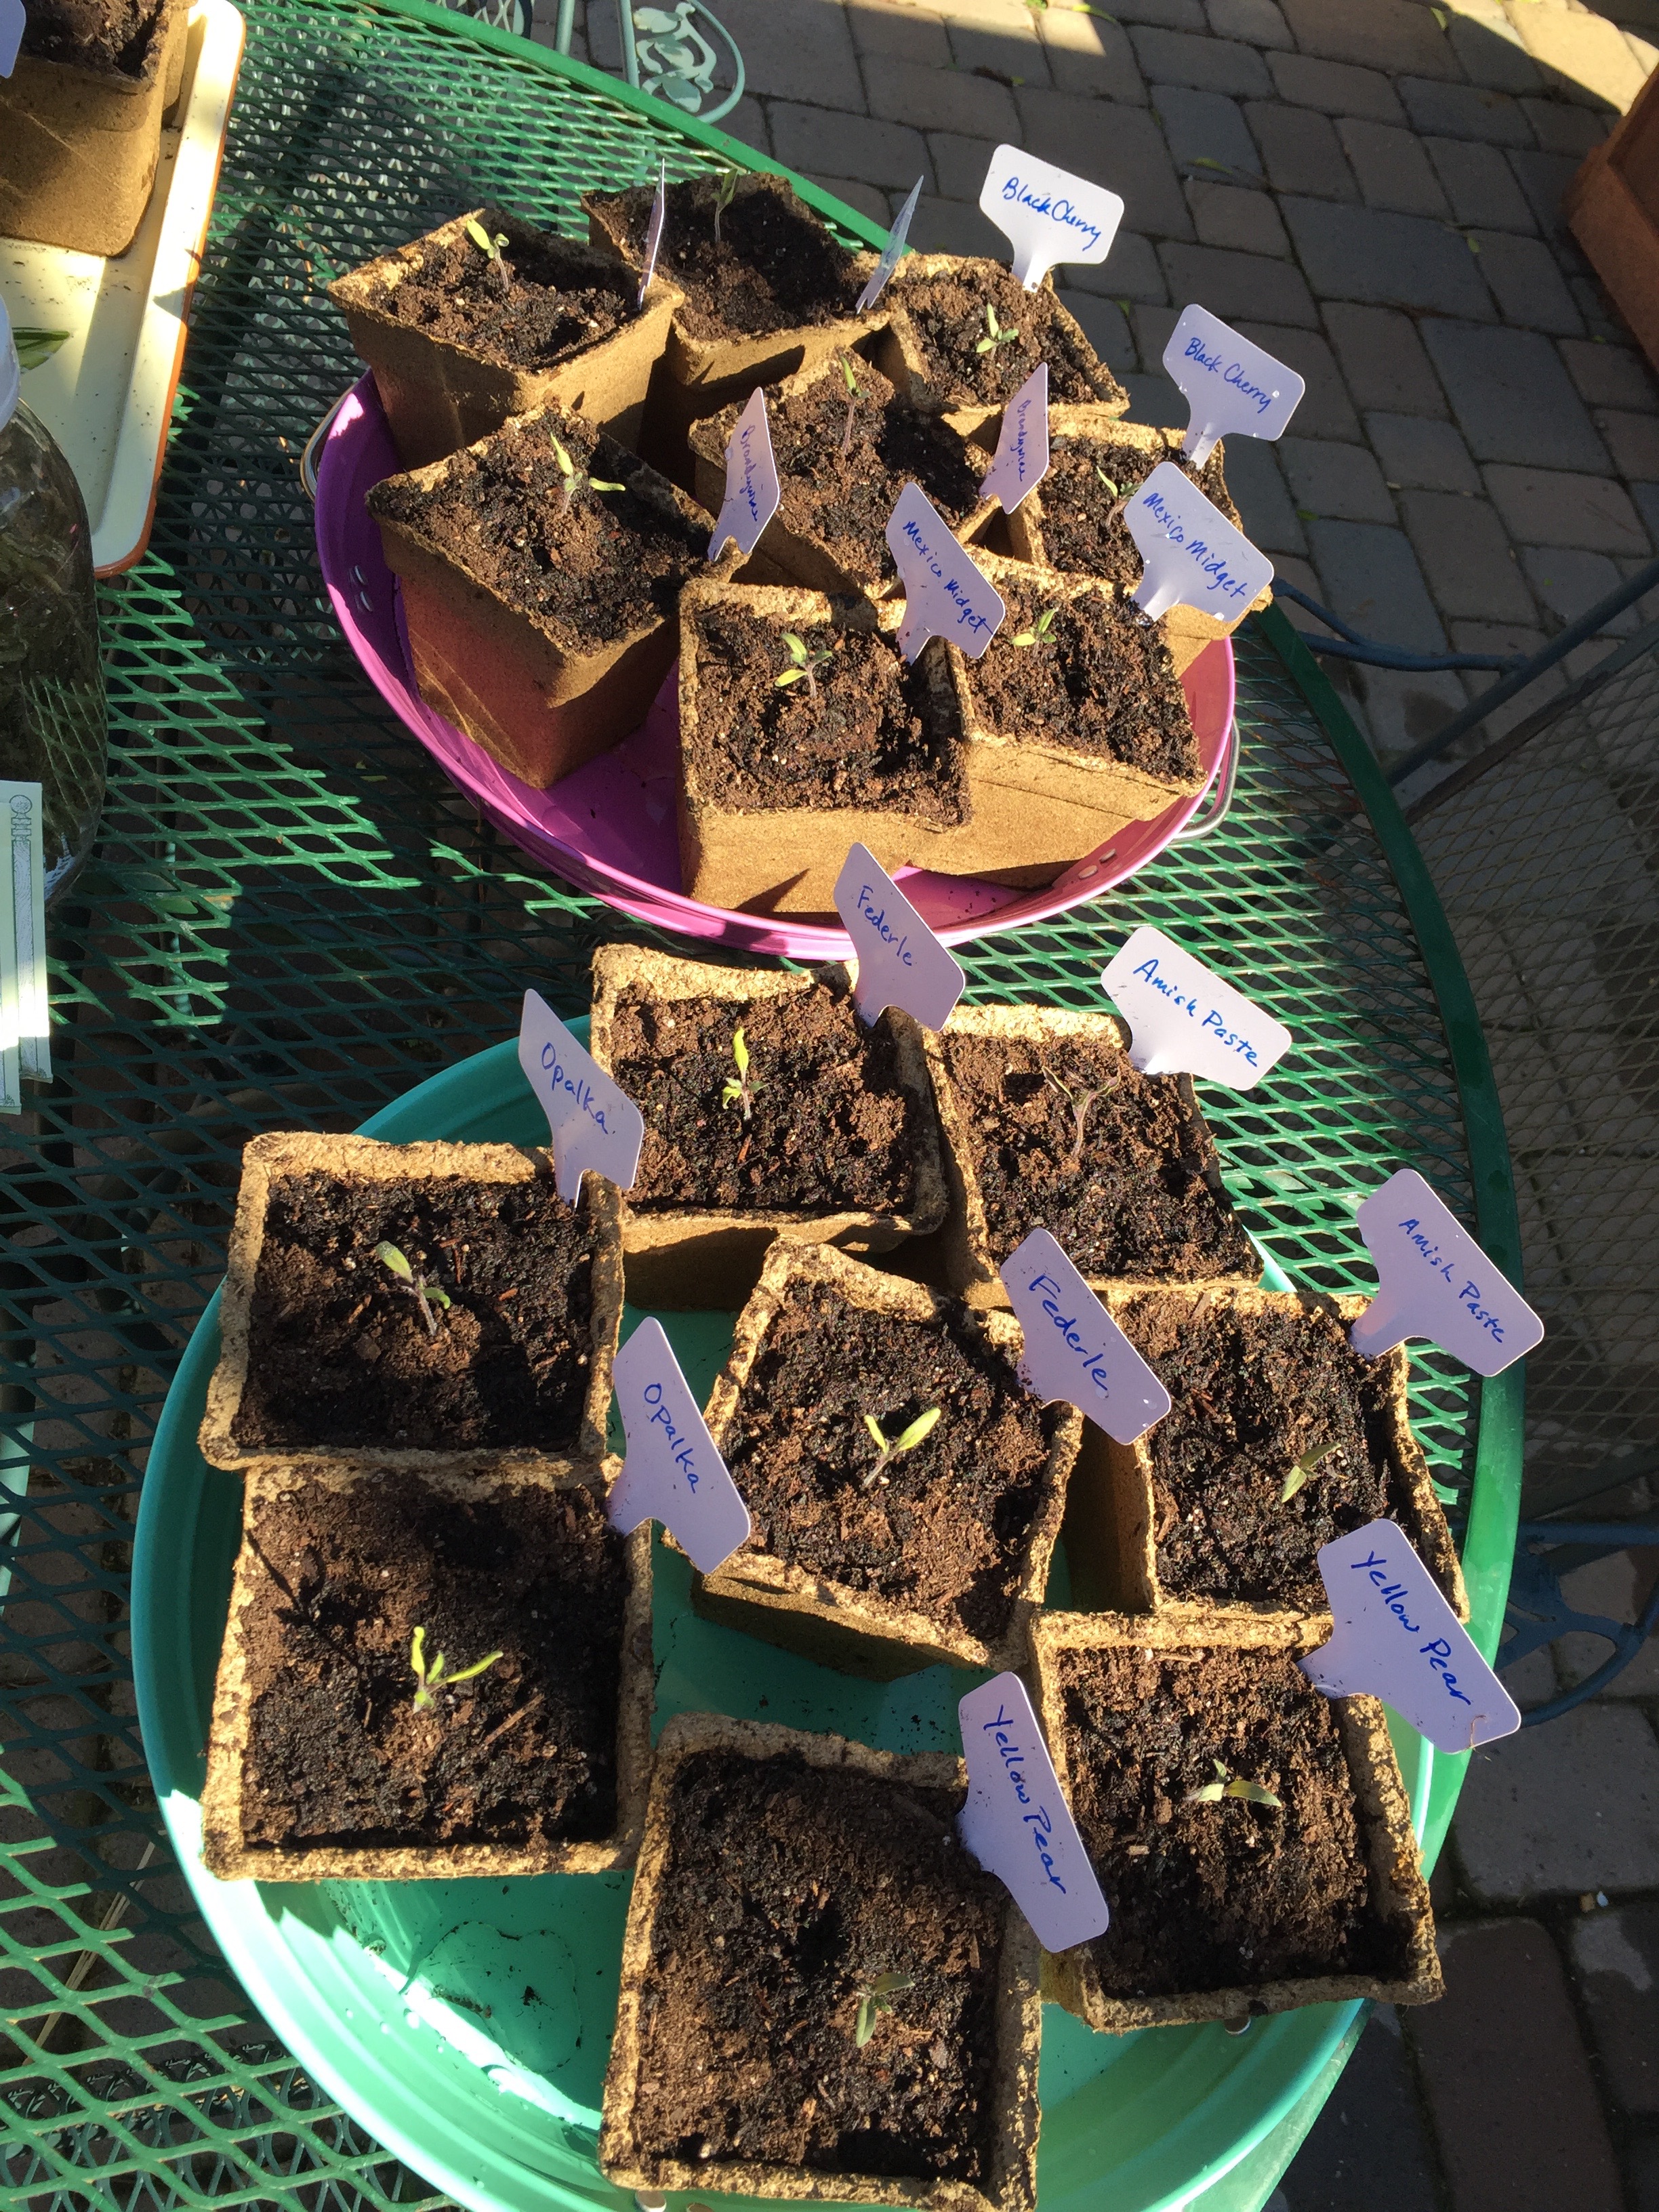
The only project I got to yesterday was using my ginger bug to make some homemade fermented ginger lemonade. I didn't even get to bread baking. My plan for today, other than boring things like house-cleaning, is to get the seedlings potted up. I'd like to thin the beets and carrots, and add more hay to the potato bed (I'm trying an experiment, using hay for 'hilling,' rather than dirt).

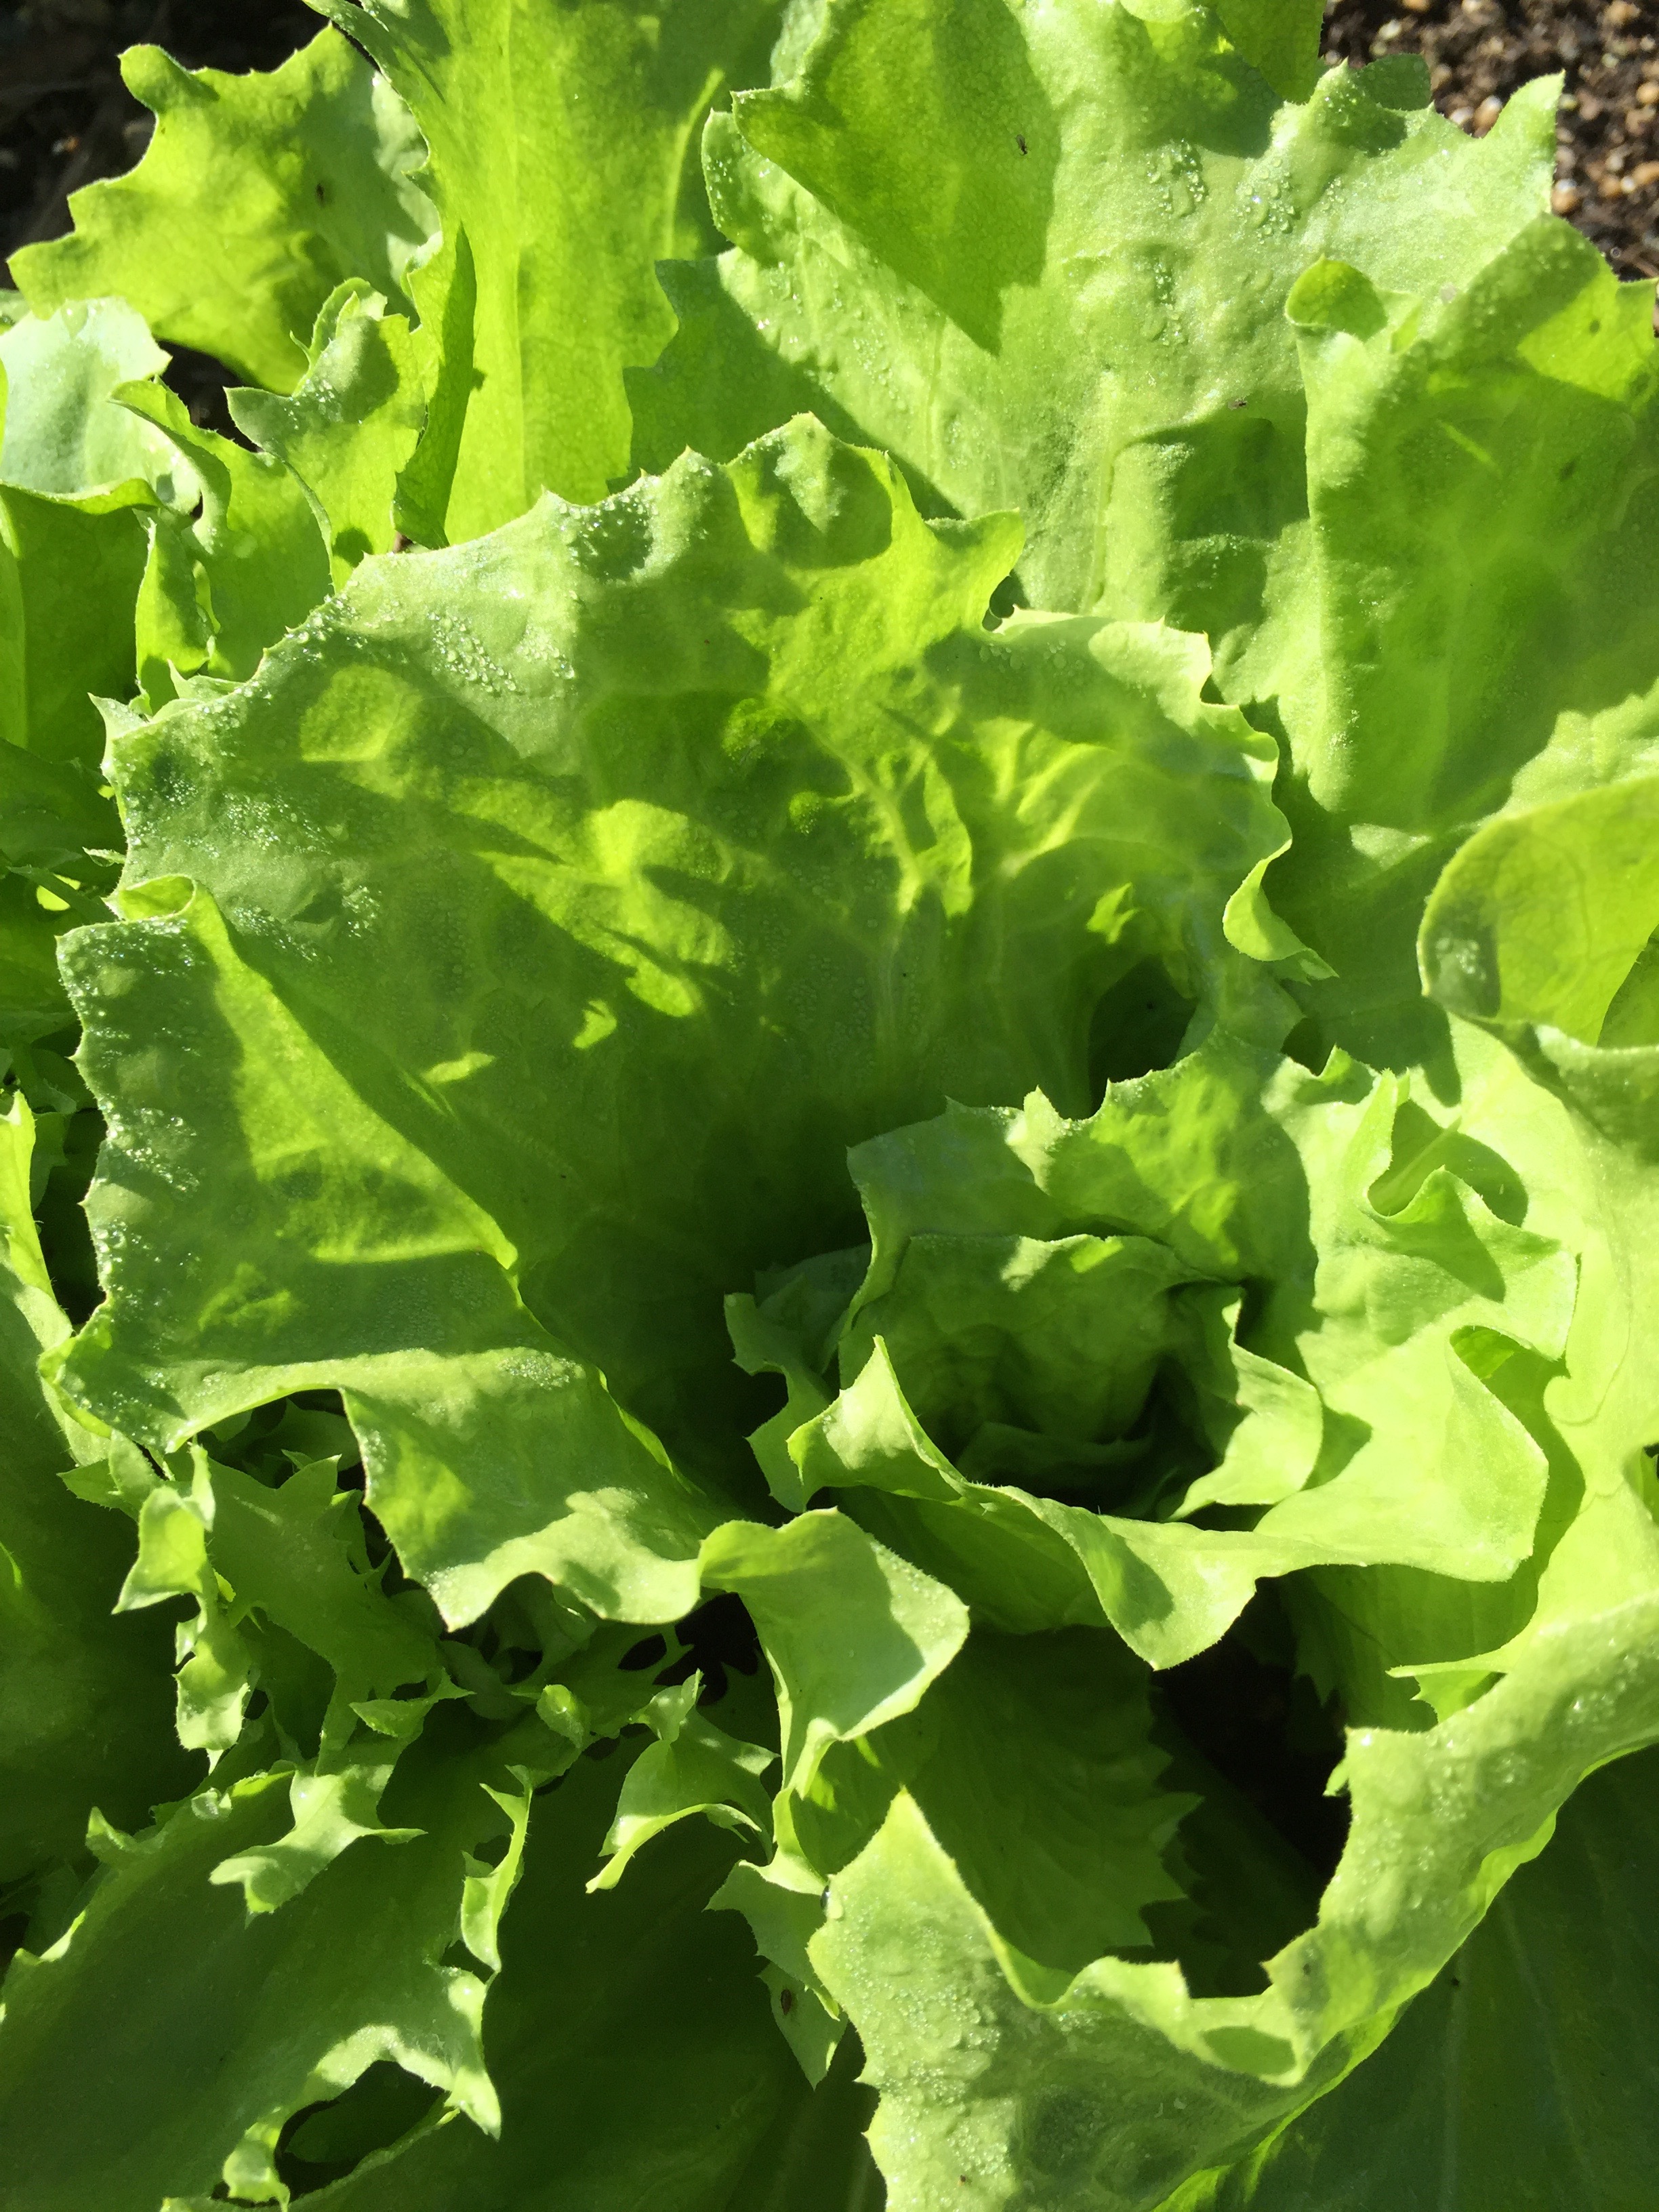
Meanwhile, I thought you'd like to see some pictures of the garden, since I have little else to share. Our recent hot spell, combined with a good soaking rain, provided the plants with the impetus they needed to really get growing. It's fun to walk around just after sunrise and see what's happening. The birds are busy, the bees are just starting to get warmed up, and the dew (or maybe it's melted light frost, as we've had cold nights lately) sparkles on the leaves. Enjoy!


All the fruit trees are fixing to blossom. This is the peach tree.

All the fruit trees are fixing to blossom. This is the peach tree.

An old-fashioned poppy, about to bloom.

An old-fashioned poppy, about to bloom.

Salvia

Salvia

I often forget what seeds I've scattered. This is coming up all over the North Pollinator garden; can't wait to see what it is!

I often forget what seeds I've scattered. This is coming up all over the North Pollinator garden; can't wait to see what it is!

A squirrel strikes again! I pulled out this oak seedling as soon as I took the picture, as it was in my vegetable beds. Pretty, though.

A squirrel strikes again! I pulled out this oak seedling as soon as I took the picture, as it was in my vegetable beds. Pretty, though.

Daffodil

Daffodil

Hyacinth.

Hyacinth.

Ceanothus, ready to burst in to bloom.

Ceanothus, ready to burst in to bloom.

Flowering Currant.

Flowering Currant.

Blueberry flowers.

Blueberry flowers.

Broccoli. It's hard to wait for this; fresh broccoli tastes so much better than from the store.

Broccoli. It's hard to wait for this; fresh broccoli tastes so much better than from the store.

Swiss Chard.

Swiss Chard.

Kale.

Kale.

A beautiful head of lettuce.

A beautiful head of lettuce.

Not sure what this is - some sort of variety of braising green - sure is pretty.

Not sure what this is - some sort of variety of braising green - sure is pretty.

Shelling peas.

Shelling peas.

Salad Turnips.

Salad Turnips.

Beets.

Beets.

Fingerling Potatoes.

Fingerling Potatoes.

volunteer Cilantro.

volunteer Cilantro.

Carrots.

Carrots.

We are busy again this week, as Adam has his "Odyssey of the Mind" competition next Saturday, so once again the garden, and outdoor projects in general, will have to take a back seat. Which turns out to be ok, because the next project is filling the new raised beds with dirt, and planting some perennial veg, a fruit tree or two, and some herbs, and all of that is expensive. I don't often talk about the money side of things, but we have to carefully budget for our outdoor projects. February's earmarked funds have been spent. So we'd have to wait until March for this next step, anyway. 

I imagine that all my mid-west and east-coast readers are contemplating starting their seeds indoors, about now. Here's hoping some of our sunshine comes your way! (and how often I've wished some of your rain and snow could come ours...)

Weekend projects - raised beds, planter boxes, and bacon

Guest post by Tom today.

This long President's Day weekend, I worked on a few different projects around the house. It's nice to take a break from working at a desk, and it's nice to work on some projects that you can look at afterwards and say "I did that".

First off, there's the new raised beds that Elizabeth has mentioned. Last fall we'd covered the last of the grass in our yard, and so this weekend was a good weekend to get the raised beds built. The space we had to fill was a little oddly-shaped, and we wanted to break out of the square and rectangular mold with these beds, so there's a large center diamond and four smaller triangular beds.

new_beds.jpg

The redness of the new redwood will fade to match the other raised beds in the background, and of course we still have to get a bunch of dirt and fill them in (and run some drip lines to them). Elizabeth's still finalizing what will go in here – some perennial vegetables, a citrus tree? It'll get some shade during the summer, so that's something to consider.

The next project was to work on some planter boxes for the back patio. I built four in total, taking inspiration from a simple planter box design I saw online. These planter boxes will form the basis for our backyard hopyard. I sketched up plans for a big ol' arbor, but then started doing math on how much the lumber would set us back, and decided that the planter boxes would be this year's construction, and that we'll go with a more economical trellising system using 3/4" electrical conduit.

I was fortunate to be able to go over to Elizabeth's dad's shop and take my big pieces of lumber and break them down into many small pieces of lumber. Here's how the boxes came together:

Side panels were made with 4 two-foot sections of 1x6, with a 1x4 crosspiece top and bottom.

Legs that were slightly larger than the side panels were attached, along with a horizontal cleat, using 2x2's. (Note: in the final version, I moved the cleat to be 12" below the top of the side panels).

After combining the four side panels, I put 1x2 slats evenly spaced across the cleats:

I then stapled in a double-thickness of landscape fabric across the bottom, to keep the dirt in but let excess water through.

The final boxes are substantial – they probably come in at around 30-40 pounds, and that's without any dirt. Some of that is the water content in this very new redwood I'm working with, but I'm hopeful that this will be a solid base upon with to attach our vertical supports for the hopyard.

The final project of the weekend was bacon! It's been almost a year since I took that salumi-making class with Angelo Garro, and I haven't gotten the wherewithal to actually follow up that lesson with any salumi-making of my own (mostly because I've prioritized other things over making a temperature- and humidity-controlled environment for aging salumi and cheeses).

Anyhow, a couple of weeks ago I got my hands on a copy of Charcuterie, by Michael Ruhlman and Brian Polcyn, which talks about how to make all kinds of meat products, from duck confit to salumi and sausages to patés and terrines to – yes – bacon! Of all of these, bacon seemed to be one of the more straightforward things to attempt – it cures at regular refrigerator temperatures, and while it'd be nice if I owned a smoker so that I could make hickory-smoked bacon, it's not strictly necessary. There's only one speciality ingredient, "pink" salt, which is salt mixed with sodium nitrite. Pink salt is used to stave off the bacteria that causes botulism, and is readily available online. (Note: don't confuse the curing-meat pink salt with that fancy himalayan pink salt).

I worked with the basic cure mentioned in the book, which is just sugar, salt, and a teaspoon of the pink salt:

I squared up the edges of the pork belly that I got, slathered over the cure, and put it in a big (2 gallon) ziplock bag:

Mmm...

Mmm...

It now gets to sit in the fridge for seven days, with me flipping it daily. After seven days, I wash off the cure, and then heat up the pork belly in a 200ºF oven until it reaches an internal temperature of 150ºF (this would nominally be the step where I'd smoke it, if I had a smoker). Cool it off, slice it up, fry it up, yum. If this works out, we could have some very nice BLT's in the summer.

Well, I think that's about enough for one weekend. Time to enjoy the product of a previous weekend's work:

A really nice homebrew IPA. I'm thinking of calling it Hoppy Corners.

A really nice homebrew IPA. I'm thinking of calling it Hoppy Corners.


Honey, Beeswax, a Bird House, and an Olive Correction

Here it is.

Six half-pints (plus another quarter pint in the cupboard now) of lovely, golden honey. The best part is, we didn't expect it. And we're totally out of honey, so it couldn't have come at a better time.

Tom asked that we save the beeswax and render it, so I did some research on that. I finally found a method on a blog called Montana Homesteader  that sounded doable. 

First, I gathered the leftover wax into a cheesecloth package, securing it at the top with a rubber band.

Then, I plopped this whole parcel into a large pot of water which had been heating on medium-low for a while.

I probably let this go for about an hour, just on that low heat, while the wax melted out into the water, and the cheesecloth held on to the bits of bees and other gunk that was stuck in the wax. Then, when I thought it was close to done, I used tongs to smush the cheesecloth together and squeeze out all the melted wax. I threw that cheesecloth away. Then, you just have to let the pot sit and cool. The wax rises to the top and forms a disc floating on the water.

When it was totally cool, I ran an offset spatula around the edge of the pan, scooped out the disc (breaking it, darn) and put that on several thicknesses of paper towel. I then scooped out any random bits and pieces of wax and added them to the paper towel.

It's pretty, isn't it? Maybe we'll melt this down further and make it in to a candle or something, but I have to say the clean up from rendering wax makes me never want to do it again. Beeswax melts easily, so I just warmed up the utensils I was using over a hot burner flame (gas) and then wiped off the melted wax with paper towels. The pot was warmed over the burner and then wiped out with many, many paper towels, then given a coat of coconut oil and wiped again for good measure. This uses a lot of paper towels that can't be put in the compost, but on one beekeeping forum a guy said he uses these for lighting his smoker. This is a good idea, but I don't use the smoker very long, as I only have one hive to check, and I don't like the idea of melted wax all over it. So I just threw the paper towels away, guiltily.

If one was going to make a habit of rendering beeswax and melting it, one might consider getting a dedicated set of tools. Ahem.

I forgot to show you a picture of the new birdhouse we got, a gift from my parents who visit Williamsburg every year. This is an authentic Williamsburg-era birdhouse. Tom installed it behind a cover of ceanothus, as we find the birds are more likely to use houses we give them if they are behind cover.

One more thing I wanted to share with you today: I tasted the olives in that extremely salty brine I made, and holy shrunken tastebuds, it's waaaaay too salty. So I drained all the olives, rinsed them thoroughly, washed the containers, and made a new brine using a recipe I found on the UC extension preserving website. It involved a little salt, some red wine vinegar, and water. I re-packed the olives in this brine, again with herbs and garlic, and with a thin layer of olive oil on top. These will keep for a year at 60-80 degrees.