Spring Break is here!

This week is spring break for all four of us. It's a gift of time: Time to actually accomplish the projects on the list, maybe take a nap, perhaps rent a boat on a reservoir? The possibilities are endless. However, the projects will likely get first priority, as having a considerable amount of time to complete them is just too tempting. Also, did I mention how busy it is in the garden, in spring? And with temperatures in the mid-80's over the past weekend, we got a head start on the list. We wished the neighborhood pool was open, after some sweaty working days.

a local hiking trail
Due to the warm temps, we keep a window open in our bedroom at night, and often in the wee hours around 3 am, I've been woken by coyotes up in the open space near our house. They howl and yip, and make quite a racket. I did some research and it looks as though this behavior is very common among coyote family members, especially at night. In fact, the coyote's Latin name, Canis latrans, literally means 'barking dog.' At this time of year in California, females are probably pregnant, having mated in February, and are expecting babies in April. There's still water in the hills in vernal pools, but I'm not sure how long that will last, and when the water runs out, the coyotes venture down in to our neighborhoods. They are generally not aggressive and can be quite shy, but I wouldn't be surprised to find out that they visit our backyard water fountain during summer nights. Which is why our animals are shut up tight after 8 o'clock every evening.

In the garden, there's still lots of greens to eat.

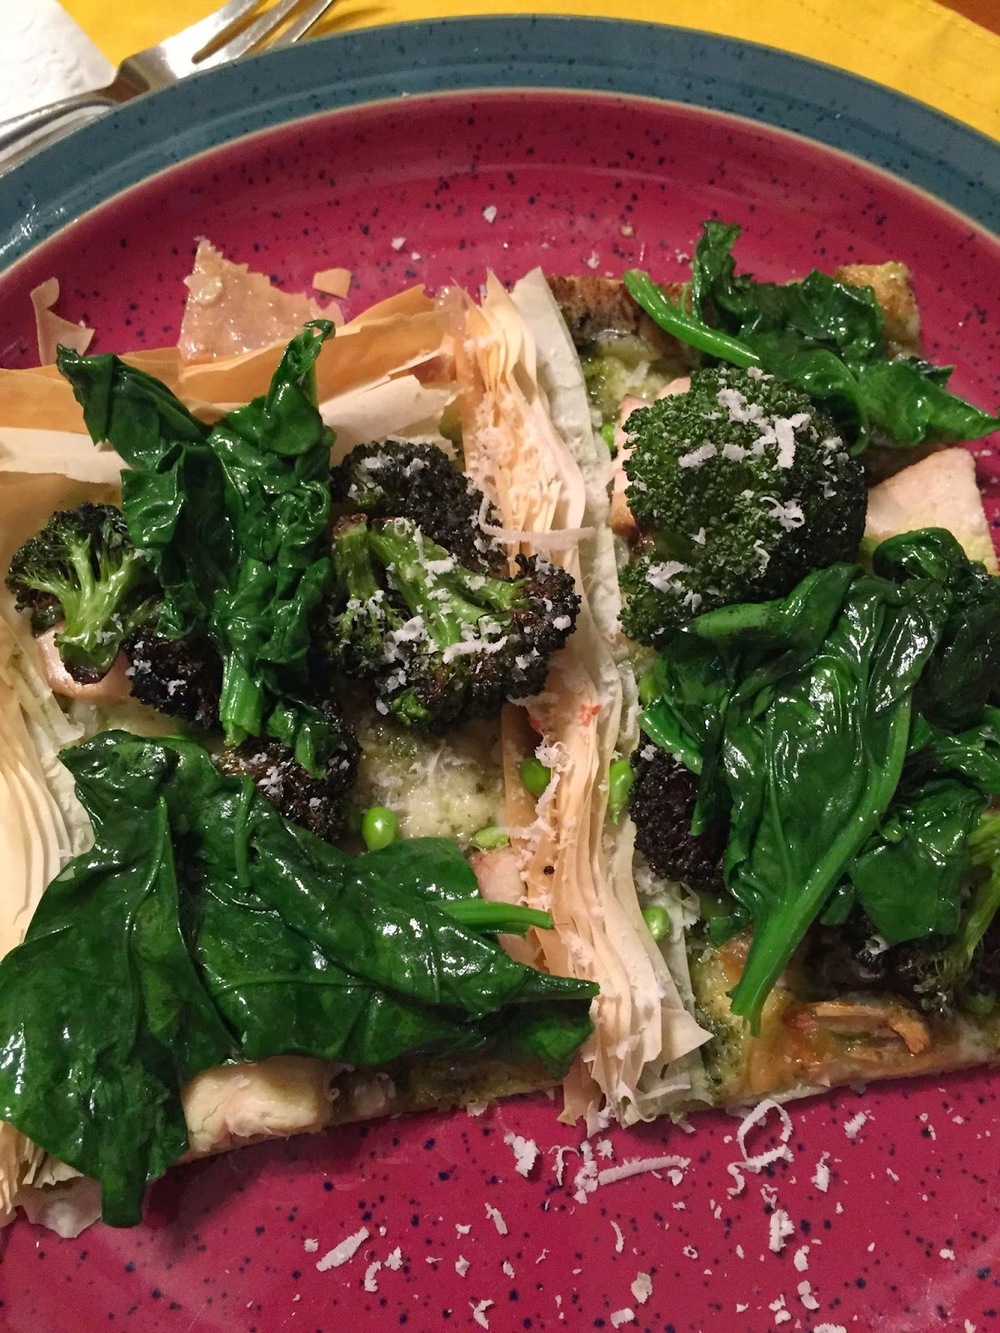
Pesto Chicken tart with spinach, broccoli, and peas from the garden

The kale and spinach are still producing, but the chard is starting to look a little tired, and the romaine is looking like it's going to bolt any minute. The broccoli seems to be finished, and the beets are no longer growing. Peas are being harvested daily. The garlic is starting to get a little brown in the foliage, which means it might be time to stop watering it and then harvest. I didn't expect the garlic to be ready until June, but with this hot weather, it could be ready much earlier. The strawberry wall has tiny berries and I can't wait to taste the first one. The blueberry bushes have tiny berries, too.

garlic

kale

spinach

strawberry wall

peas, and a little friend

And, we have an artichoke coming up in the garden!

My only question is: who gets to eat it???

We eat from the garden constantly; I add greens to almost every dish I make. Tonight I was making a pasta bake, and I realized I was out of ricotta. So Tom whipped up a batch in thirty minutes. That was fun!


Preparations for Easter have commenced. I had so much fun dying Easter eggs naturally last year that I wanted to do it again this year. This project takes most of a day, but the result is so pretty, it's worth it. I used turmeric, red cabbage, red onion skin, yellow onion skin, and beets this time. Put your veg or spice individually in pots with a cup or two of water, bring to a boil, then simmer for 30 minutes, covered. Strain, add a tablespoon of white vinegar, and pour over hard boiled eggs. Then store in fridge for four hours. Drain and let dry.

I used white and brown eggs this year, and I have to say I like the effect on white better.

The darker ones are brown eggs, lighter = white eggs

Blue is white egg with red cabbage, bright yellow is turmeric, orange is yellow onion skin,
green is brown egg with red cabbage, red is beet, red onion skin made the brownish colors

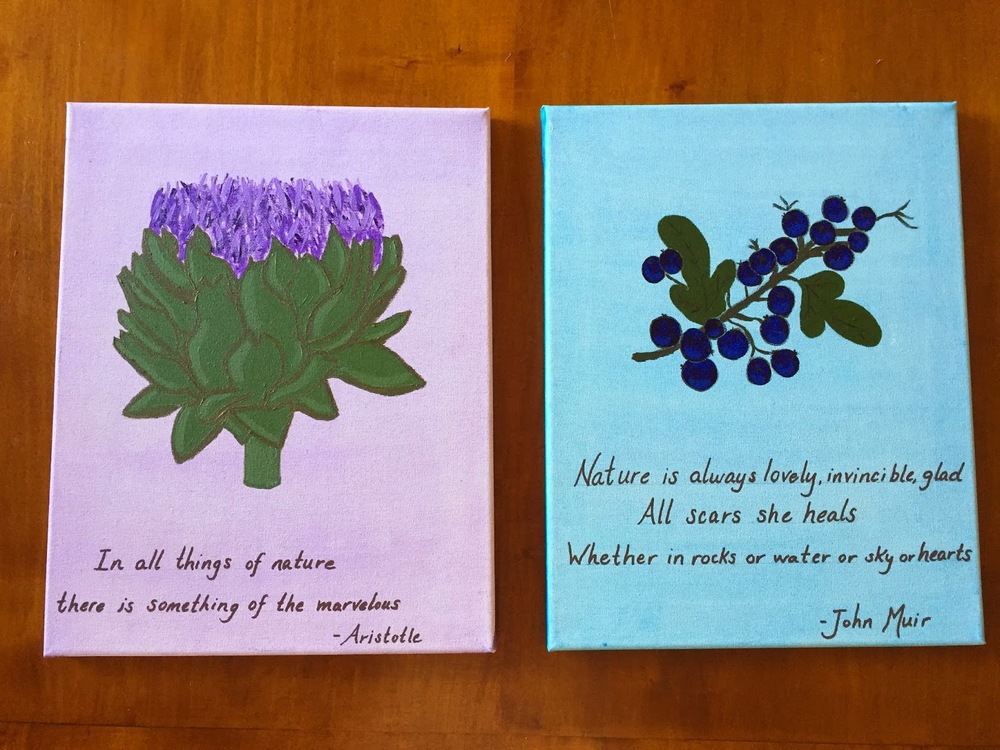
I also spent some time over the weekend making a couple of new paintings for a blank wall. I knew I wanted to paint something from the garden, and add quotes about nature that are meaningful to me. Next time, I'd like to try a mixed media thing, with the quotes made from 'found' letters or torn out of magazines, some sort of decoupage sort of thing, though I've never tried that. Maybe that will be a summer experiment.

Artichoke and Blueberries

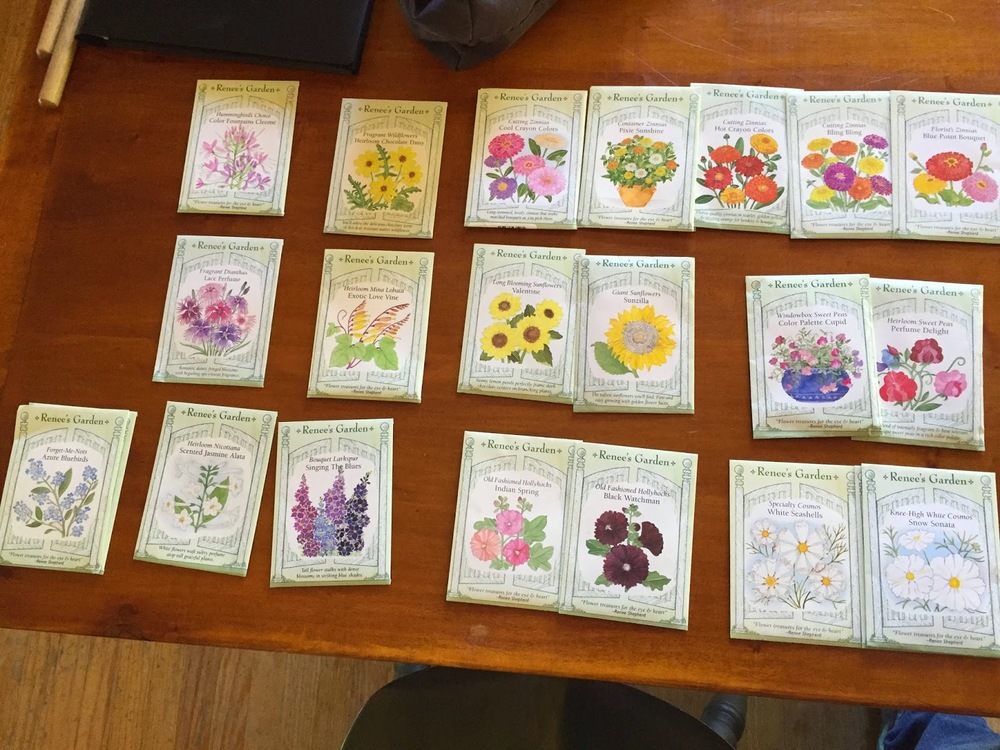
Do you know about the website Nextdoor? I've enjoyed being a member. Last Friday, a neighbor posted that his mother was a Master Gardener, and he had many hundreds of seed packets to give away. I responded immediately and met him later that afternoon. I scored about $100 worth of seed packets! It was like Christmas. Not only that, they were from Renee's Garden, my favorite seed house! I'm not sure how old the seeds are, or if they are even viable, but I'm willing to give them a shot. I planted a lot of the flower seeds over the weekend. I have saved the zinnia and cosmos and will plant them in a couple of months.

Flower seeds

Veg seeds

I'll store the winter veg seeds in the fridge until fall, as well.

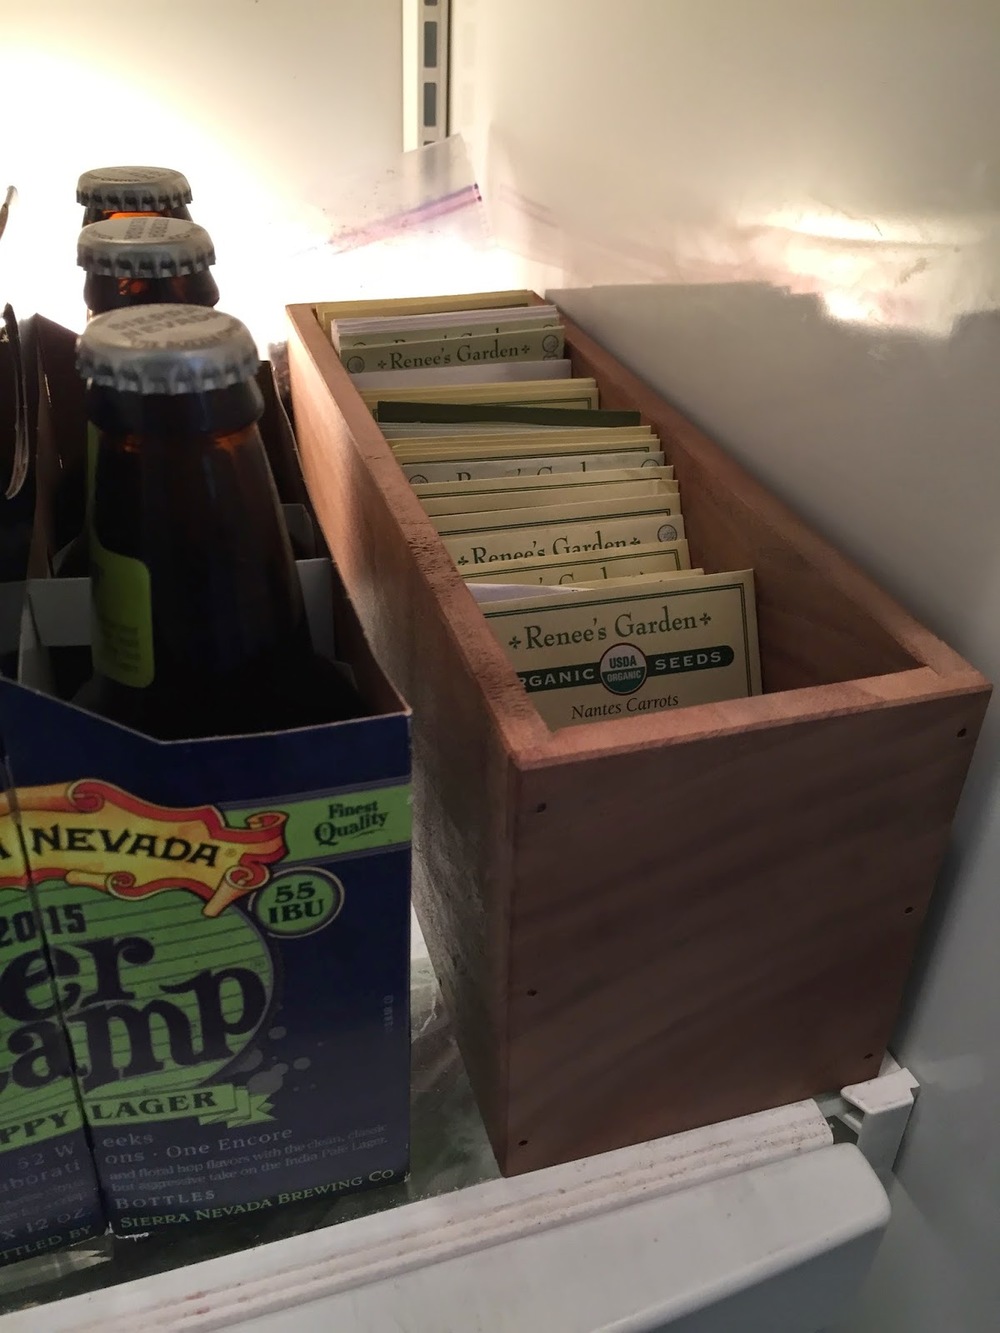
Speaking of storing seeds, I realized that my haphazard method wasn't working. I asked Dad to build me a seed caddy, and he built one for me (that same day) out of California Claro Walnut, a special kind of wood.


It fits perfectly in the fridge!

I know I've said it before, but it sure is great to have a woodworker in the family.

We cleaned out the garage, moved some lumber, and I took some stuff out of storage. The tomato, cucumber, and pepper cages are ready for use next weekend, after I attend the Master Gardener sale. We'll need to make a few more.


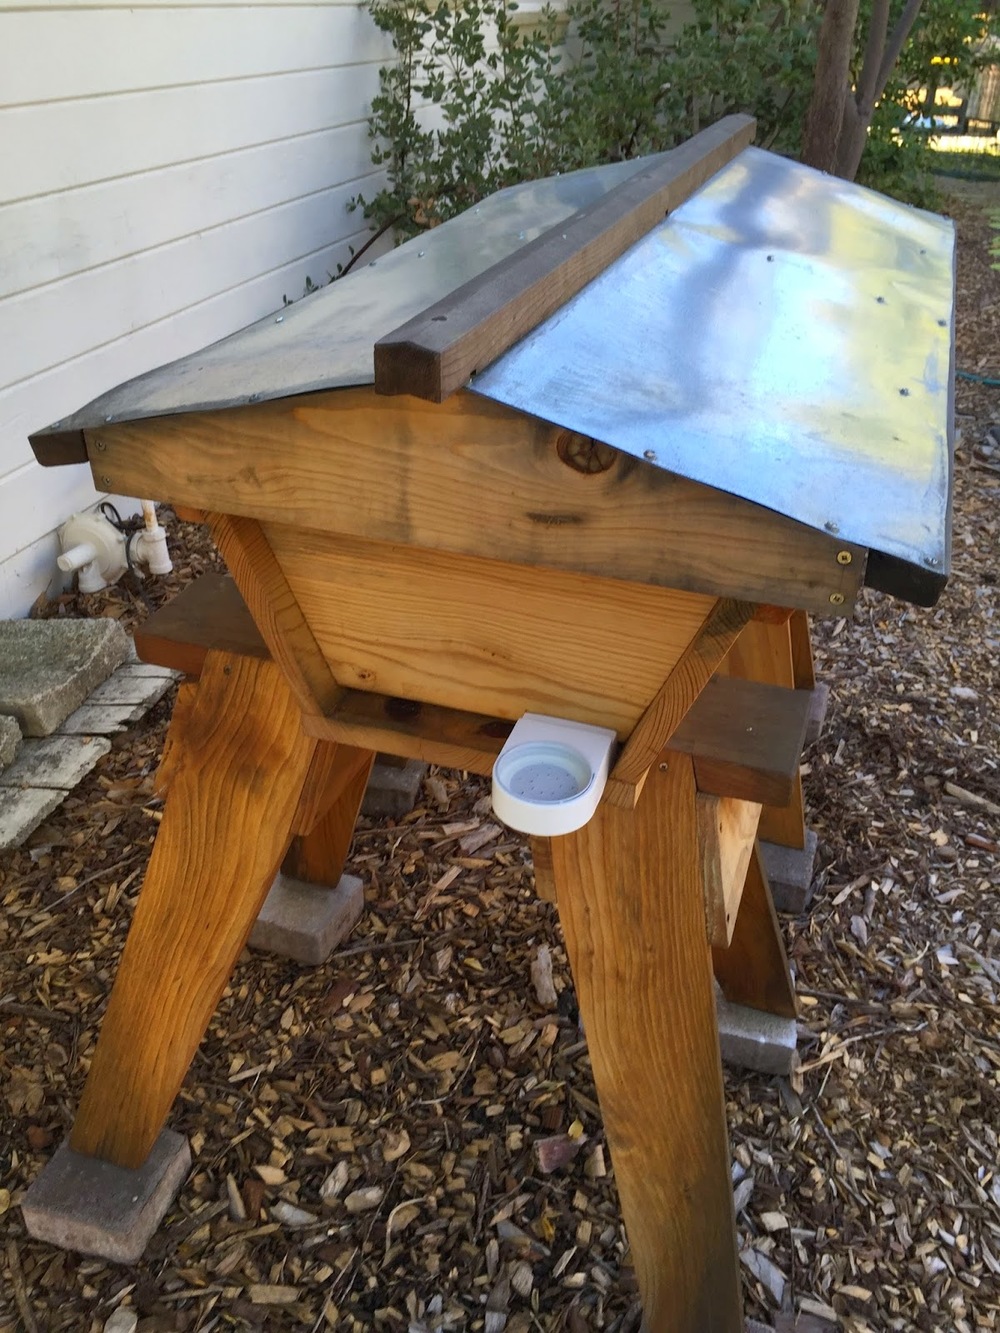
I also got the bee hive ready, as the bees will be here in less than two weeks. I took the bars out of storage and put them in the hive, and made simple syrup for the bees to eat as they are building comb and starting to collect nectar. It takes a lot of energy to build comb, and I want to make sure the bees have the calories to do that. Honeybees like a 1:1 ratio in simple syrup (hummingbirds like 1:4, a less sweet concoction). 

Bars are in and tools are ready

the bee feeder is ready, just needs a mason jar full of syrup

pretty yellow simple syrup, which will be stored in the fridge until the bees arrive

Flowers continue to pop up in the spring sunshine and heat.

Harlequin flower

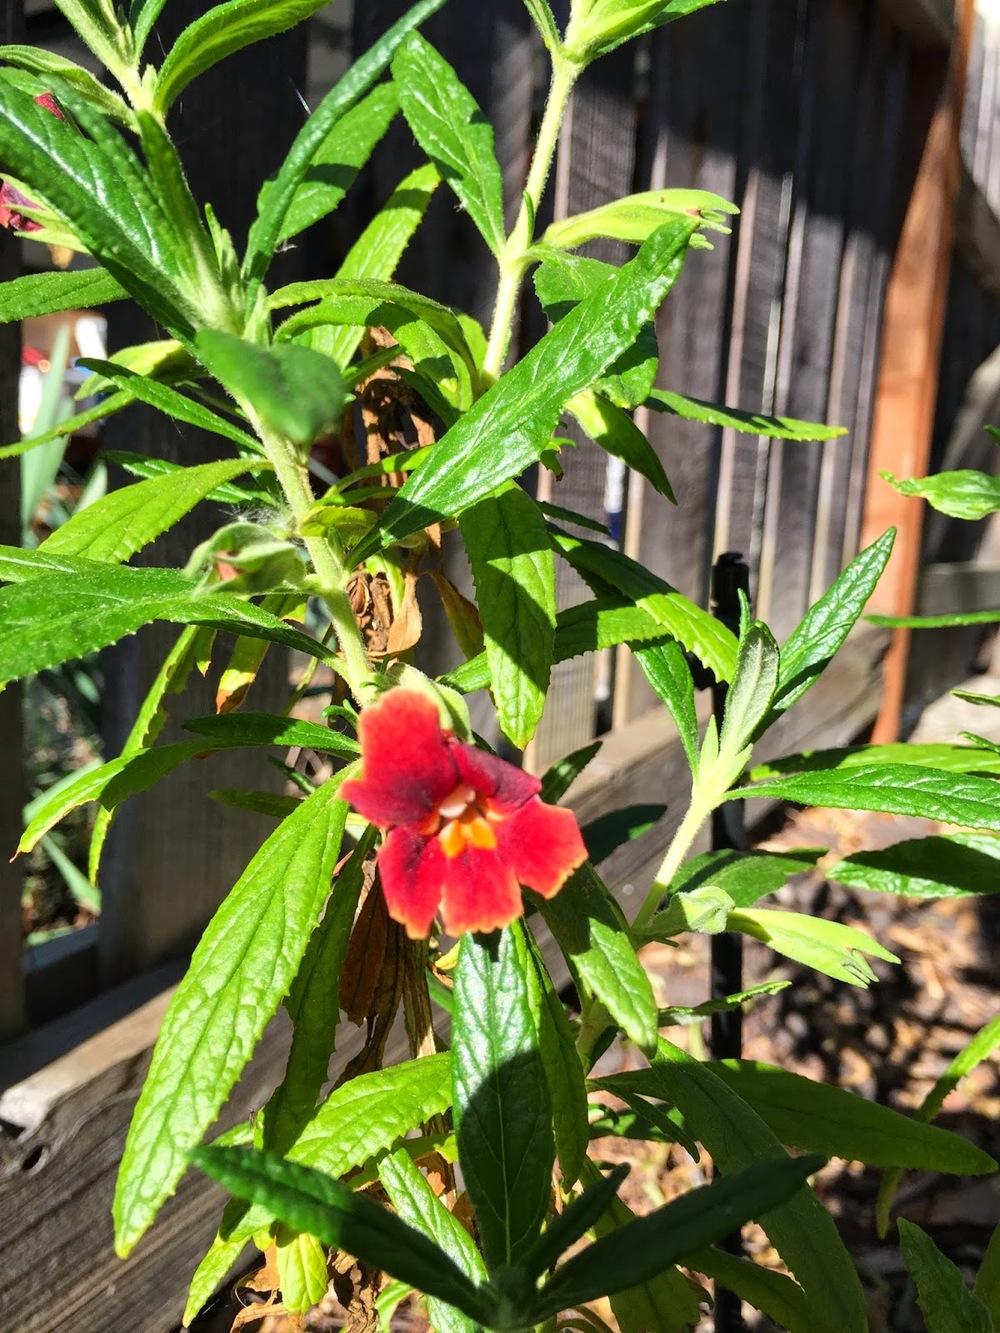
Monkey flower

geraniums

another geranium

Plans for this week include: Building the raised beds in the North Garden, ordering and hauling dirt to fill them, buying and planting all tomatoes and peppers, and starting nearly all the summer vegetable seeds. I'll be taking winter veg out of the South Garden and replacing with summer crops. Early April is planting time. I guess Spring 'break' means something other than a break, at least in the garden.

Drip System Conversion

Another guest how-to post from Tom...

When we first bought the house in 2004, we had a number of large-scale renovations done – central heat and air, new kitchen appliances, a fence around the property (at the time, to keep the kids in), and a sprinkler system. I'd had some experience installing sprinkler systems myself, having created the system for our back yard in the old house, but this was a major renovation for us, so we contracted it out. They installed a pretty typical system – sprays for the lawn areas, mostly sprays covering the fence border areas as well.

As we've worked to convert lawn into growing area, the old spray system became less and less appropriate. It threw a lot of water into the air, and did a pretty good job of spraying the driveway and the sidewalk. We did a little bit of renovation of the spray system to support the beds in the south garden, but a spray system was still very inefficient, watering the mulched areas between the beds as much as the beds themselves. Now that we're converting more lawn to growing area, and entering the "new normal" of California drought, it was time for a change. So, for the past month worth of weekends, I've been working on converting our existing spray system into a drip system. While it's fundamentally a pretty straightforward process, there are definitely some lessons learned.

A basic converted sprinkler head to drip line looks something like this:


Our old sprinkler heads were attached to 1/2" PVC risers, so we had to remove the sprinkler head, possibly add a higher riser, attach a pressure regulator, then a 1/2" PVC to 1/2" poly coupling, and then a length of 1/2" poly hose to act as a water main (secured with a hose clamp). The individual drip system components would then get hooked to this 1/2" poly hose main.

Before actually doing any work, my first step was to walk around the whole house, mapping out where the spray heads come up, thinking about where I'd like the 1/2" poly main lines, and thinking about the kind of drip emitters that would be appropriate to use for the different areas of the garden. Finding all of the existing spray heads was sometimes challenging – I had to turn on the existing sprinklers occasionally to see where they were, and to re-learn exactly which sprinkler system valves controlled which sprinkler heads.

Next, I had to cap off the vast majority of the sprinkler heads. Our old lawn sprinklers were installed around the perimeter of the lawn, about every 6-8 feet, and nearly all of them had to be capped. This meant excavating the old sprinkler head, installing a cap over the end of the PVC riser, and burying it again. I consider myself fortunate that we do not live in an area where the ground freezes, or I would have had to excavate all of the pipe, too. All in all, I probably capped about 40-50 sprinkler heads.

Pop-up sprinkler on left, cap on right
Installing the pressure regulator, PVC to poly coupling, and poly hose wasn't too hard. Based on some advice I got from one of the innumerable YouTube videos I watched about this, I used a little WD-40 on the end of the coupling to help get the poly hose onto it. I had to make sure to apply pressure in both directions (holding the coupling on the riser, opposing the force of the poly hose), so that I didn't snap the pressure regulator.

The ends of the 1/2" poly hose mains are secured with these easy little clamps – you just bend the end of the hose onto it. For drip emitters, I used different things in different areas:

The woodland garden, the pollinator garden, and a few other areas have some sprays installed on some risers.


The raised beds are getting some drip-a-long hose – 1/4" poly hose that has inline drip emitters installed every 12 inches. I also used this in some narrow areas along the fence.

It's important to use tie-downs to keep the hose on the ground
In other fence areas, a couple of strawberry patches, and a few other spots have 360º or 180º little microsprays.


Finally, I've got 1 gph (gallon per hour) emitters installed directly into the 1/2" poly hose running to individual plants, like the blueberry bushes and raspberry canes.


Elizabeth posted recently about learning and mistakes, and there are definitely some lessons learned from this experience. Here are some:

Pressure regulation is important. The pressure regulators are among the most expensive parts of this operation (about $7/pop), but they're vitally important. Without lowering the pressure in the system to about 30psi, you're just asking for those 1/4" hoses to come loose and your drip system to turn into a small fountain system. It's also important for the drip-a-long hose – without pressure regulation, the water comes jetting out of the emitters, instead of dripping out.

The right tool for the job. There are a couple of tools that will make this job easier. One is a PVC pipe cutter. Mine looks something like this:


In addition to working on PVC pipe, it works wonders on the 1/2" poly hose, making quick clean cuts.

The other little tool I got is used to punch emitters and 1/4" hose couplers in the 1/2" poly hose. I initially bought a cheaper punch, but it's nice to have a tool that you can put the emitter in directly, and so it just punches the hole and installs the emitter in one step.


Shopping. I like supporting our local hardware store, but for this project, I found I needed to visit that big orange home improvement store. Their selection of products was vastly superior (our local store just didn't stock things like the pressure regulators), and they had quantities that I needed.

You don't have to be perfect. When setting up the system, you'll be tempted to obsess over getting the various emitters to drip directly on the roots of your plants, but you don't have to be that obsessive – the water will get into the soil and spread out.

All in all, it probably cost us around $400 and four(ish) weekends to get this project done, but it's very satisfying. We've got the drip running in the mornings, and it's great to see water going directly to where it's needed, and not just all over the place. I'm especially looking forward to its use in the raised beds, where the drip-a-long hose gets the water right down into the soil, instead of spraying on top of the leaves and hoping the water gets down where it's needed.

Fair Food

If you came to this post hoping to read about the kind of food that is deep-fried and sold at County Fairs throughout the summer, I'm afraid you'll be disappointed. The kind of Fair Food that I want to discuss is the kind obtained from farmworkers who are paid a living wage for their hard work.

I just finished watching "Food Chains," a movie about this issue. I saw it on Netflix, but you can watch it if you click the link, for .99 cents. It's worth seeing.

I guess if you had asked me, before I watched the film, what I thought about the plight of US farmworkers, I would have said something like, "I know those people work hard, for very little money." That was the extent of my understanding. I read a book a few years ago called American Way of Eating by Tracie McMillan, and at the time was pretty impacted by her experience of what it's like to work in the fields and in the stockrooms of large box stores. But I really hadn't thought much more about it. The reading I've been doing lately has been more about urban farms, and young folks choosing a farming life in areas that are food deserts. Honorable work, to be sure, but small farms don't supply huge conglomerates like Safeway.

After watching the film, I'm simply horrified. I cannot believe that people who work 12 hours a day, doing the hardest of jobs, get paid yearly about what I get paid for working 15-20 hours a week (and I get my summers off). How can you pay rent? How can you feed a family? How can you pay for healthcare? How can you have any pleasure in your life at all? Imagine picking strawberries every day, all day, for 12 hours, and taking home $40. Think of your back. Think of your weariness. Think about having to pay someone to watch your children during that time. Think about what you'd make for dinner on that income. Think about having to live in a tent by the side of a river, or in a trailer home with 3 other families, over an hour's commute from your work. Think about leaving before dawn and coming home far after sunset. Would you have energy to play with your kids? Help them with homework? Cook a meal? Get creative with three cheap ingredients? Talk with your mate?

Listen, I get tired picking peas for 15 minutes.

Something has to change. We've relied on migrant farmworkers in this country for far too long, starting with slavery, moving up through the influx of immigrants from Asia, through the dustbowl immigrants, into our situation now. I've contacted some people about how I can get involved and help, but at the moment, all I know how to do is vote with my dollar. Whole Foods and Trader Joe's have signed the Fair Food agreement (you can read about that here), but Safeway has not. Target has not. Kroger and Publix have not. (Wal-mart actually has - they signed the agreement in 2014.) The Fair Food agreement basically says that the buyers (not the farmers) will supply a penny more per pound of food picked - that penny goes right to the workers, basically doubling their income. It also supports the rights of workers to be treated decently, avoid sexual harassment and not get coerced into slavery. Yes, there have been incidents of actual agricultural slavery.

After watching this film, I'm glad I grow most of our own produce here at home. I'm glad that farmer's markets are becoming more prevalent, so that folks can meet the farmers who grow their food. I'm glad I have a choice where I shop. Unfortunately I shop at Safeway for non-food supplies, as well as some things like Nutella. I've never set foot in a Wal-mart, but I might start, just to buy those supplies that I can't get at Whole Foods, therefore cutting Safeway out of the equation entirely. I want the people who grow and harvest our food to have a dignified life, and I'm willing to put my money towards organizations who feel the same way. How about you?

Project FAIL

We make plenty of mistakes here on our hobby farm, and I think it's important to share them. Sometimes plants don't grow,  the deer get the choicest fruit, or bee colonies die. Things go wrong. In the now-immortal words of Taylor Swift (yes, I have a 'tween girl), I try to shake it off and move on, and learn from the experience (sometimes that's hard). One of the first things you realize when you start a garden - you can do everything right and still fail. And it's ok! The important thing is to keep trying, and rejoice over the successes (which by the way, far outnumber the failures, thank goodness). And sometimes, you set yourself up for failure without even realizing it.

For instance, this past weekend, I told Tom I needed a simple box made out of scrap wood. He started the project at the end of the day Sunday when he was bone-tired from working on the drip system. He tried to  knock something together. A little piece was wonky, so he tried to correct it; then another piece looked weird, and he tried to correct that, and before he knew it, the whole thing snowballed and he ended up winging it across the yard in anger. Lesson learned? Plan your project, don't just try to throw something together.

Now that I've had time to think about it, and watch the chickens more closely, I realize that they are doing just fine for their dust baths (a necessary activity for chickens, as it helps keep them clean and mite-free) by scratching down in the run and finding a nice patch of sawdust. No special box needed. I wish I had thought more about it before I requested Tom make one, as I could have saved him a great deal of frustration.

You can't see it, but there are deep holes in the litter where the chickens bathe

My own fail came when I made suet cakes for the wild birds. I've noticed the birds don't like the store-bought cakes; they really prefer the homemade ones, no surprise there! I made suet cakes this past Christmas with beef fat, and the birds went wild; I swore to always keep a supply on hand. This weekend I used the pork fat that Tom brought home from his sausage-making class. I rendered it in a huge pot, added peanut butter and birdseed just like last time, poured it into a dish and let it harden in the fridge. I added a slice to the suet feeder and waited for the birds to go crazy for it. Nothing. Not one bird visited. Then this happened:

Yuck

In our recent warm weather, the suet melted and dripped out of the feeder, and the whole thing fell apart. Every day our delighted dog goes out and licks up whatever he finds on the ground. I didn't realize that my homemade lard, without stabilizers, would drip away in the heat. I've wrapped up the remaining cakes and put them in the freezer, to wait for winter. Frankly, the birds have enough to eat right now without my help, as they showed me when they didn't even visit the feeder. Lesson learned? It's time to clean and store the bird feeders for the summer, as they can take care of themselves right now!

I tell this to my kids all the time, but it bears reminding ourselves as well: It's good to make mistakes. We learn better when we mess up. Success is wonderful, but it doesn't always provide the best lesson. Let's give ourselves permission to try, and keep trying!

Oh, and sorry for the Taylor Swift earworm. You'll be singing that all day. Another mistake. :)

The hills (and the gardens) are alive!

I just can't believe how much things have changed in the past week. We had a short but delicious rain late Sunday night/Monday morning, and since then temperatures have been heating up (supposed to be in the mid-80's this weekend) and life is bursting everywhere! Every time I go in to the garden, Western Fence Lizards scurry, native bees buzz all around, and butterflies and Crane flies whirl in the air, mating. New flowers appear every day. In the hills, the fiddlenecks have given way to vetch and native clovers.


In the garden, I can't keep up. New flowers are open every time I go outside.

cow parsnip
our apple tree
clematis
Douglas iris
forget-me-not
coral bells (or alum root, or Huechera)
ixia
mallow, about to unfurl
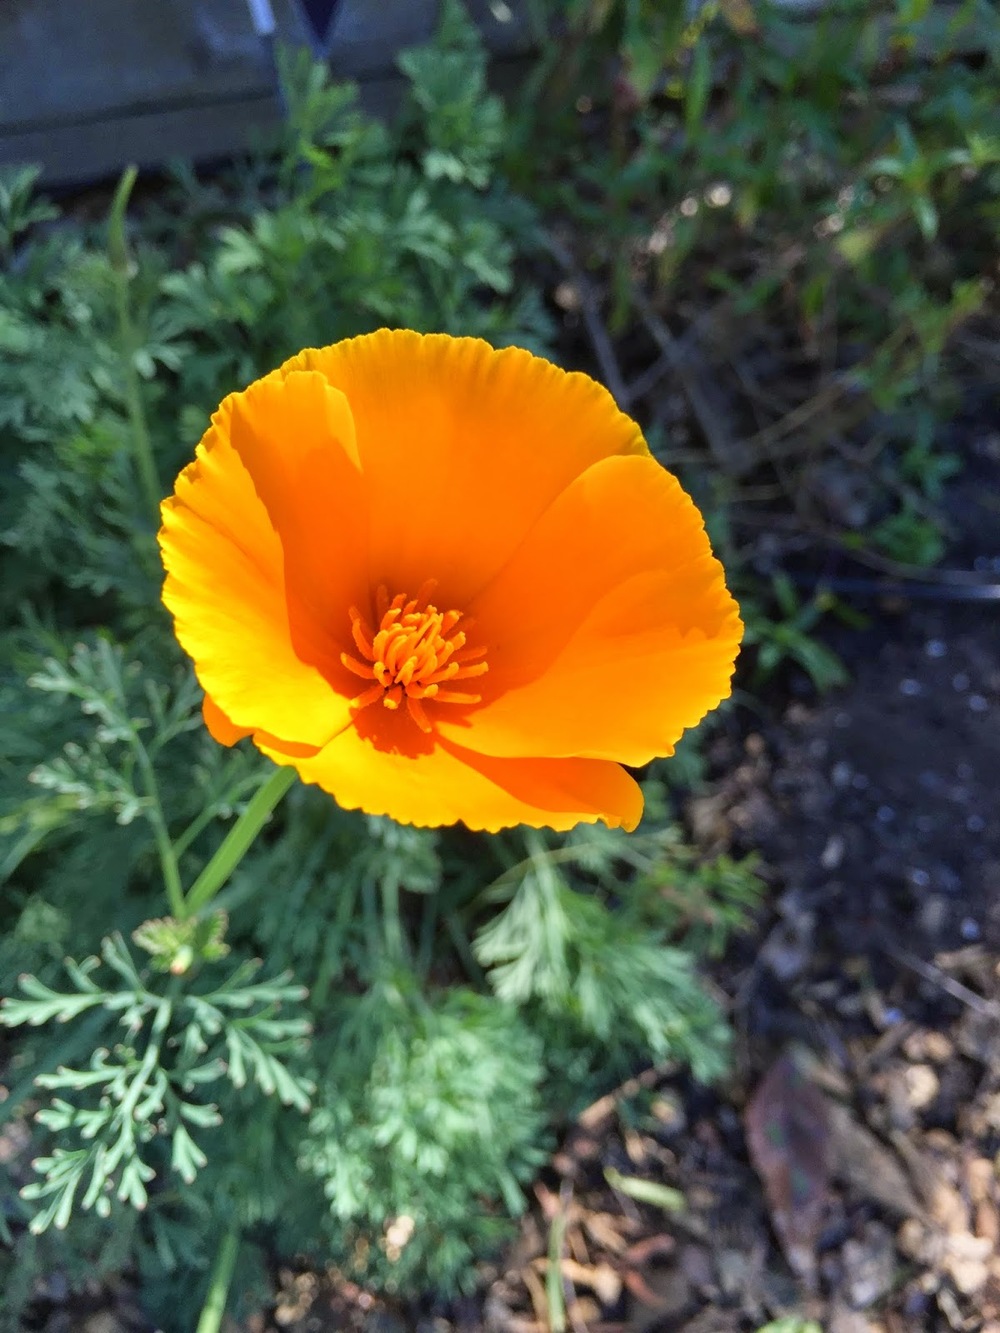
our namesake and the State flower, a California poppy
golden currant (Ribes aureum gracillimum)
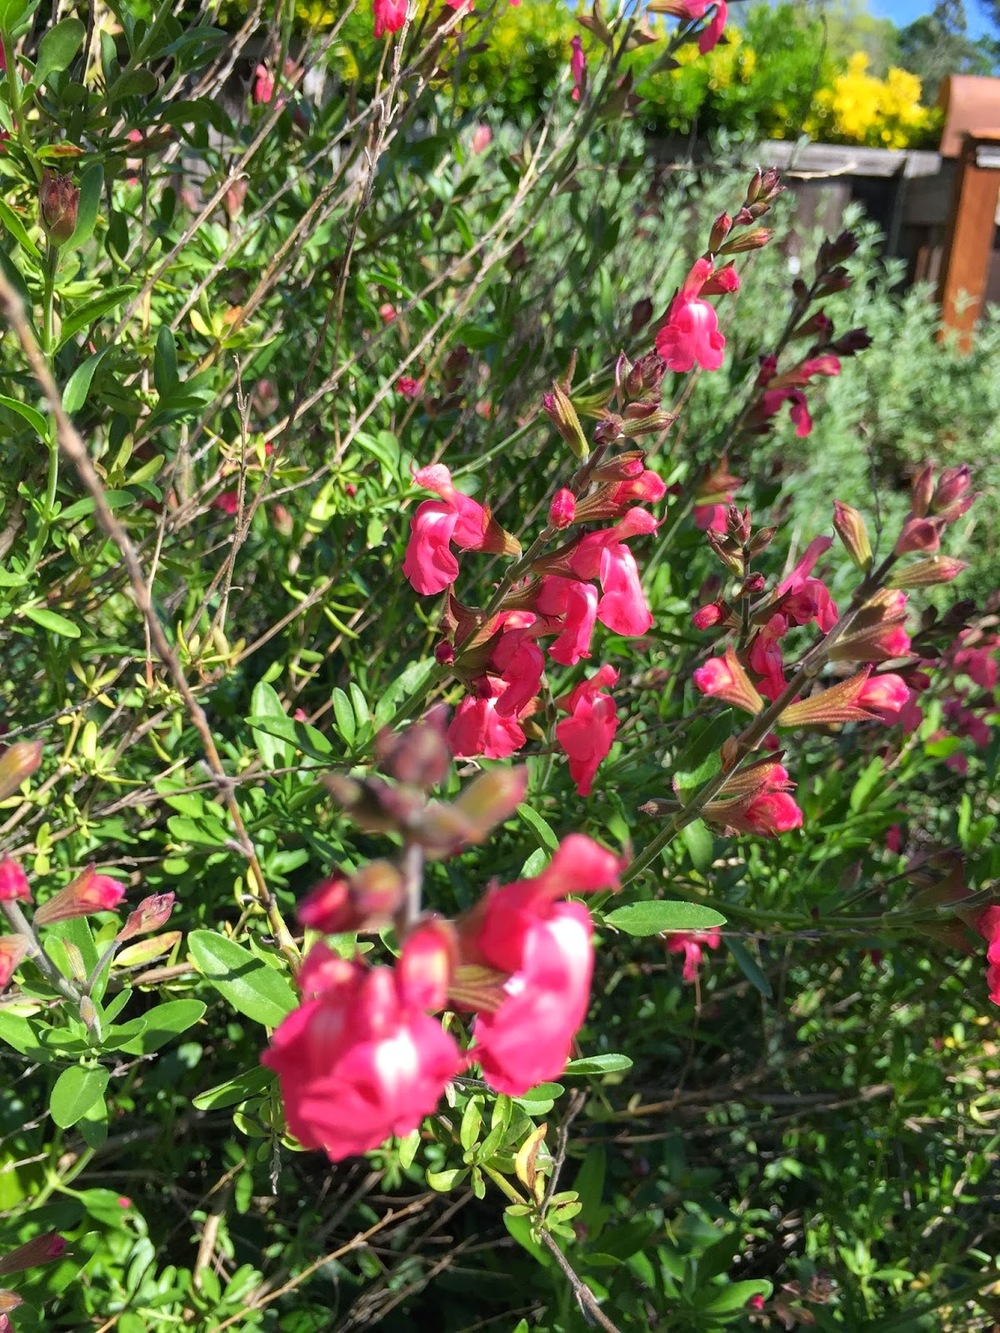
salvia
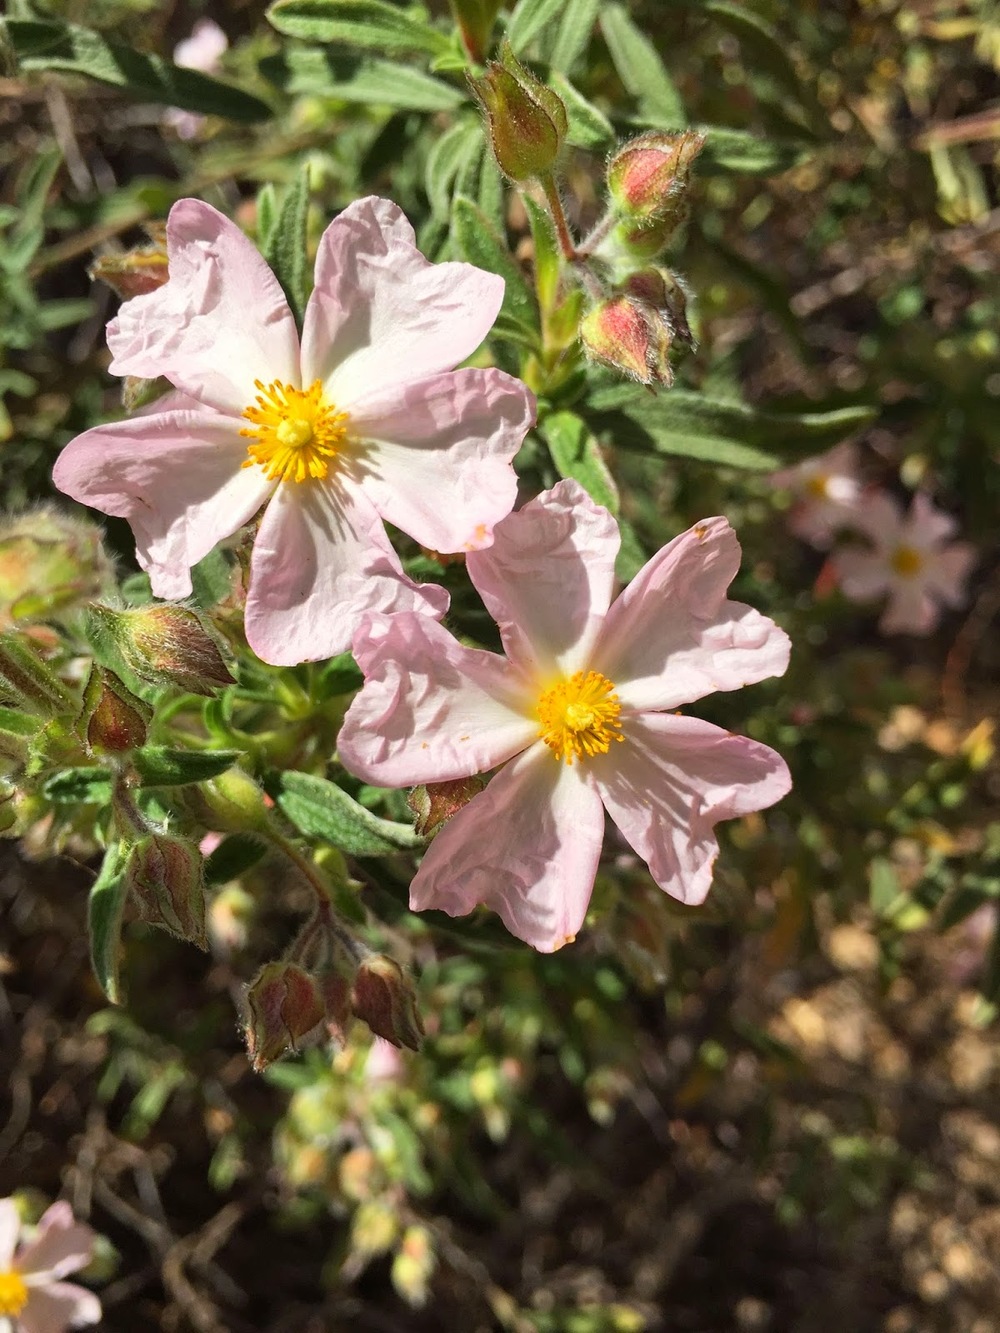
sunrose


All this life makes me happy, but I do very much miss my honeybees. I'm so sorry they didn't make it through the winter to see these riches appear in spring. I wish they had lived! The garden just seems very quiet without honeybees. I do see one once in a while; I know a beekeeper about a half mile away, so I'm surprised I don't see more. Honeybees add life to the garden. My new colony will get some of the goods, but a lot of this will be gone in two weeks when they arrive. Oh well, different stuff will be blooming then.

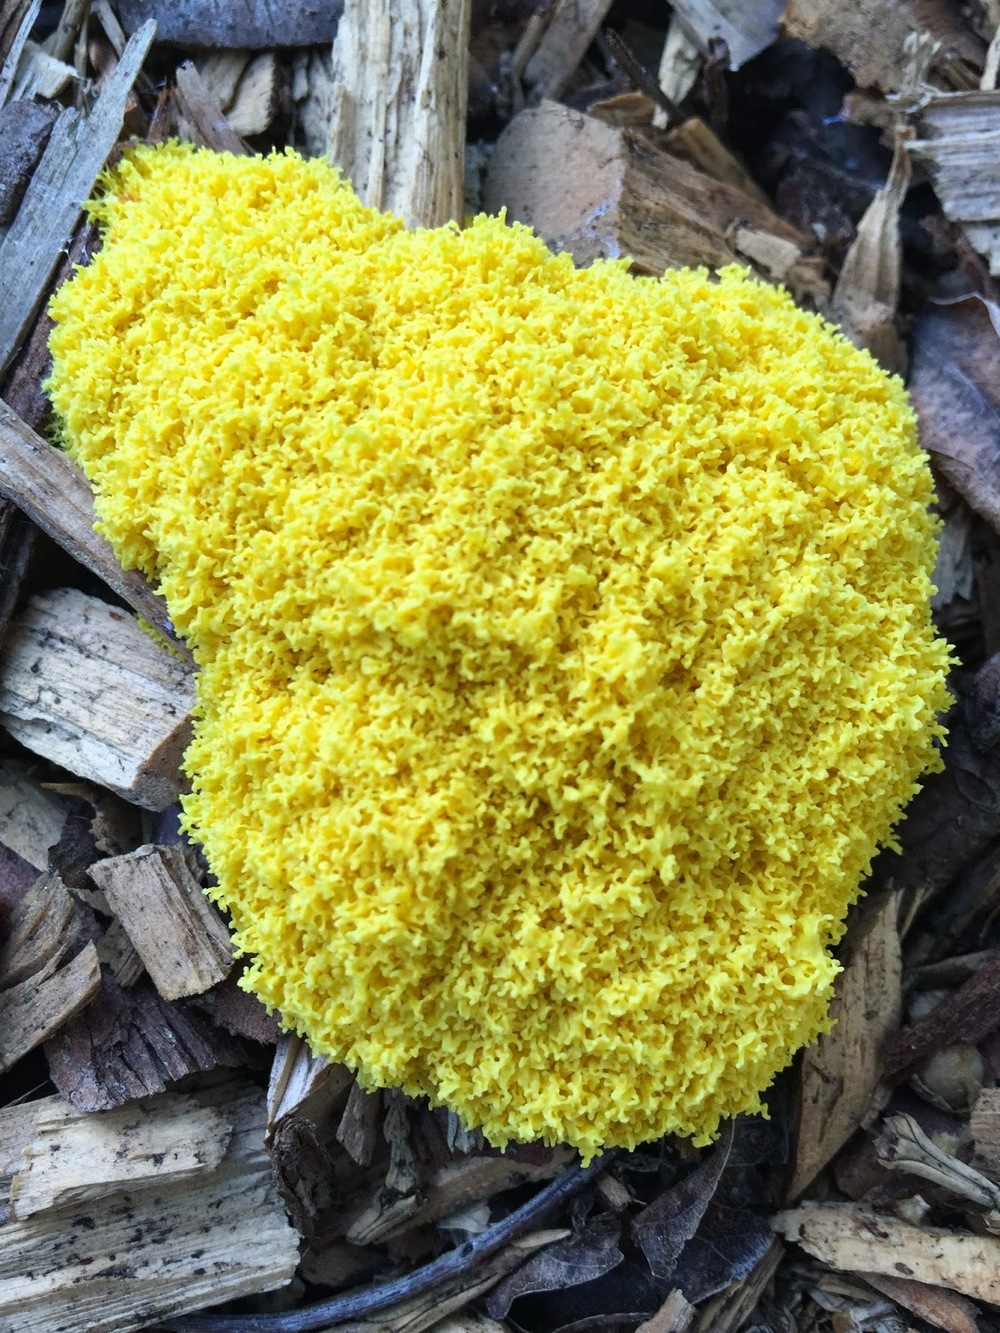
I also found a new Fuligo septica (or 'dog vomit fungus') in the yard today. Turns out these aren't really fungi at all, see link for more info. I'm fascinated by them. They do almost always appear on wood chips, although I found my first one hanging off the side of the compost bin.


My seed potatoes arrived today. Or at least the first batch did, from Renee's. I think I double ordered and will also be getting some from Seed Savers. Whoops. And darn it, I think I ordered the same kind from both places.


They need a cool place to stay until I plant them next week, so they'll live in a corner of the bedroom for a while (honestly the coolest place in our house that's not our fridge).

Next week, new raised beds get built, and all the spring planting begins! Good times.