• About
  • Blog
  • Contact
  • Favorites
  • Archive
Menu

Poppy Corners Farm

Street Address
Walnut Creek, California
Phone Number
Walnut Creek, California

Your Custom Text Here

Poppy Corners Farm

  • About
  • Blog
  • Contact
  • Favorites
  • Archive

March Arrangement

March 5, 2020 Elizabeth Boegel
IMG_4023.jpg

I knew I wanted to feature Geum coccineum ‘Totally Tangerine’ in this month’s bouquet, because it is a star in the home garden. This year, it started blooming in early February, and as long as I deadhead and give it a little extra compost, it’ll keep flowering until the first frost. It’s simply unstoppable. As you can see, even the spent flowers are attractive, and the foliage forms a nice tidy clump (prune back old leaves for best looks). It is reliably perennial in Zones 4-10, doesn’t mind being a little crowded, and creates multi-flowered, extremely long stems which are perfect for arranging.

Along with the Geum, I used a little Borago officianalis, which really never stopped blooming all through winter here in Zone 9b. Well, maybe December was iffy, but really, it just keeps on truckin’. It reseeds quite vigorously but is easy to remove if you find it thuggish, and the bees really adore it.

For a little greenery, I added some overwintering cilantro which seeded itself in my garlic and shallot beds and grew over the cold season. It’s just now starting to look like it might bolt, so I didn’t feel so bad sacrificing these tall stalks.

IMG_4020.jpg

We have a new favorite way to eat beets. I pick them when young, peel and chop them in quarters, and roast them in the oven with olive oil and salt. While they are roasting, I make a glaze of equal parts butter, maple syrup, and balsamic vinegar, and cook on low heat until glossy and reduced. Then I pop the roasted beets in the pan with the glaze and serve. Delicious.

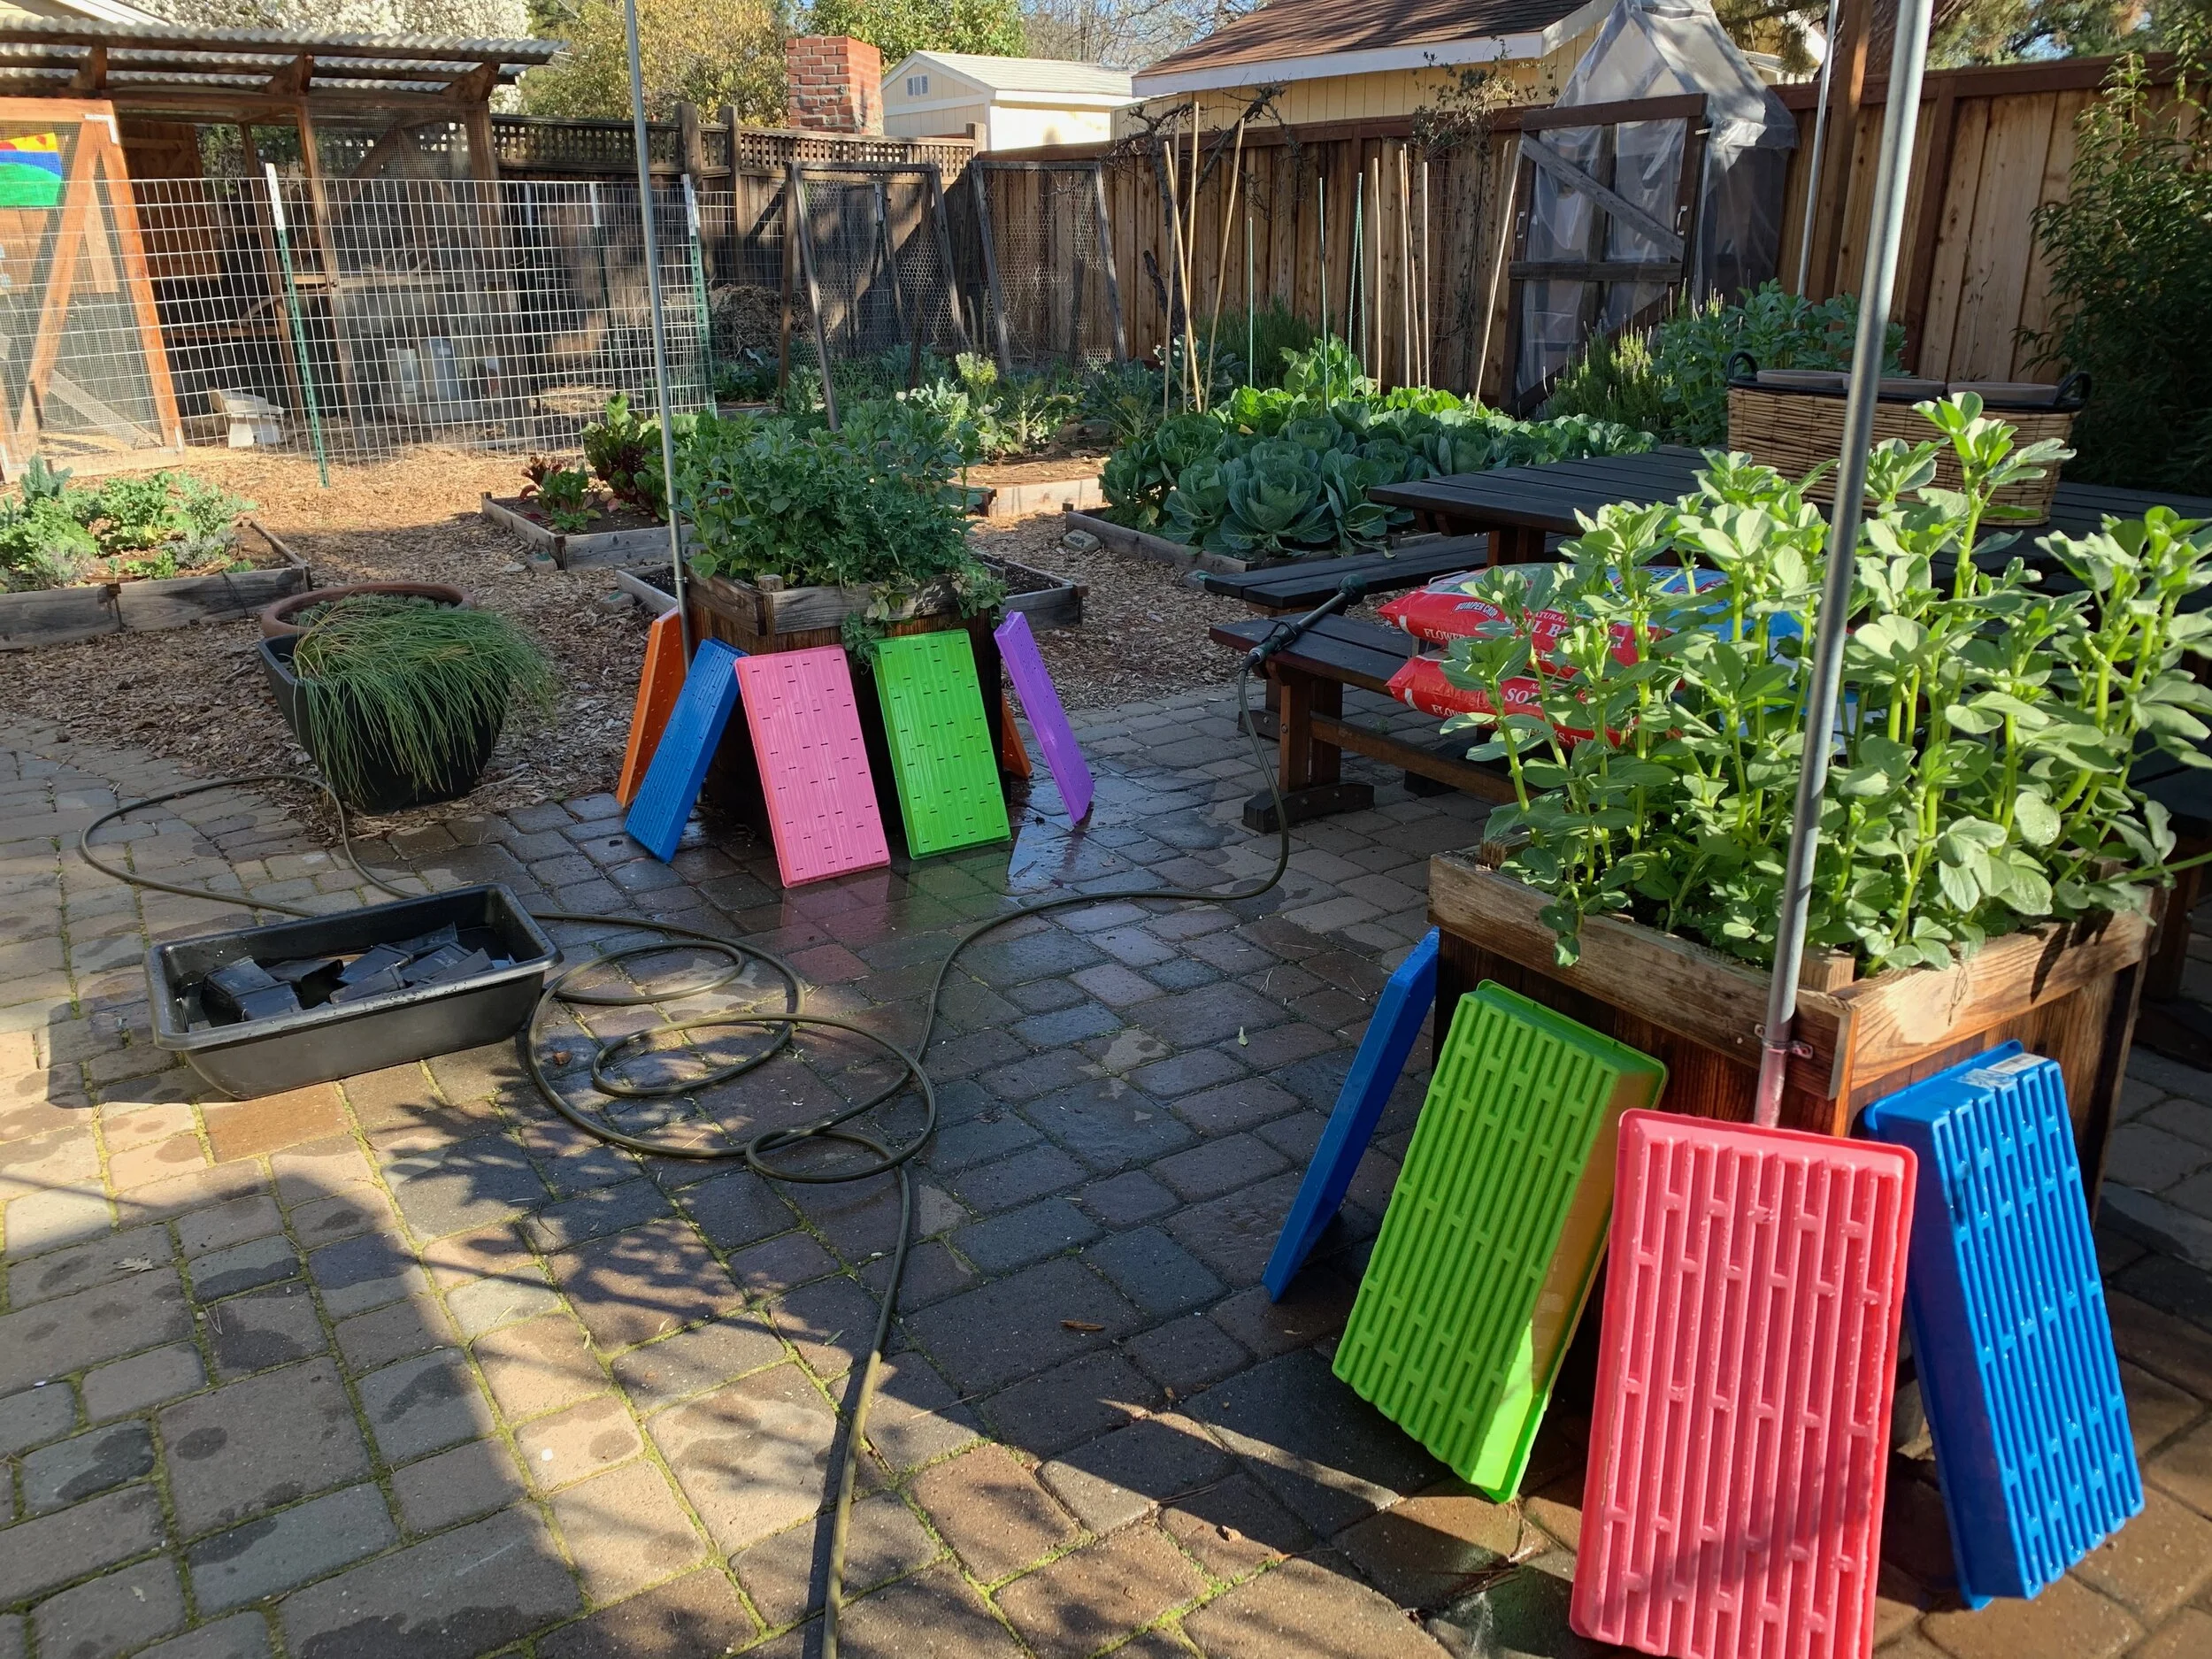
We’ve eaten all the broccoli and cauliflower, and have started in on cabbages. Carrots and sugar snap peas are being picked and snacked on daily, and of course we continue to eat the greens. We’re in the process of trying to germinate lettuce without the birds or slugs getting to it - some row cover, tightly pegged to the earth, might be the ticket. Tomatoes have been seeded in trays, and squashes started in the greenhouse.

IMG_4032.jpg

Our new chickens have begun to lay! Above is a picture of a ‘normal’ egg next to a pullet egg. The pullet eggs are about half the size of the normal eggs. The young chickens lay these for a couple of weeks, allowing the vent to stretch, then the eggs become a more normal size. We’re looking forward to having enough extra eggs soon so we can make chocolate pudding!


Tags seasonal flower arrangement, chickens, vegetable garden, flower garden
Comment

Just a quick reminder

February 29, 2020 Elizabeth Boegel
IMG_3988.jpg

It’s almost seed starting time here in Northern California, so here’s a little reminder to get all your supplies ready for planting!

Buy some high-quality soil for making seed blocks or plugs. It can be any kind, as long as it is fine-textured. You don’t need to buy anything that has fertilizer in it, and in fact that much nutrition will not do the seeds any favors. Better to buy either a sterilized mix that is made for starting seeds, or a good quality organic potting soil. Again, it needs to be fine-textured, so sieve out any large pieces of bark. VERY IMPORTANT - do not buy peat-based mixtures. Peat is being harvested at a very unsustainable rate. We are stripping this ancient soil, which took nature thousands of years to make, at an astounding rate. Let’s do our ecologically-best part by buying coir based seed mixes. The package should say what’s in it, and if it doesn’t, assume it’s made of peat. When in doubt - ask your local garden store which of their mixes is peat free.

Wash your plant trays/cells/plugs/pots! Make a 10% bleach solution and clean those suckers off. We don’t want to spread disease or pathogens. Do the washing on a patio or on a driveway, somewhere away from soil, because bleach will kill off soil life. And dump the used water somewhere away from growing things. Dip your pots in the solution, scrub with a brush to remove any old soil, and then rinse and dry in the sun.

It’s not too late to buy seeds! While many of the most popular varieties will be sold out, there are still plenty of other varieties available. Why not arrange a seed swap with other growers so you get a mix of varieties to try? You could also have a seed-planting party. And always plant extra, so you have seedlings to give away to friends, family, neighbors, and local schools.

Make sure you have plenty of plant labels on hand. I use popsicle sticks so they can be composted afterward, rather than plastic tags. And make sure you have plenty of pots for transplanting seedlings after they’ve grown. I bought a large amount of cow pots this year for this purpose, so that I did not have to buy compostable plastic cups (which is an OK alternative, but I knew I could do better).

This is a great time of year when we look forward to spring and summer and the eventual bounty. Let’s celebrate it! Happy Planting!

IMG_3977.jpg


Tags starting seeds, diseases
2 Comments

Greenhouse Thermometer

February 24, 2020 Elizabeth Boegel

Our greenhouse isn’t much to look at, just some old redwood fencing and plastic sheeting that we repurposed with the help of my dad, but its creation several years ago revolutionized my efficiency. Tom went to the trouble to figure out mathematically how to build the shelves inside to best capture the angle of the sun, particularly in winter. I don’t have anything in there right now, but starting March 1, the first batch of pepper seedlings will need to move in here to make room for tomato seedlings in the house. I’ll also start a lot of flower seeds, and squash/melon seeds at the same time, and just keep them in the greenhouse.

In an effort to maximize efficiency, I decided to buy a cheap greenhouse thermometer from Govee. This has allowed me to see, from my phone, the temperature and humidity inside it, without opening the door and letting out all the heat. If you allow Govee to have a lot of information about you, you can also make some neat charts and get a history of temps over time, wherever the thermometer is placed. I didn’t allow that, but I’m still able to collect enough data to get an accurate picture of what’s happening in there. Last week, I added a bowl of water to see if that would affect the humidity. I’m not sure it has, actually. But the data is interesting and it caused me to ask some more questions about humidity and its relationship to heat.

Here’s a morning reading:

IMG_3940.jpg

You can see that temp and humidity are at about the same level.

Now, here’s an afternoon reading (the door is closed, remember):


IMG_3941.jpg

Notice how, when the temperature rises, the humidity level goes low. I couldn’t figure this out, so I asked Tom to explain it to me. That allowed us to do some research together about it. Now, I know some of you probably already know this, but I did not, and I’m guessing some other folks don’t either. So bear with me as I share what I learned.

Relative humidity represents a percentage of water vapor in the air that changes when temperature changes. Warm air holds MUCH more moisture than cold air. So when it’s very warm, the air is ‘holding on’ to the moisture, and when it’s cool, the air can’t hold on to it, releasing it into the atmosphere. For instance, a rain cloud can only release its moisture when it cools down enough. That’s one of the reasons rain clouds are higher in the sky - it is colder as you get higher. 100% humidity makes a cloud, but it won’t release water until it’s cold enough to do so.

So, roughly, when the air in the greenhouse is at a very high temperature, it is ‘holding on’ to the moisture and I get a low humidity reading. But when it cools off at night, the air ‘releases’ the moisture, allowing it to be read by my thermometer.

Does that make sense?

Now, when there are plants in the greenhouse, they will be photosynthesizing; taking the sun’s energy and converting it to sugars to be taken to the root of the plant. While this is happening, the plant is transpiring - releasing moisture from the leaves. Photosynthesis ‘pulls’ the water up from the root of the plant to the leaf of the plant, where it is released into the air (there’s a complex process of using some of the water in the process of photosynthesis which we can leave out for the purposes of this conversation). Will this increase the humidity in the greenhouse? It won’t be happening at night, because there is no photosynthesis at night (for the most part - some plants do this but not the ones I’m talking about, usually only desert plants). It will be interesting to see the results of that.

The thing to remember is that air circulation is the MOST important thing about greenhouse management. If the air doesn’t circulate, the plants will have too much humid air around them, therefore they won’t be able to make any more water evaporate, and that means no nutrients will be coming up from the soil. So open your greenhouse doors during the day when plants are in there, no matter how much you want to keep them closed. Open the greenhouse during the day and close it up at night to keep things warm and snug.

IMG_3946.jpg


Tags learning, greenhouse, seed starting
Comment

Natural Trellises

February 22, 2020 Elizabeth Boegel
IMG_3927.jpg

I have written recently about my desire to add structure and mid-level height to the garden. We are on a very flat plot; there is not a lot of varied terrain here, not to mention that it’s not terribly large. The picture above is of the South Garden, which has two towering trees, neither of which we planted: A southern Magnolia (Magnolia grandiflora), totally inappropriate for our climate, and a Catalpa bignonoides, which IS appropriate. The only thing I like about the Magnolia is that it shades the house in summer; however it also shades the house in winter, uses a TON of water, and has enormous leathery leaves that never break down and have to be removed from the garden. I love the Catalpa but my neighbors hate it, because it has these long seed pods (you can see last year’s desiccated pods above) that hold roughly a zillion seeds and they go everywhere and germinate everywhere. I love it because it has huge, orchid-like flower racemes in spring, gigantic heart-shaped leaves, and the seed pods when green are quite attractive, hanging like ornaments. Anyway, these trees provide plenty of canopy (sometimes too much, the pruners are coming in March to help me with that!) and high-level interest, and the Catalpa is very favored by birds and insects.

Then there is the shrub-level, which I’ve got covered, and the ground cover level, which is also good. Lots of low stuff. But not a lot in that mid-level.

image found on Pinterest

image found on Pinterest

I’m absolutely obsessed with English gardener Monty Don, who has written scads of books and is on Gardener’s World in the UK every Friday night. His garden, Longmeadow, is filled with stone walls and box/yew hedges which all add plenty of structure in winter when the garden is covered with snow. But he also coppices numerous trees like Hazel (a practice that has largely fallen out of favor here) to make these free-form, natural trellises for climbing flowers, fruits, and vegetables. He has a lot of them in the garden and I think they are quite charming. Unlike fruit trees, they are also free! So I decided that we should make several of these to add structure to our garden, and I can use them for climbing vines, peas, beans, or even pumpkins (which I think I will do this year, more to come on that).

Last weekend, Tom and I went to my parent’s house, about 10 minutes away. They live on a large hill which is basically native oak woodland, with CA live oaks and bay trees intermingling with toyon and buckeye. One of their oaks had a dead section, which Dad sawed off for me, and we took those branches as well as some toyon to add to our pile of branches from the trees in our yard. Today, it was just a matter of figuring out which ones looked good together, finding a solid place for them to rest, and tying them together. The twine loops are to aid plants in climbing, though I’ll also have to train them to the trellis.

We put three of them along the fence next to the street, to add vertical interest for those walking by, as well as hide portions of the garden to make it a little more mysterious. With the leftover shorter branches we made one more to put in the South Pollinator Garden for the red mallow to grow on.

IMG_3933.jpg

This week I also added a Boysenberry and a Red Globe Grape to our climbing fruiting vines, so we look forward to harvesting that fruit late this summer.

It’s full-on spring here, we have had not a drop of rain in February, and soon it will be time to start tomatoes.


Tags projects, design
2 Comments

Winter Honey

February 17, 2020 Elizabeth Boegel
IMG_3913.jpg

In response to our unseasonably warm afternoons, Tom and I opened up the hive yesterday for our first check of the year. We wanted to take off the entrance reducer, make sure the bees had enough room, and clean out any old stuff from the winter, as well as preemptively treat for varroa mite. All our plans kind of went out the window the minute we opened the hive. The bees were there, all the way at the back of the hive, and all the bars were full!

To explain why this is so unusual, you need to understand hive logistics. In November here in CA, a hive is opened one last time before winter, to make sure the bees have enough honey for the coming season. At the same time, beekeepers reduce the hive space, which helps the colony conserve heat during cold weather. In Langstroth hives (the ones you’re used to seeing), that means taking off excess boxes and keeping the colony down in the bottommost one or two. It’s a little different in our top bar hive. It’s only one long box, designed a bit like a hanging file system. The bars, about two inches wide, hang from either side on a ledge in the long, narrow box. In summer time, the entire box is filled with these bars - there is no excess room. But in winter, the bars are reduced, and something called a ‘follow board’ is put in behind the last one to make a sort of ‘false’ back to the box. This keeps all the bees up in the front end of the hive, compact and snug, with all their food available to them within a short distance. If I remember correctly, the queen lays her last batch of eggs about a month before the winter solstice. Those bees live a bit longer than usual to help the hive make it through winter. Then the queen starts laying again shortly after solstice, to have new bees ready to go in January as the days start lengthening. Therefore, depending on the weather, the hive can gain quite a few thousand members in late winter, in preparation for spring.

IMG_3911.jpg

Since it’s still solidly winter, we didn’t expect the bees to have expanded the colony quite as much as they had; finding a full box was a surprise! Not only that, there were four entirely full bars of capped honey, with many more half-full. We took out the full bars, but then we needed to replace those four bars plus the bars we took out in November. I had three bars ready to go back in the hive (they need to be cleaned first, and I glue in a little strip of beeswax at the top to ensure them a good building pattern), but today we need to get the rest ready to go in. We may as well open up the whole hive and let the bees do their thing. With this warm weather, the brood will eventually fill the bottom half of every bar, with stores of honey and pollen at the top to make feeding the babies convenient for the nurse bees. The numbers will increase very rapidly.

IMG_3915.jpg

Tom’s gone out to get more mason jars, since we have about 20 pounds of honey to bottle up. I don’t believe we’ve ever taken honey this early before. Likely, the bees made it before the first frost, and it’s been ripening all winter. It’s a deep, rich color, unlike the honey made from spring flowers which tends to be lighter in both appearance and flavor.

Meanwhile, the garden is taking off. I’ve been spending a good deal of time clearing out the flower beds in preparation for some new plantings. I believe I’ve written previously with regards to refreshing certain borders. This is a long process which includes cleaning out detritus, taking stock, moving plants that aren’t appropriate for the area, amending the soil, and researching what will do best in the space, with consideration given to which ones will provide the best habitat for insects and wildlife. I’ve recently watched this video of one of my favorite entomologists, Doug Tallamy, and have renewed my vow to make our garden a welcoming place for the ‘Little Things that Run the World,” providing more native plants on which the native insects evolved to depend. Dr. Tallamy has written several books that I can recommend heartily, my favorite being “Bringing Nature Home.”

I’ve also been moving certain big plants around, trying to create the structure that I am longing for in the lower canopy. Tom and I spent a happy hour on my parent’s hillside, cutting very large branches to use in our upcoming trellis project, which should help provide height. We are grazing daily in the garden, eating as we work, and I’ve cleared out the last of the spinach and planted a crop of head lettuce. I think I mentioned that I bought a thermometer for the greenhouse so I can monitor the conditions; I’ve added a bowl of water to see how that affects the humidity. I’m excited to get things moved and planted in there, in preparation for the coming season. This nice weather makes me antsy to do more.

IMG_3907.jpg

The sad fact is that we’ve had very little rain or snow in California this winter, and the latest maps (from NW Climate Toolbox) show that as of early February, we are running near or below 50% of average precipitation for the state. This does not bode well for the upcoming year. It reminds me to be even more thoughtful while revamping the flower beds, and to carefully choose the right plant for the right place.


Tags bees, honey, beekeeping, vegetable garden, flower garden
Comment
← Newer Posts Older Posts →

Subscribe

Sign up to get email when new blog entries are made.

We respect your privacy. We're only going to use this for blog updates.

Thank you! Please check your email for a confirmation notice to complete the subscription process.

Powered by Squarespace