• About
  • Blog
  • Contact
  • Favorites
  • Archive
Menu

Poppy Corners Farm

Street Address
Walnut Creek, California
Phone Number
Walnut Creek, California

Your Custom Text Here

Poppy Corners Farm

  • About
  • Blog
  • Contact
  • Favorites
  • Archive

Just a quick reminder

February 29, 2020 Elizabeth Boegel
IMG_3988.jpg

It’s almost seed starting time here in Northern California, so here’s a little reminder to get all your supplies ready for planting!

Buy some high-quality soil for making seed blocks or plugs. It can be any kind, as long as it is fine-textured. You don’t need to buy anything that has fertilizer in it, and in fact that much nutrition will not do the seeds any favors. Better to buy either a sterilized mix that is made for starting seeds, or a good quality organic potting soil. Again, it needs to be fine-textured, so sieve out any large pieces of bark. VERY IMPORTANT - do not buy peat-based mixtures. Peat is being harvested at a very unsustainable rate. We are stripping this ancient soil, which took nature thousands of years to make, at an astounding rate. Let’s do our ecologically-best part by buying coir based seed mixes. The package should say what’s in it, and if it doesn’t, assume it’s made of peat. When in doubt - ask your local garden store which of their mixes is peat free.

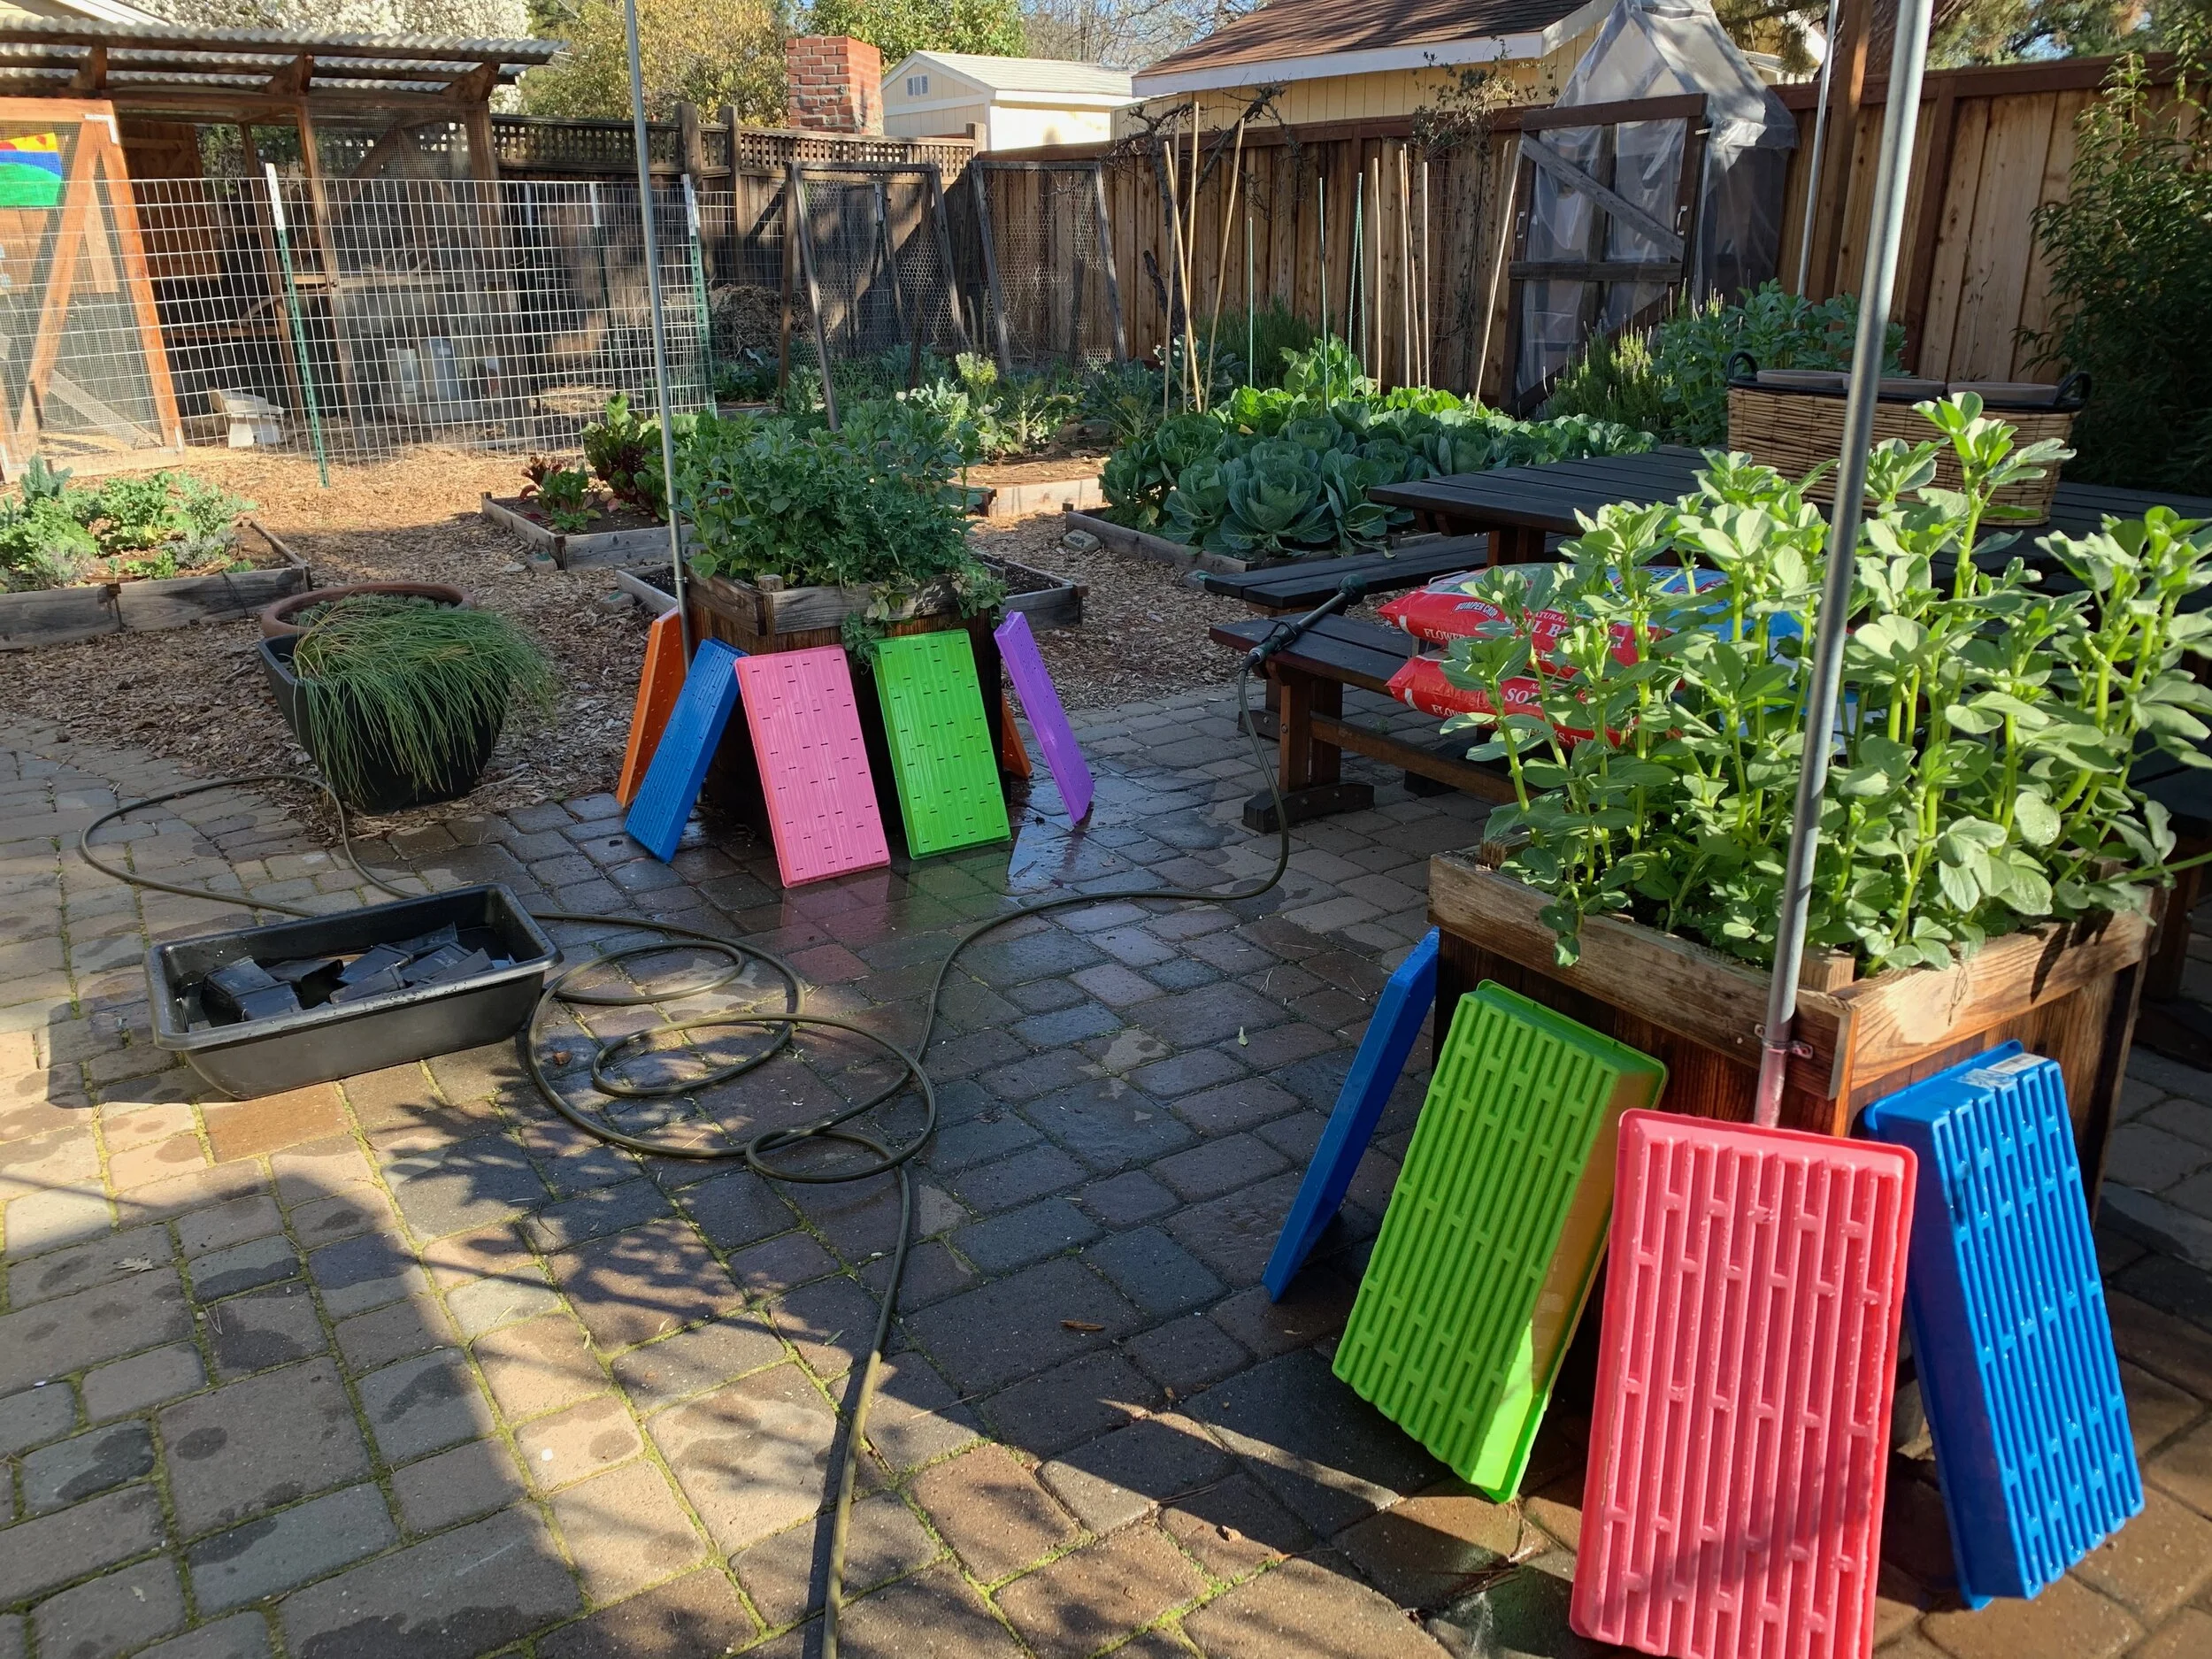
Wash your plant trays/cells/plugs/pots! Make a 10% bleach solution and clean those suckers off. We don’t want to spread disease or pathogens. Do the washing on a patio or on a driveway, somewhere away from soil, because bleach will kill off soil life. And dump the used water somewhere away from growing things. Dip your pots in the solution, scrub with a brush to remove any old soil, and then rinse and dry in the sun.

It’s not too late to buy seeds! While many of the most popular varieties will be sold out, there are still plenty of other varieties available. Why not arrange a seed swap with other growers so you get a mix of varieties to try? You could also have a seed-planting party. And always plant extra, so you have seedlings to give away to friends, family, neighbors, and local schools.

Make sure you have plenty of plant labels on hand. I use popsicle sticks so they can be composted afterward, rather than plastic tags. And make sure you have plenty of pots for transplanting seedlings after they’ve grown. I bought a large amount of cow pots this year for this purpose, so that I did not have to buy compostable plastic cups (which is an OK alternative, but I knew I could do better).

This is a great time of year when we look forward to spring and summer and the eventual bounty. Let’s celebrate it! Happy Planting!

IMG_3977.jpg


Tags starting seeds, diseases
2 Comments

Plums, Peaches, and Potatoes

June 19, 2018 Elizabeth Boegel
'Santa Rosa' plum

'Santa Rosa' plum

The plums are beginning to ripen. I pruned this tree a little severely this past winter, probably too severely for a youngish tree, but I wanted to get started early on good structure. And the tree has rewarded us with some lovely-looking fruit. I've started picking them when they reach this color, and bringing them inside to soften. The squirrels are diabolical this year.

IMG_9635.jpg

I'm doing the same with the peaches, because I'm finding several half-eaten ones every morning at the base of the tree (they go to the chickens). The fruit this year is on the small side, but a good volume. I haven't sprayed it for peach leaf curl now in two years - there is a little bit of the disease on some of the leaves, but so far it's not terrible, and we still have a good harvest. I don't want to use that copper spray any more, so if this tree begins to suffer badly, we'll just remove it and try again with a resistant tree. The tree is at least 20 years old, maybe more, so it's a miracle it's still producing this well.

'Yukon Gold'

'Yukon Gold'

I finished harvesting all the potatoes. The fingerlings were ready first, and we had such a good harvest that we could share extras with family. Today I got the Yukon Golds and Pioneer Russets out of the ground. We had a decent harvest on the golds but not the russets. Several of the russets had a sort of watery, disgusting, smelly rot (fermenting?):

IMG_9644.jpg

Anybody else have this? I think it's a disease called 'Leak,' caused by a pathogen that likes saturated soil and warm temperatures. The three potatoes I found with this rot were in very saturated places in the raised bed. I'm not sure if there is a leak in the drip line, or it it's just naturally wetter on that side, but we certainly have had some very warm temperatures at times, so this could be it. The trick is not to plant potatoes in this same place next year, to avoid this pathogen. I've had potatoes in this particular bed every year for a while now, so I need to change locations. I'm not sure if I should go ahead with a pea crop in that bed, or put in a summer cover crop to heal the soil. When I was digging out the potatoes, the soil was really compacted, though absolutely full of worms. I mixed in the coffee chaff that I used as a mulch, and I'll probably cover it with a couple inches of compost, and let the bed sit for a couple of weeks. Then I'll decide what's next.

Meanwhile, I'll fix roasted potato salad for a pot luck tomorrow night, and we can enjoy the rest however we like (hash browns! roasted with olive oil and salt! mashed with butter!). It's fun to have our own organic potatoes. They taste so much better than store-bought.

Tags vegetable garden, diseases, fruit garden
Comment

How to Sidestep Blossom End Rot: My Plan for the Future

July 13, 2017 Elizabeth Boegel
Italian Heirloom and Hungarian Heart tomatoes, in various stages of ripening

Italian Heirloom and Hungarian Heart tomatoes, in various stages of ripening

Blossom End Rot is the bane of my summer tomato garden. I am picking and composting at least a dozen tomatoes a day, all suffering from a brown, rotted bottom. It's incredibly discouraging.

So, so many people believe that BER is caused by calcium deficiency in the soil. As you will soon see, the problem is not that simple. However, I went ahead and tested my soil. It has plenty of calcium, probably because I add our own crushed eggshells from the compost bin into my beds every year; and though it takes a long time to break down, it does eventually become available to the plants. Just to be sure, this year, I also buried two Tums tablets at the base of each plant, under the drip line holes, so they'd dissolve and add extra calcium to the soil. This was recommended procedure in one of my college courses, so I proceeded, even though I was doubtful.

I've also read time and time again that BER is also a water problem, with the way calcium moves through the plant, and that water stress can cause BER. We are watering every day, since it's been hot - the beds get 20 minutes of drip each morning.

SO: The beds have even, consistent moisture. The calcium is there in the soil. I even tried some hybrid tomatoes this year in the hope that they would be resistant. To no avail, it turns out - they have just as many affected fruits as the heirlooms.

BUT all is not lost. I've noticed something interesting this year.

I only get BER on the long, thin paste tomato varieties. Not on the ones like those pictured here, that are chunky and full.

Almost a pound of delicious tomato goodness

Almost a pound of delicious tomato goodness

So, noticing that, I started typing different sorts of queries in to Google, with altered words and phrases. And I found the most excellent article from our very own UC division of agriculture and natural resources (UCANR). This article spells it OUT, my friends. Here's some of what I learned, though I recommend reading the entire article if BER is a problem in your garden, too:

It turns out that BER is more common in fast growing varieties with extensive leaf systems. It does affect the more narrow fruits like Roma, and it also tends to affect determinate tomatoes more, as there is pressure in the plant to ripen all the fruit at once. 

While BER is a calcium issue, it's not as simple as just adding calcium to the soil. And while at heart BER management is a water issue, it's not a simple as keeping an even amount of moisture in the soil. Here's how it works. Calcium is dissolved in the soil (by all those little critters in the microbiome - fungi, especially) and is taken up by the plant root and is transported in the xylem in the plant stem (the 'tubes' that transport water; remember your 9th grade biology? Phloem transports the nutrients. But calcium is mobile in water and goes through the xylem only). And then: "Under conditions of high evaporative demand, i.e. low relative humidity and high temperature, water moves rapidly to the leaves, where most transpiration occurs. The calcium is carried along with the water, so most calcium absorbed by the plant ends up in the leaves. Fruit do not transpire as much as leaves; therefore less calcium reaches the fruit, which can cause a localized calcium deficiency." Um, low relative humidity and high temperature? This sentence may as well have a map with a pin in it in Walnut Creek, CA.

And not only that, once the fruit develops its waxy cuticle (when the fruit is between 1/2 - 3/4" in diameter), the transpiration rate in the fruit is FURTHER reduced. And get this, transpiration can also be restricted in cool or cloudy weather because the atmospheric demand for moisture is low. So that's why we shouldn't be planting our tomatoes too early, especially when the soil is too cold!

Meaty, juicy without being watery, fleshy. Yeah, baby.

Meaty, juicy without being watery, fleshy. Yeah, baby.

Now, we had an extraordinarily chilly May. Which actually often happens, especially the first half of the month. And it happens after a heat wave in April, which gets us all anxious to get tomatoes in the ground. And then it turns cold again. Then we had several blasts of very hot weather, which makes everything transpire even more. So the leaves are transpiring like crazy, but the fruit is of a certain size now and can't transpire. So no calcium to the fruit. WHICH EXPLAINS why the fruit on the side of the garden that is getting mid-day shade isn't having nearly as much BER. It's not transpiring as heavily on those very hot days as the ones on the mid-day full-sun part of the garden!

The article ends with a checklist of things you can do to prevent/manage blossom end rot, like adding organic matter to the soil, mulching heavily, watering on a schedule, etc, all things I already do. What's that definition of crazy again? Doing the same thing over and over and hoping you'll get a different result? Seems to me I need to change things up next year. Like for instance, plant tomatoes in the ground LATER, like mid-May, and maybe even more importantly, avoid planting narrow-fruited varieties! I mean, look at the pictures of those fabulous thick tomatoes all through this post! Both of these varieties (Italian Heirloom and Hungarian Heart) can be used as dual-purpose tomatoes, for both eating fresh and for cooking or canning. So from now on, I'm sticking to the fattest tomatoes I can find. 


Tags tomatoes, learning, diseases
4 Comments

Rust

May 16, 2017 Elizabeth Boegel
Not my Hollyhocks. Just a picture I found on the web. I only dream of flowers like these.

Not my Hollyhocks. Just a picture I found on the web. I only dream of flowers like these.

When you think of California, I'm guessing that hollyhocks are not the first thing you picture. Poppies, yes. Redwoods, check. Sequoias, sure. But not hollyhocks, which are really not often grown here. Alcea, or hollyhocks, hail from Asia and Europe. They like full sun, lots of regular water, and they are considered high-maintenance. I would never think to grow them, because we can't afford to use that much water, but I got a couple of free packets from the free seed guy in my neighborhood in 2015. Never one to turn down free seeds, I scattered these in my pollinator garden and forgot all about them.

In 2016, some of the seeds germinated and we got a few small flowers, but mostly just leaves. Apparently this is normal for hollyhocks - they bloom the second year. Ok, I thought, I'll wait. And this year, they finally started lookin' GOOD.

But in the last week or so, I noticed something wasn't right.  I was having one of those weeks where I wasn't home except to sleep, and so I couldn't get in there and see what was happening. Today, I finally took a better look. And this is what I found.

Underside of leaf

Underside of leaf

Rust. A very bad case of it, all over the older leaves, the stems, some of the newer leaves, even some of the buds. Things had gotten very advanced and I was very late to the party.

I cut off a couple of leaves and took them to the only nursery within 30 miles that I thought might confirm my diagnosis, privately-owned Orchard Nursery in Lafayette (no affiliation with the hardware stores). I like this nursery very much, I just can't usually afford to shop there. However the people working there are knowledgable. Sure enough, my diagnosis was right, and I was advised to use copper fungicide to remedy the problem. I already have that at home since I use it as a spray for my dormant peach tree in the winter (to prevent peach leaf curl), so I headed home to take care of it. "One last thing," the nursery worker told me, "Hollyhocks are NOTORIOUS for rust." Fabulous.

So I came home, clipped off all the leaves that were affected, and drenched all the plants in Liqui-cop, including some nearby roses which had a slight case (but nothing like the hollyhocks). The affected foliage went into the green can, NOT the compost, so I don't reinfect everything. However rust spores travel through the air, so they likely drifted in from another garden, and found a nice place to settle here, and they're all over I imagine. We had a wet early spring, which probably didn't help, but I also tended to aim a spray or two of water from the hose at them, knowing they needed more than just what they were getting from our drip hose. This was a big mistake, as wet foliage can really increase the chances of rust.

You can see the spores, sort of

You can see the spores, sort of

Top of leaves look like this

Top of leaves look like this

I did some reading, and hollyhocks indeed are notorious for rust; it's usually a given that you will have rust if you have this plant. So! If you have some, go ahead and treat proactively, it can't hurt. And don't let water get on the foliage, if at all possible (I know, that's a ridiculous thing to think about unless you live here or in the desert). 

My poor hollyhocks are all denuded and naked-looking, but the buds look ok; so maybe I'll get some flowers after all. I'll keep you posted!


Tags diseases, learning, flower garden
2 Comments

Subscribe

Sign up to get email when new blog entries are made.

We respect your privacy. We're only going to use this for blog updates.

Thank you! Please check your email for a confirmation notice to complete the subscription process.

Powered by Squarespace