• About
  • Blog
  • Contact
  • Favorites
  • Archive
Menu

Poppy Corners Farm

Street Address
Walnut Creek, California
Phone Number
Walnut Creek, California

Your Custom Text Here

Poppy Corners Farm

  • About
  • Blog
  • Contact
  • Favorites
  • Archive

May Cooking: Summer Cake

May 27, 2019 Elizabeth Boegel
IMG_2328.jpg

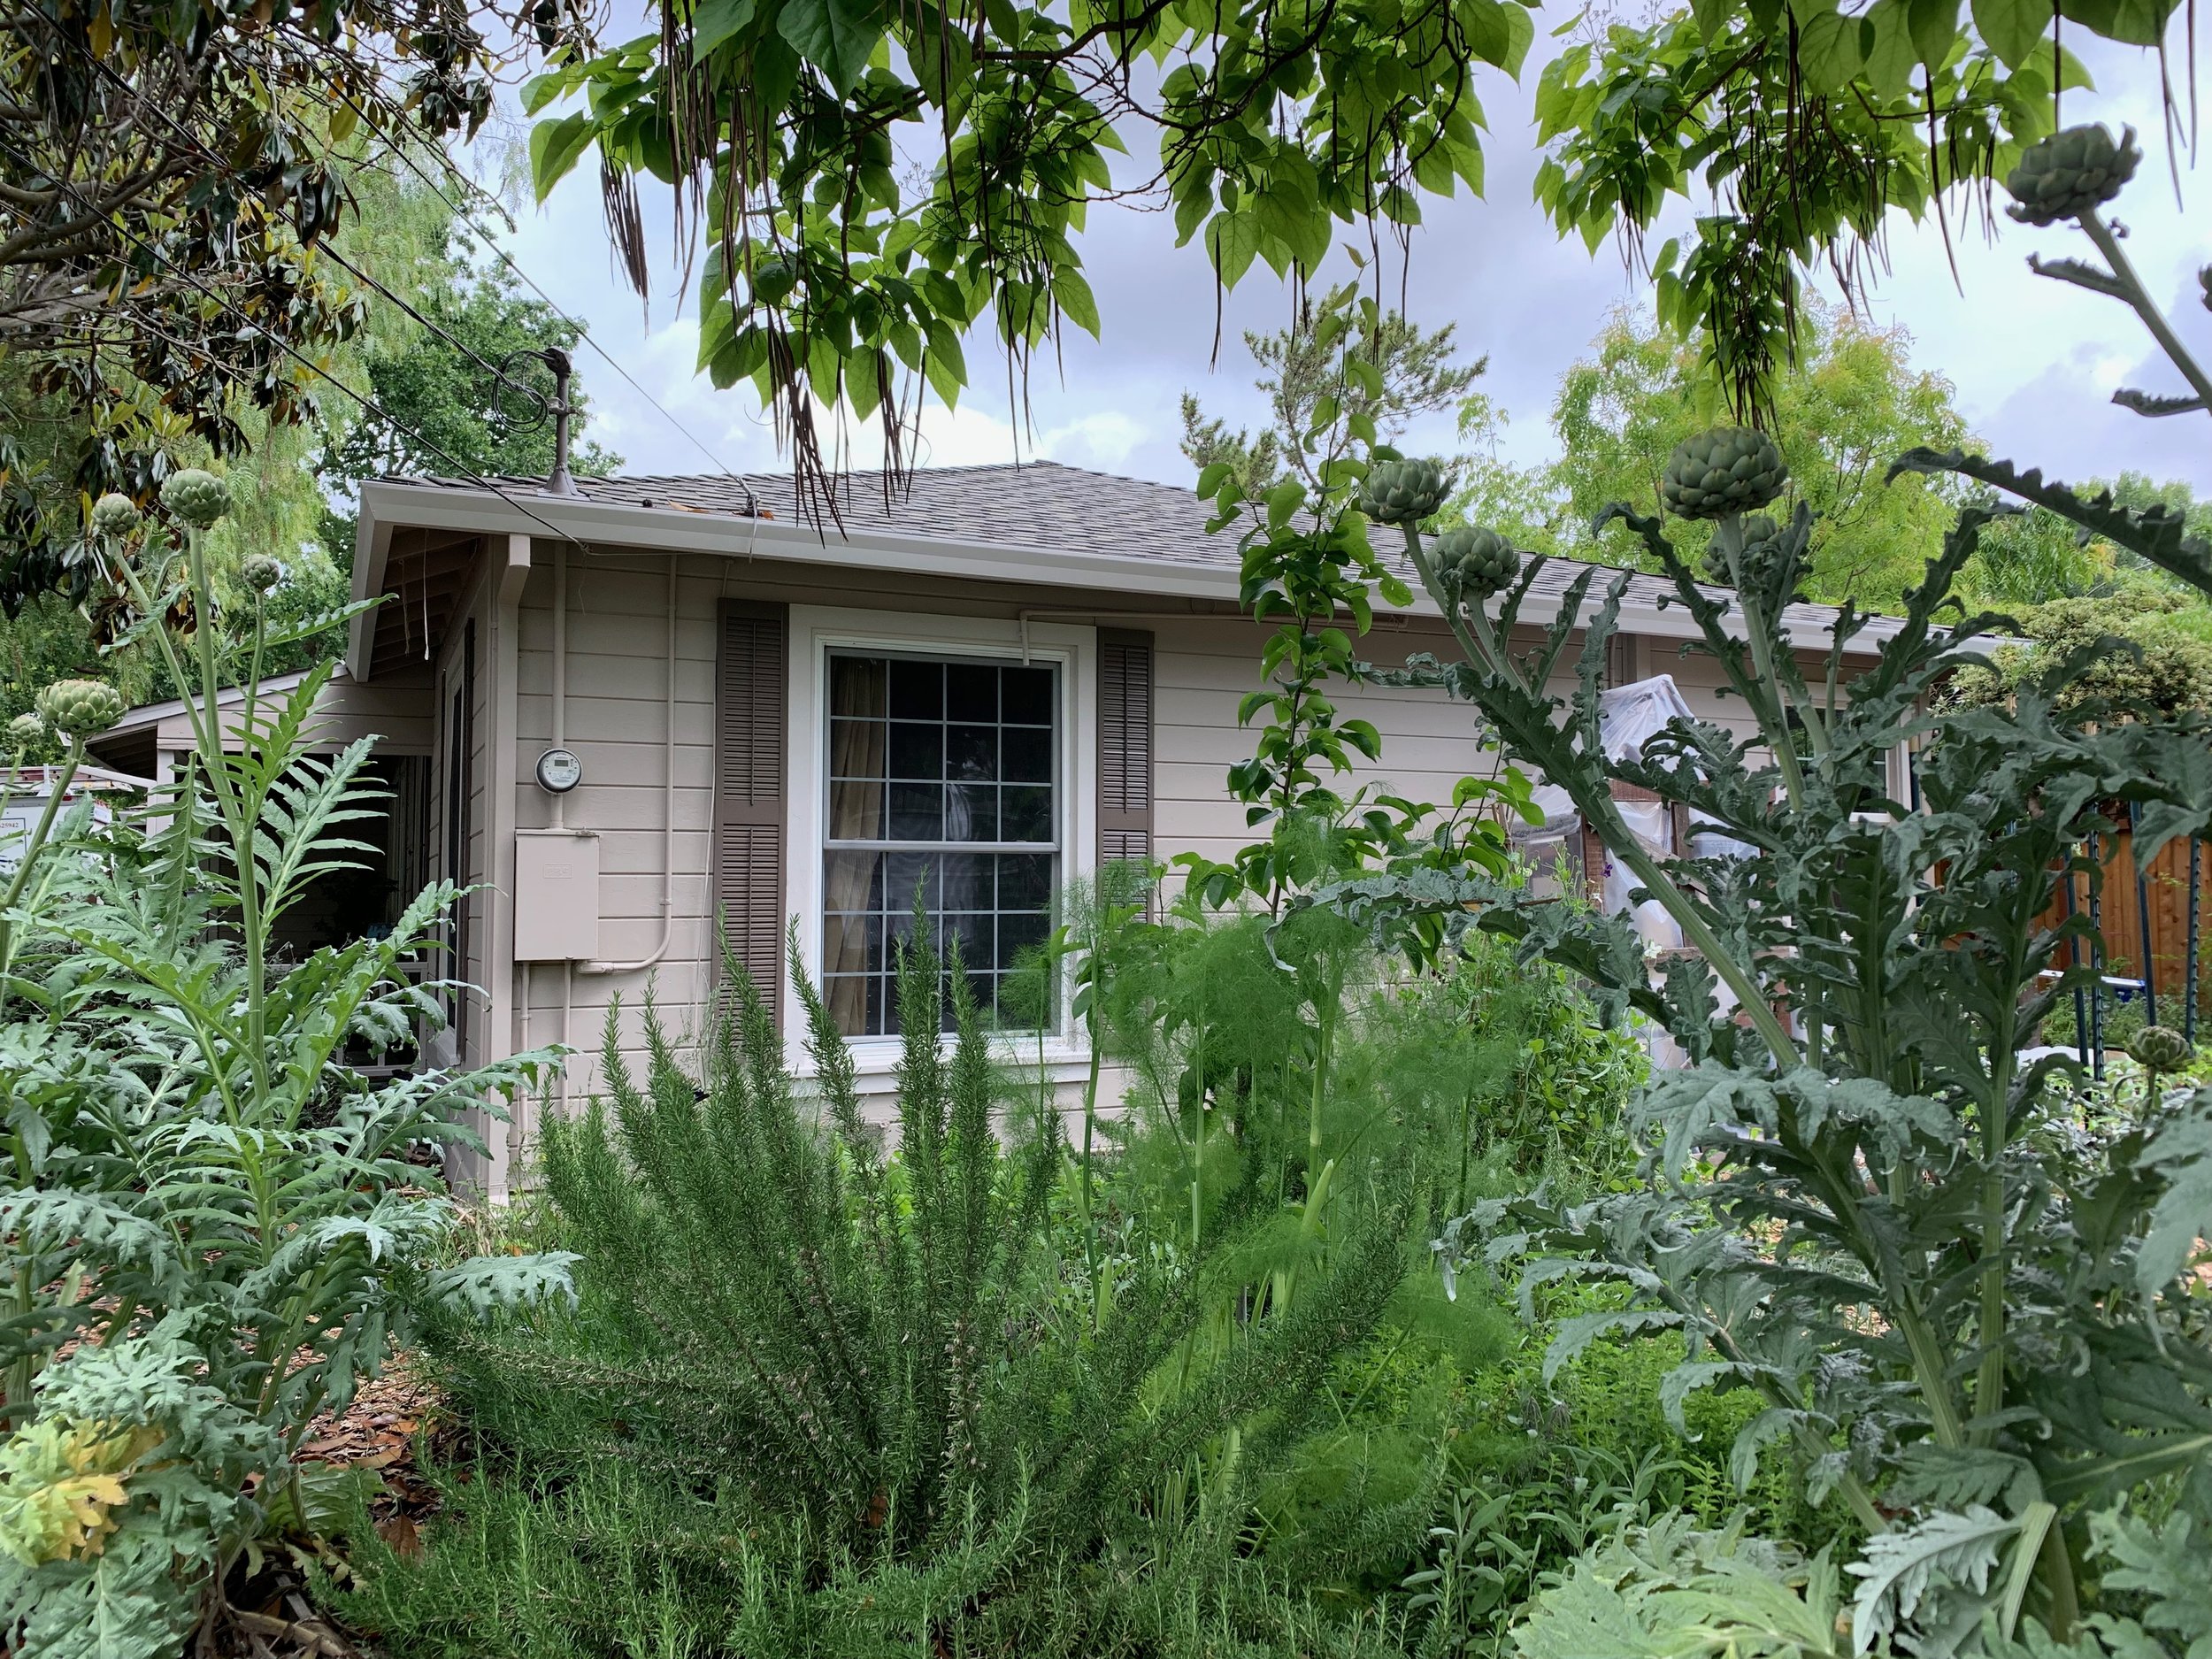
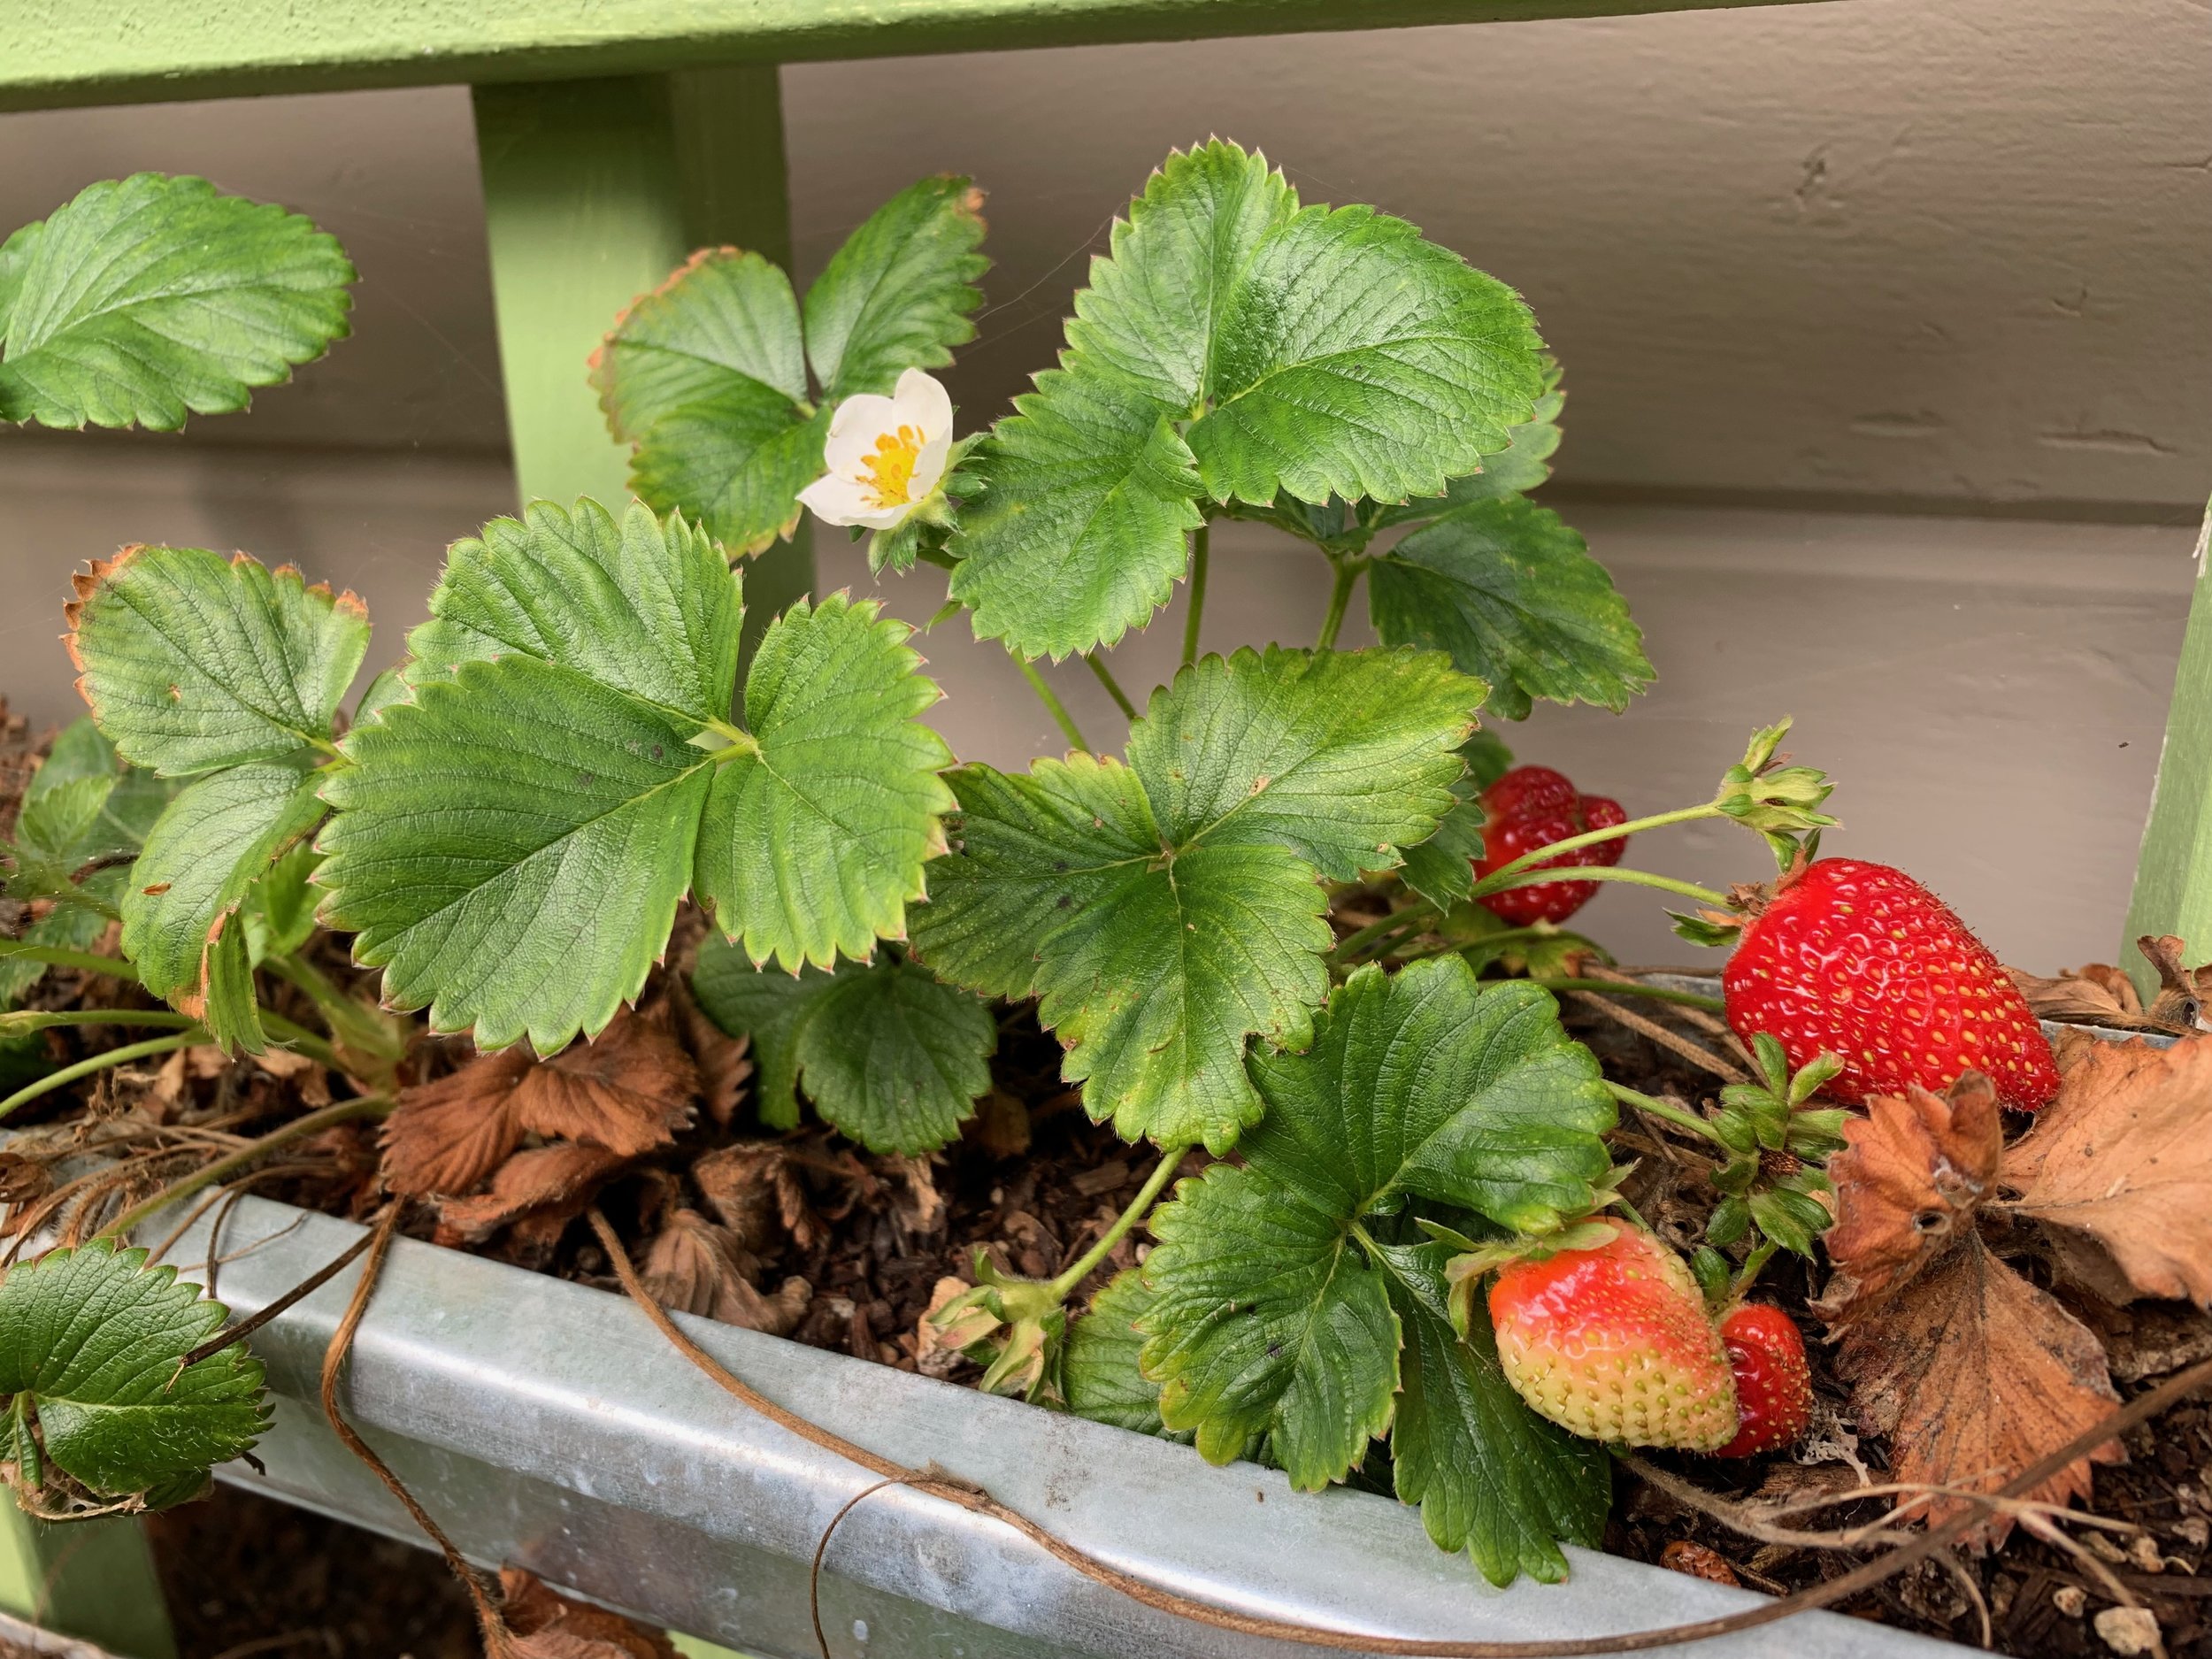
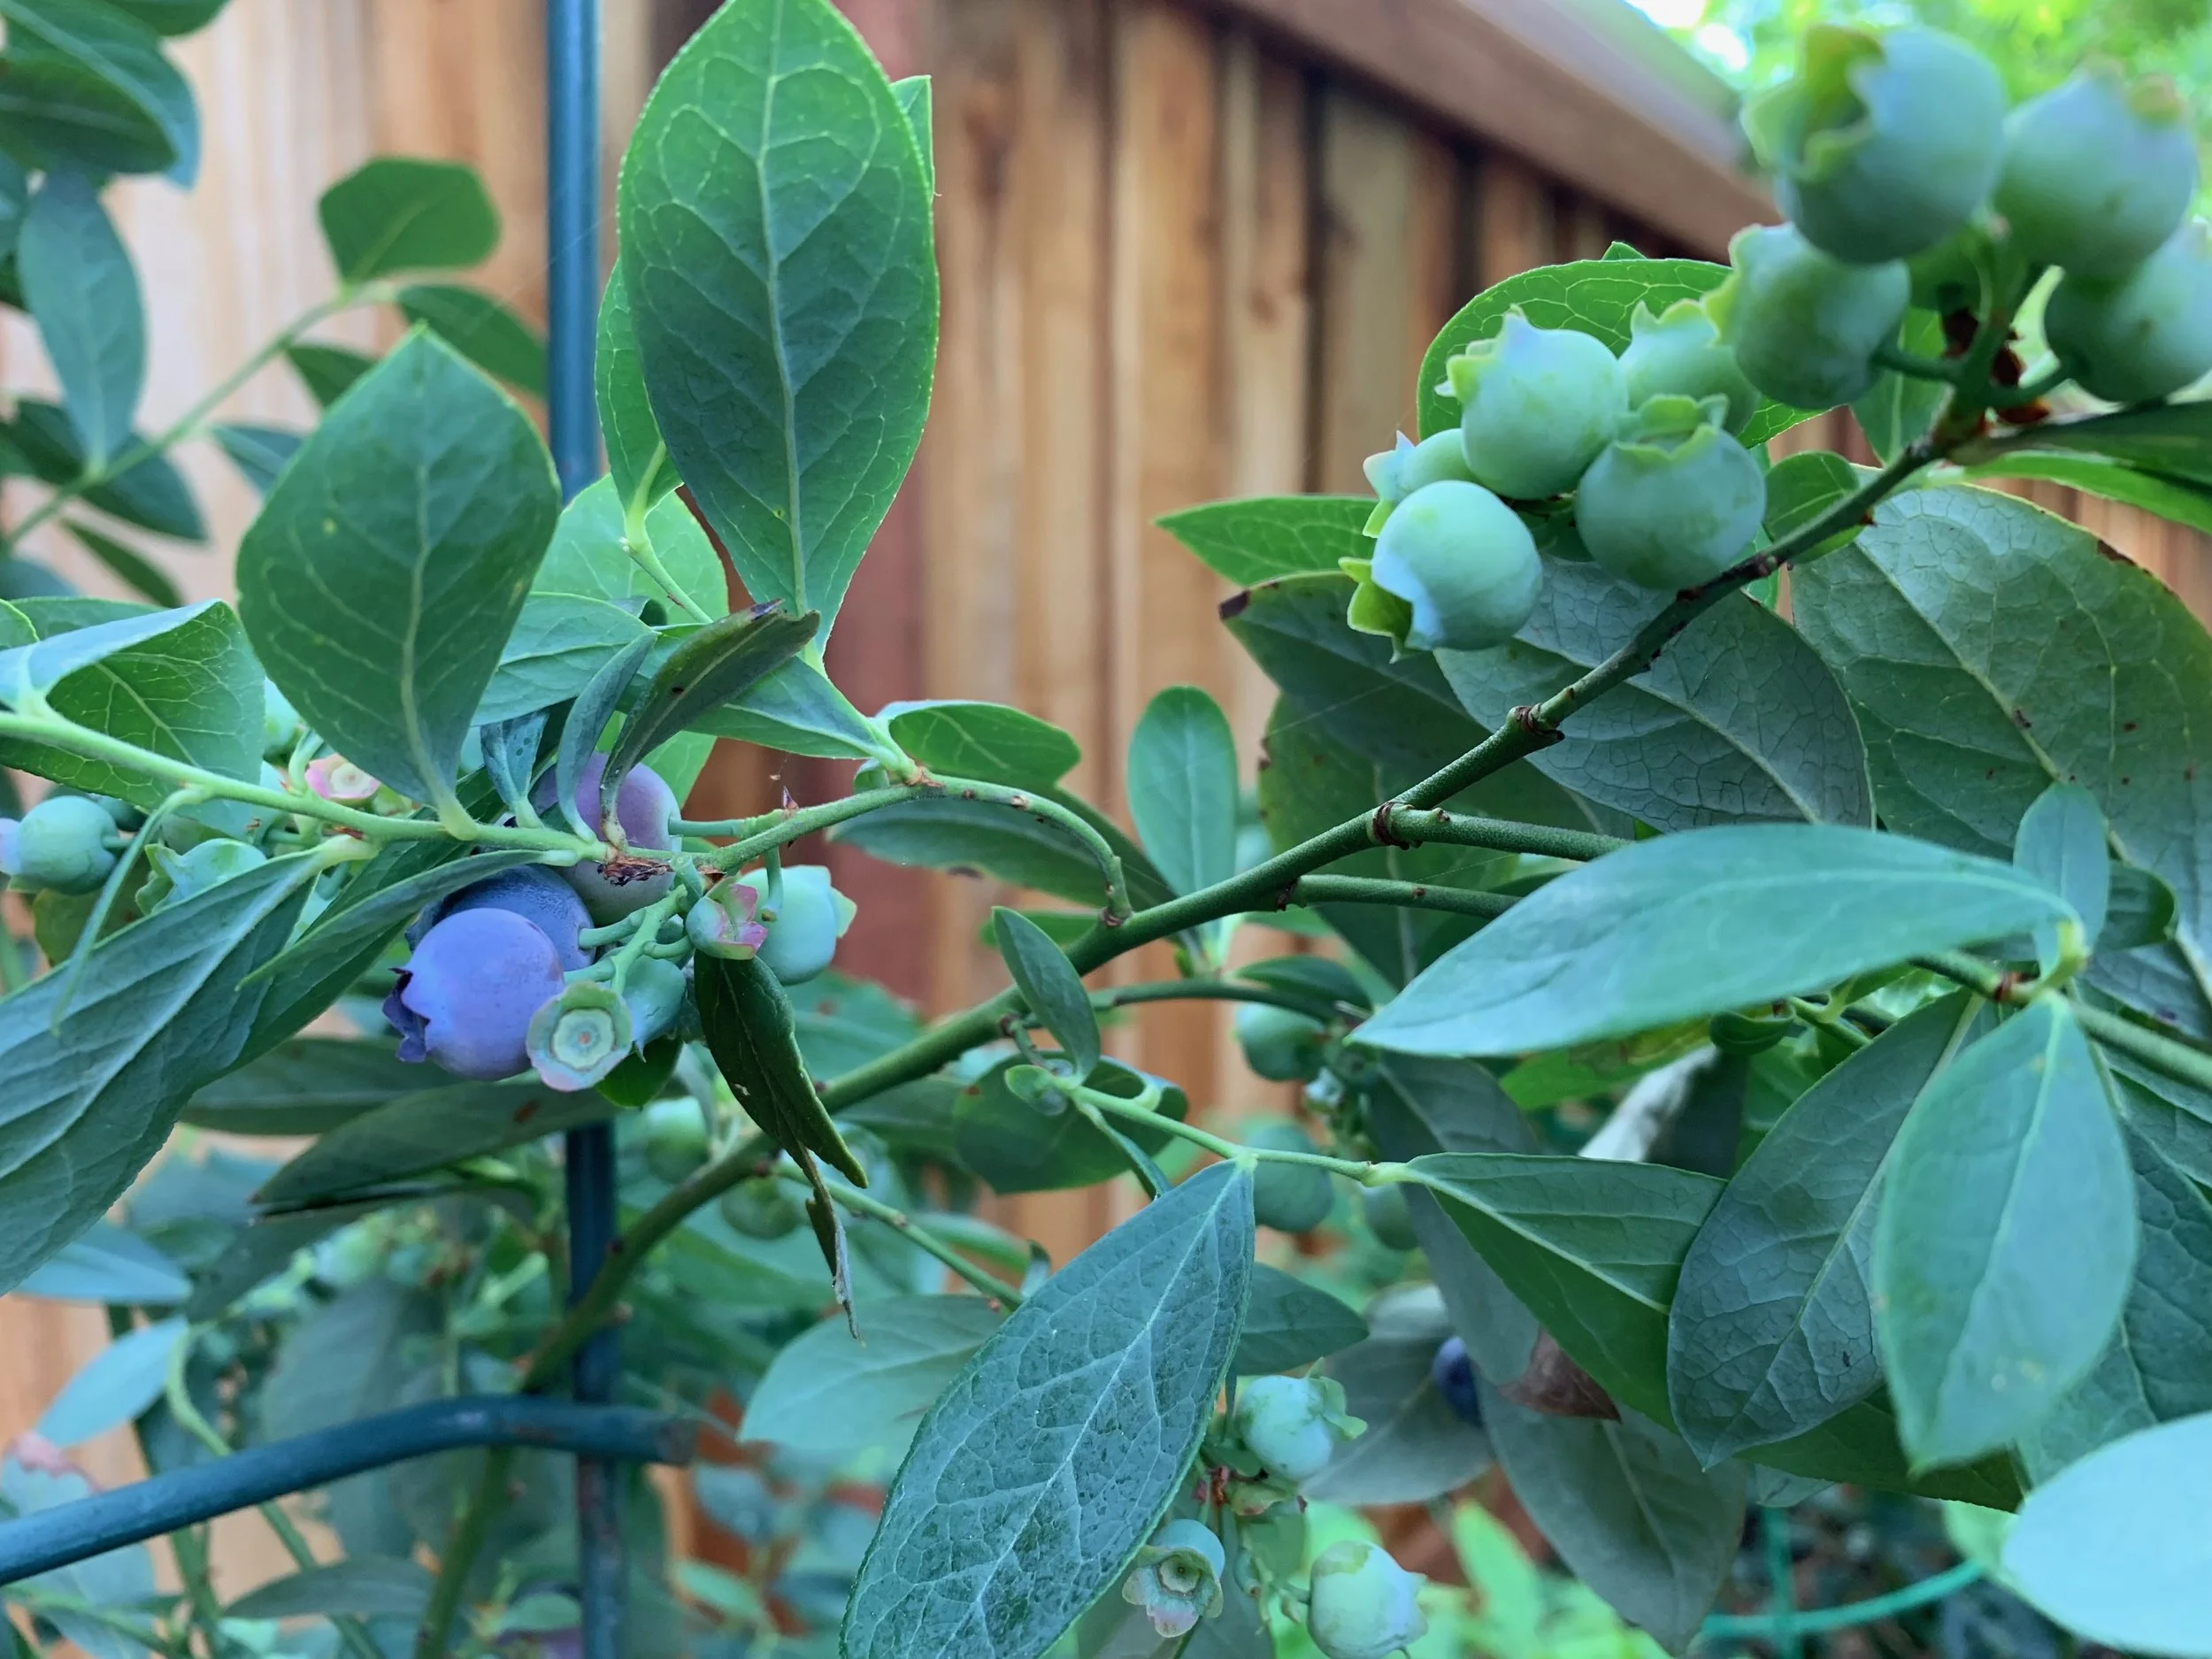
Happy Memorial Day! I must confess it hasn’t felt much like summer here, with very unusual late-season rains and chilly weather, but the garden is thriving despite that. Late-spring and early-summer fruit is coming ripe. I’m sure you can now find strawberries, rhubarb, and blueberries in your farmers markets if not in your gardens. Here, we have all three.

IMG_2325.jpg

When it comes to berries, we never have enough for both fresh eating and cooking - it’s a rare day that I don’t go out and snack on them right from the garden and it’s a miracle anyone else ever gets some. So we buy both of these as well when we want to make a dessert, or even have a guaranteed amount for lunches or breakfast yogurt, or when we need large quantities for making jam.

I’ve already shared the clafoutis recipe we got from The Apple Farm, but we like fruit crumbles, fruit crisps, and fruit cakes as well. Smitten Kitchen has a great fruit cake recipe which can be made from any fruit. The trick is to adjust the sugar and liquid levels when you use different fruits. For instance, when using rhubarb, I macerate it with some sugar first, because it needs a little breaking down. That will release some liquid which you need to drain. Also, the rhubarb needs some sugar. If using fresh berries, no need to macerate, just add them as-is, and you may want to cut down on the sugar in the cake. If using something like peaches, you’ll want to cut down the amount of milk in the recipe. You’ll just have to make this a lot, with a lot of different fruits, and experiment. All of it will be delicious, and I’m sure your family won’t mind trying all of those experiments out.

IMG_2329.jpg
“Fruit Cake (adapted, barely, from Smitten Kitchen):

One pound fruit, sliced or whole depending on the kind
6 Tbsp unsalted butter at room temperature, plus more for the pan
1-1/2 C all-purpose flour
1-1/2 tsp baking powder
1/2 tsp fine salt
1 C sugar, more or less, depending on the fruit, plus any extra for macerating, plus 2 Tbsp for sprinkling on top of the cake before baking
1 large egg
1/2 C milk
1 tsp vanilla
Whipped cream or sweetened creme fraiche, to serve

Preheat oven to 350. Butter a dish. Probably a cake pan of 9” will be too small and your cake will run over, so you need something a bit deeper - deep dish pie plate? Casserole dish? Sometimes I use a pie plate, sometimes a larger casserole, and in that case you’ll want to watch your cooking times. Also might be wise to place your baking dish on top of a cookie sheet just in case.
Whisk flour, baking powder, and salt together in a small bowl, set aside. Beat butter and cup of sugar until fluffy, about three minutes. Add egg, milk, and vanilla until just combined. Add flour mixture gradually, mixing until just smooth.
Pour into prepared dish. Arrange fruit on top, then sprinkle with reserved 2 T of sugar. Try to make the fruit one layer if possible but if not, a little overlap is fine.
Bake for 10 minutes at 350, then reduce oven temperature to 325 and bake a further 50-60 minutes. Your cake should be golden brown and your cake tester should come out free of wet batter. The fruit on top will be jammy. Let cool in pan on a rack. Cut into wedges and serve with cream of your choice.”
IMG_2330.jpg

Enjoy!

Tags seasonal recipes, fruit garden, cooking
Comment

Home Improvements

May 21, 2019 Elizabeth Boegel
new roof and new exterior paint

new roof and new exterior paint

Tom’s mom Joan died a little more than a year ago. She and Tom’s dad were master providers and savers, on one public school administrator’s income, and with five children to provide for. Somehow they had enough money to comfortably get them through retirement and their senior years and various health issues. Somehow they managed to save enough over and above that, to pass on to all their children. It was such a surprise, and such an incredible gift, to receive a check from the estate after Joan passed.

We decided that we needed to talk to a financial planner to get an idea of how this gift should be spent, as we really wanted to honor it. When he heard about the state of our 1949 home, he was very adamant that we needed to invest in taking care of the structure, making sure it was both safe and protected for the coming years. Our roof was literally falling off, piece by piece. The roofing over the garage was rotting and leaking. The exterior paint was chipping and flaking, exposing the redwood structure. Both of these issues were expensive and we hadn’t been able to save a large chunk of money to get them addressed. Tom’s parents provided us the means to do so, and we are so grateful.

We chose companies owned by people who had grown up in our neighborhood, folks who appreciated the history of the area and the houses. The roofer was amazed that our interior was dry, the roof was in such bad shape. When the workers came to demolish it, they found all kinds of rot. Many boards were removed and replaced before the new roof was laid. They also replaced all our leaking, rusty, crooked gutters.

the old roof, little more than tar paper.

the old roof, little more than tar paper.

IMG_1762.jpg
the garage

the garage

rotted boards

rotted boards

new roof. new gutters. old paint.

new roof. new gutters. old paint.

With the roof safe and secure, we next turned our attention to exterior paint. From my geography teacher, I had learned that paint color affects how hot your house can get. If you choose dark colors, the paint will absorb more radiation from the sun (insolation), causing the molecules to vibrate fast and creating friction, which would heat up. That heat would be moved into our home by conduction. And when I talked to the painter, he told me that darker colors fade faster and don’t last as long. The trend in our neighborhood has been painting the houses a very dark color, and using a very bright color for the front door. It looks nice, but I knew that a lighter color was the way to go. Plus, our front door was handmade by my dad and would NOT be painted! But I was sick to death of a white house and green shutters. And the trim was a sort of pukey olive color. My painter gave me several palettes that Sherwin Williams had put together for ‘California Modern Ranch Houses.’ We all voted, and ended up with a paint that is somewhere between brown and grey. The painter also commented on how our house was a ‘gem.’ That everyone is tearing down and rebuilding, or enlarging the footprint, but that our house was unique because it was historically intact. He wanted to protect the redwood, which was a-ok with me. We were on the same wavelength. The painters had to work between rainstorms (rainstorms! in May! very unusual) but we now have our beautiful new exterior. And oh, they said that our 70-year-old house had had only two coats of paint in that entire time… can you believe it?

I love the dark brown trim

I love the dark brown trim

IMG_2289.jpg
IMG_2291.jpg

You see that door? That leads to the garage. We had the most disgusting door before, both here and the one leading to the laundry room. Oh, I found a picture, here you go:

IMG_2191.jpg

Holes had been hacked out of both doors (not by us) for animals, and they were gross. Plus do you see that hole to the left of the door? Someone hacked that out to put a dryer vent in the garage (we have ours in the laundry room where it belongs!). Tom was able to make a circle of redwood to fit most of the hole, and the painters sealed the rest up with a special putty. You’d never know that hole had been there! Anyway, Tom and I bought ‘new’ doors at Urban Ore, a great cavernous warehouse in Berkeley that has a bunch of scavenged materials from building sites that are being torn down. We found two of the exact same doors, and Tom bought new hardware, and somehow managed to get the doors to work in this old, crooked house. The painter looked at the ‘new’ doors and said “Those are $300 doors!” We paid $75 each, so we feel pretty proud of ourselves.

After these two major projects, we still have a little money left, so we made a list of all the things we want to tackle in the house, none of which are urgent issues, and many of which are aesthetic, like refinishing the oak wood floors. We couldn’t figure out what was best to do first. We plan to be in this house another 10-15 years, and we want to enjoy our time here. We see people redo their houses all the time and then sell them right away, never getting to enjoy what they’ve done. We want to increase the property value, but we also know that trying to make it right for a buyer’s taste is not the right thing to do, since they’ll probably change everything anyway. And our yard - our weird, permaculture farmy yard - is already going to skew our sale to a certain kind of person. Anyway, I remembered that the real estate agent who helped us find this house 15 years ago is married to a contractor - he helped us put in a duct system when we first moved in, for central heat and air (all it had was a wall heater). I contacted them and he agreed to come over and help us prioritize. He didn’t think it was worth it to try to add another bathroom (we only have one) since the kids will be going to college soon. He didn’t think a whole bathroom redo for our one bathroom was worth it. He thought redoing the shower might be good, and redoing the kitchen counters. When we told him about our old pipes, he thought repiping would be a good investment. And he also was very much on the side of adding solar panels, which is something we very much want to do, but weren’t sure it was worth it. I mean ecologically it is VERY worth it, what I mean is if it would improve the value of our home. He said a very vehement ‘yes’ and also said it was important to buy, not lease.

It is worth it to add that when we asked the kids what they thought we should do with the last bit of money, they both immediately said ‘solar panels.’ No hesitation. It’s good to listen to the younger generation. They’re pretty smart.

So, now we are deep into that research and learning curve and are gobsmacked at how much it all costs. We need subsidies for clean energy!!!! How is anyone supposed to afford to do the right thing? Anyway, I will keep you updated on what we decide and the entire process, if it happens.

Meanwhile we are feeling very safe and protected in our newly roofed and painted home! I can’t get enough of walking around and just looking at it. Thank you Joan and Tom Boegel, for being such amazing savers and such generous people!!! I hope you’re looking down on us and smiling in approval.


Tags home improvements, old house, thank you
Comment

the Biggest Little Farm movie

May 19, 2019 Elizabeth Boegel
Unknown.jpg

Today I saw a GREAT film. You’re gonna want to see it too! Beautiful cinematography, heartfelt story, important wisdom, and a great all-around experience. To get tickets, go HERE.

I truly believe that if we support and develop farms like this all across the United States, we can do away with large-scale monocultures. Really - go see this film.


Tags learning, regenerative, organic
Comment

Blue Pollen

May 11, 2019 Elizabeth Boegel
IMG_2241.jpg

Look closely at the pollen baskets on the bee above. Can you see it? I watched this bee for a long time, and she was definitely collecting blue pollen. You should have heard me hollering at Tom across the yard, “PURPLE POLLEN!” He came running, worried that I was having a medical emergency. I have NEVER seen blue pollen before, either on a bee coming into the hive, or in the hive, or on a bee foraging. It’s very exciting and is worth hollering about. I mean, orange, yellow, white pollen - a common, everyday occurrence. Pink? Less common, and means there is cilantro blooming in the neighborhood.But blue? Never!

IMG_2253.jpg

Turns out, we have lots of flowers growing at Poppy Corners that produce blue pollen, so it’s somewhat strange that I’ve never seen it before. This flower above is Phacelia tanacetafolia, or tansy-leafed phacelia. I have several different kinds of phacelia growing, and apparently they all have purple/blue pollen. Other plants that produce it? Chicory (growing here). Caryopteris “Bluebeard” (growing here). Siberian Squill, a bulb better known as Scilla (not growing here, but maybe soon!).

The color of the pollen hasn’t been really studied in terms of affecting honeybee health, although a simple question such as “what makes blue pollen BLUE?” can yield some interesting correlations. What makes blueberries blue, for instance? It’s anthocyanin. This is the same compound that makes leaves turn red in the autumn. There’s been a lot of research about these compounds and how they help keep humans healthy. So it wouldn’t be too far of a stretch to imagine that blue pollen is rich in anthocyanins, and perhaps helpful to the bees’ health. But again, I had trouble finding any proof of that. The simplest explanation for why the bees eat pollen is that it’s protein-rich, whereas nectar is carbohydrate-rich. Bees need both to live, though the larvae get the lion’s share of pollen to aid in development. Pollen is stored in the frames with brood (eggs and larvae) for ease of convenience, one would imagine. Sometimes it is fermented and capped for later use. It’s fun to look at pollen storage in the hive and note all the different colors. But blue. I mean. Cool, right?

Tags bees, insects, pollinators, flower garden
6 Comments

Cutworms?

May 8, 2019 Elizabeth Boegel
suspicious…

suspicious…

I think I’ve got cutworms in the bean patch. I keep seeding, and they keep germinating, and then something comes along and cuts the stem at the base. It looks suspiciously like cutworms, something I’ve never dealt with before.

Cutworms are the larvae of, you guessed it, cutworm moths.

flat,550x550,075,f.u2.jpg

Kinda cute little guys. But I am not happy. I am tired of reseeding beans, just to have them cut down in their new growth. It’s lucky that I have a generous stash of bean seed saved up from last year to use, because I’m going through it like crazy.

UC IPM says to dig through the soil and search for the pupae and larvae, and remove by hand. So I did that. I want you to picture me, digging through brown dirt, for brown pupae. You see the futility, right? I did not find cutworms. I did find some slugs, though, so my search wasn’t completely in vain.

What I might do, the next time, is plant for a two-fold defense: I will plant very densely (hoping that the sheer volume will cause some to succeed), and I will place little ‘collars’ over the germinating seeds. I was thinking maybe cardboard toilet paper rolls (the inner part) for these, cut into smaller portions, would work. What do you think?

Have you dealt with cutworms? How did you manage them?

Tags insects, IPM, pests, vegetable garden
Comment
← Newer Posts Older Posts →

Subscribe

Sign up to get email when new blog entries are made.

We respect your privacy. We're only going to use this for blog updates.

Thank you! Please check your email for a confirmation notice to complete the subscription process.

Powered by Squarespace