I've done a lot of crafty things over the years, but one thing I've never tried is making candles. I've always wanted to, as we often have quite a bit of beeswax after removing honey from the hive, and this would be a good use for that. (You can't compost wax, it has to be used in another way or thrown in the trash.) I also often have leftover essential oils, as my neighbor has an essential oil business and she's kind enough to give us some whenever we have an injury or sickness. So when we were looking for a project to do with our close family friends, we thought this would be a good time to figure out the candle making thing. And it was so easy, I'm definitely going to do it again!
Here's what you need:
A pound of beeswax. This can either be from your own hive, or you can buy it in craft stores. Of course I recommend the most pure stuff you can find - organic if possible. Yellow beeswax is best, and at craft stores it will be in pellets or pastilles.
1/2 cup coconut oil. Beeswax alone tends to cave in as it solidifies, because the wax on the outside of the candle is cooling faster than the inside. Coconut oil helps to solidify things at a more even temperature.
Wicks, with metal discs at one end, like these.
Wick stickers (we didn't have these and it would have been easier with them), to stick the metal discs firmly to the bottom of the jar, like these.
6 4-ounce mason jars. We used some Weck jars that I couldn't find any other purpose for because the lids are fiddly.
Something to hold the wick up as the wax cools in the candle. You'll see in the pictures how we did this, but you can use clothespins or pencils with the wick wound 'round. There are also special wick holders, but you'll need several, so that may not be the cheapest option.
Essential oil. These are expensive and you'll need about a tablespoon. We used lemongrass and lavender, but you could use any scent you like. I recommend Mountain Rose Herbs for these. You could also use synthetic scents, but that's definitely not something I enjoy.
A double boiler, or something you cobble together. You need a pan of boiling water with another pan on top to melt the wax.
The first step is to melt the wax with the coconut oil in the double boiler.

Just starting out -
This step took longer than I thought it would. But that's ok, it gives you a chance to prepare your jars. Put a wick sticker on the bottom disc of your wick and secure it in the bottom center of each jar. Get your holder in place - whether pencils or clothespins - we forgot this step and had to scramble afterward. I don't recommend that.

Almost there!
When the wax is completely melted, take it off the heat and stir in your essential oils. In our case, the lemongrass completely overpowered the lavender, so it might be wise to just stick with one oil.
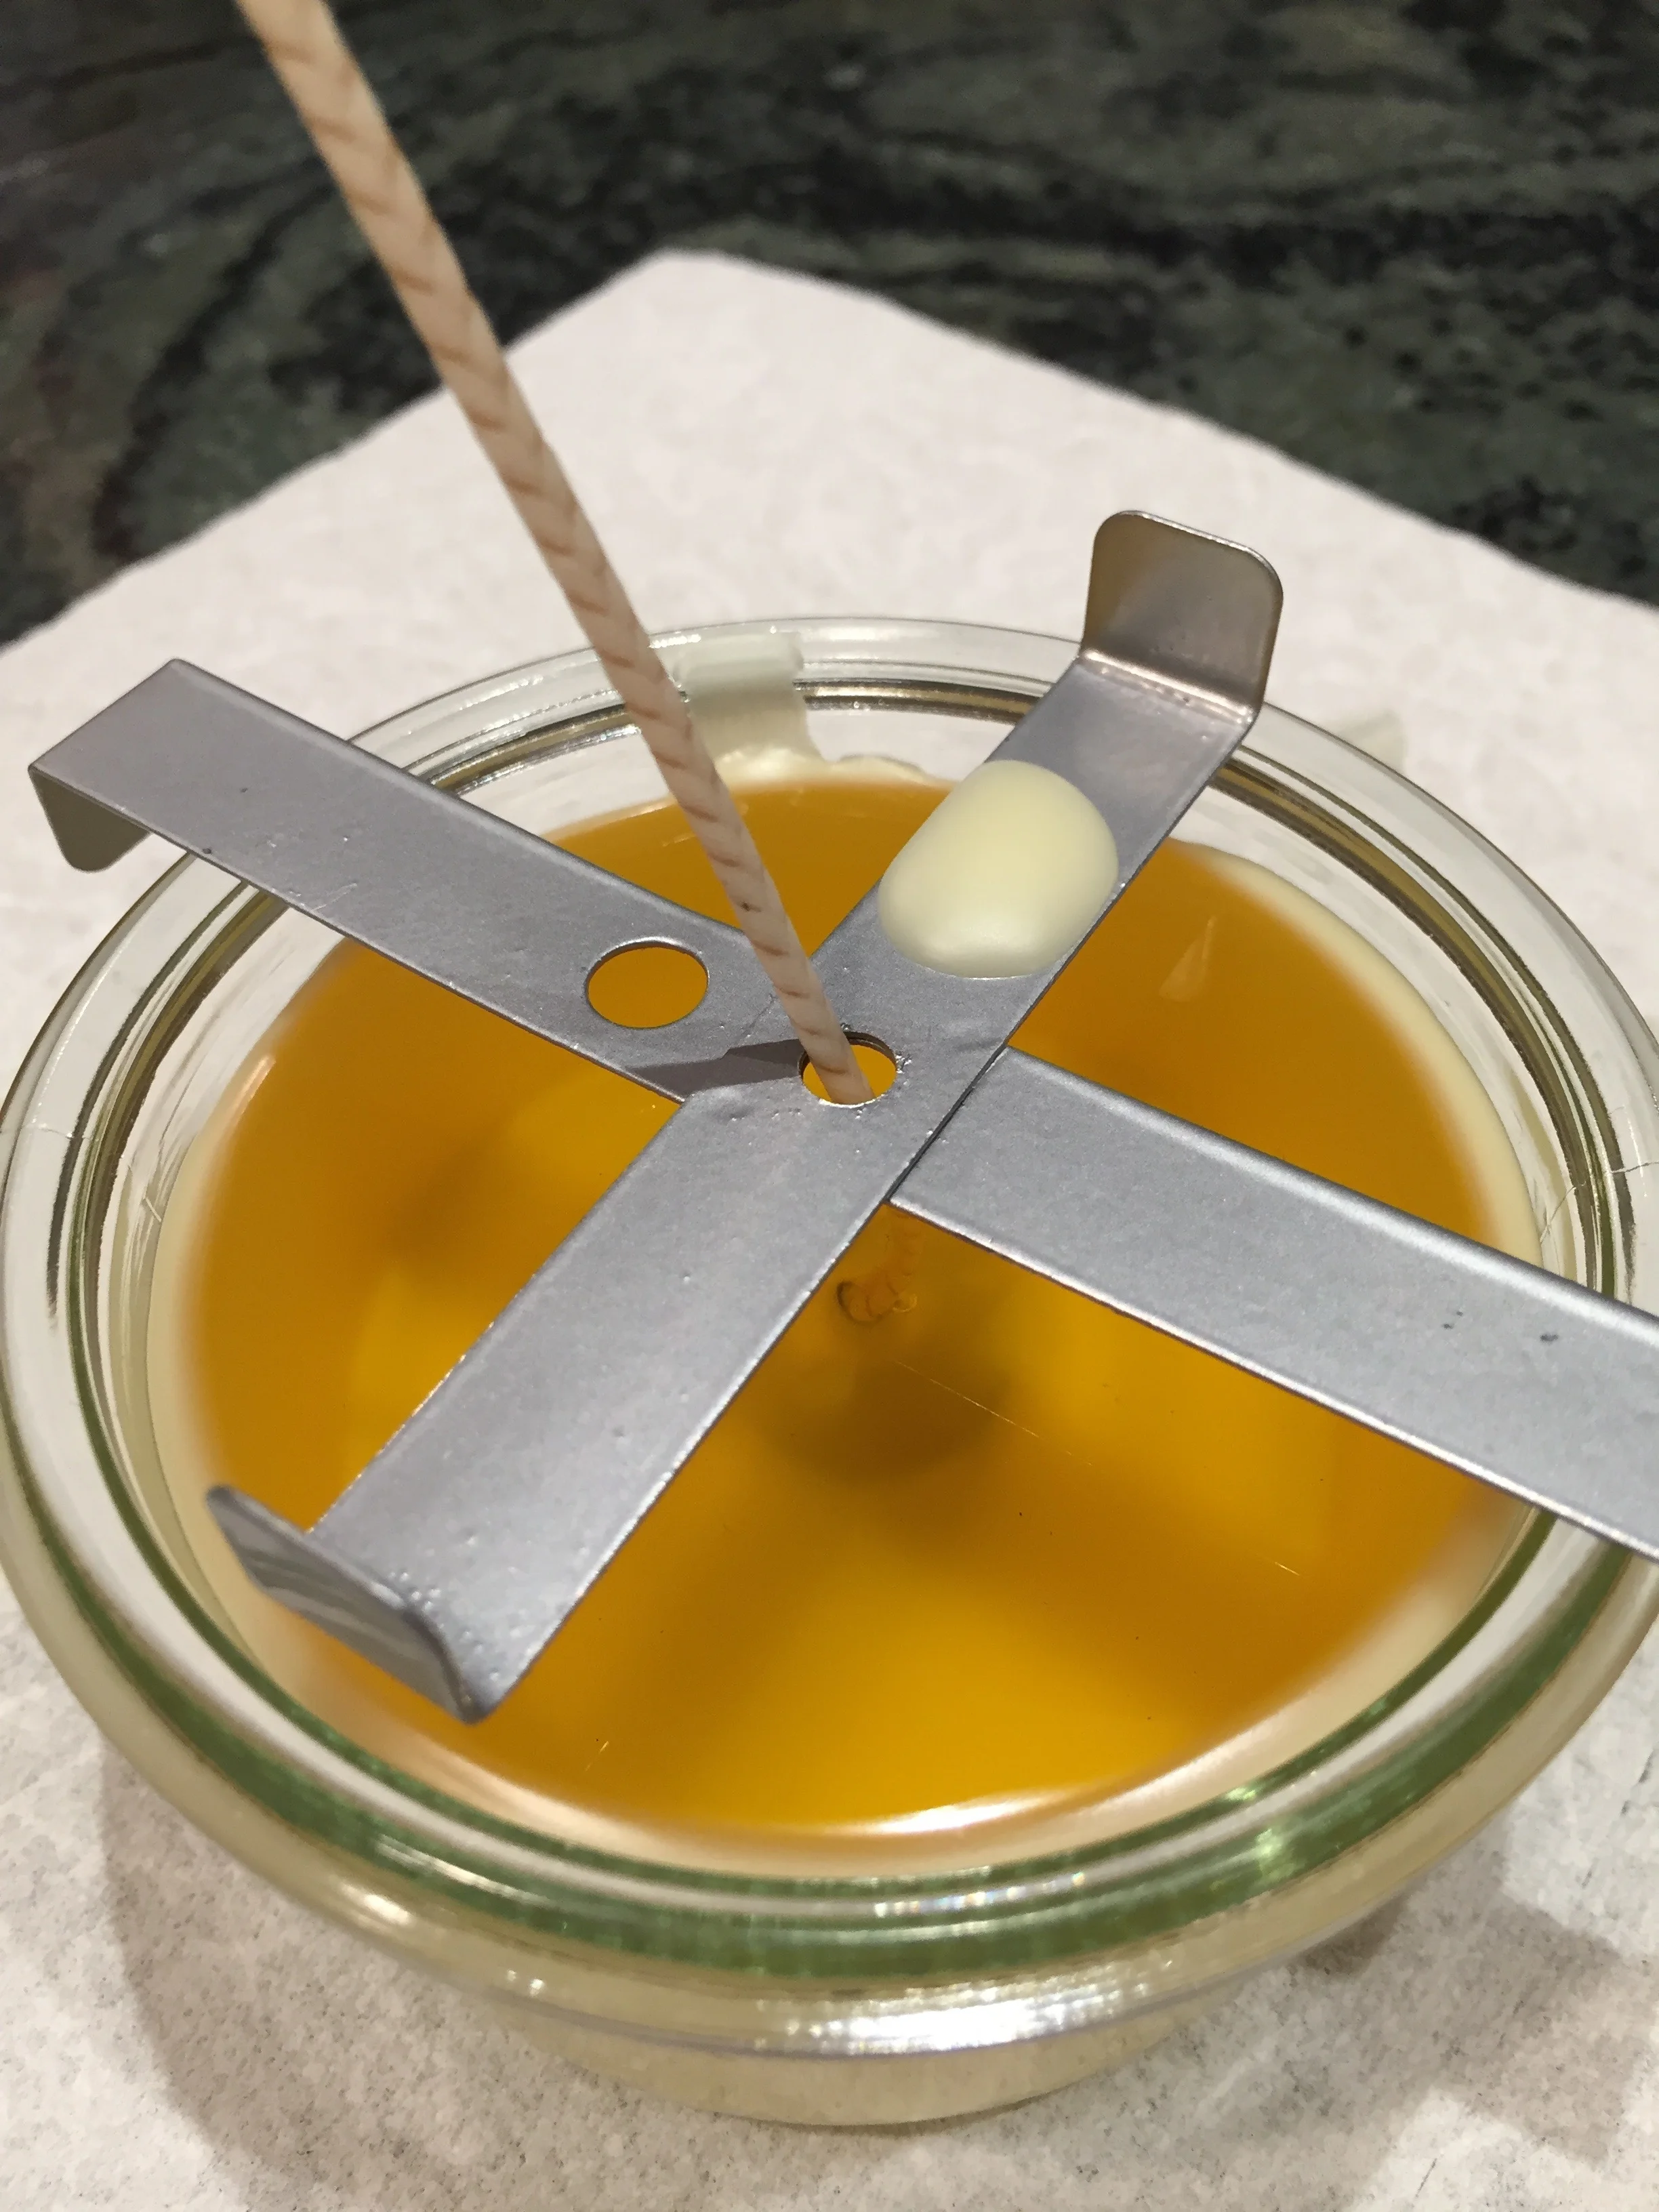
Then pour your mixture quickly into your prepared jars. We ended up only needing four jars, though we though the mix would make six. Your mileage may vary. Then we got the wicks secured - sort of - with various cutlery. It looks stupid, but it worked.

We had one 'real' wick holder, and that definitely worked the best.
It was fun to watch the candles cooling. After the fact, I read that you should put the cooling candles in a warm oven to cool - like turn the oven on to 175, then turn it off, then put your candles in there - because they will cool more slowly and they won't collapse. But we just cooled them on the counter and they didn't collapse. The coconut oil helps a lot with this step.
I've read that we should let the candles cure for two days, then trim the wick to 1/4". To light the candle, place the flame down near the base of the wick so that some of the wax melts and gets drawn up into the wick, helping it to burn. And as with all natural wax candles, let the candle burn long enough that the melted wax runs to the edge of the container, so that you don't have that tunneling effect.
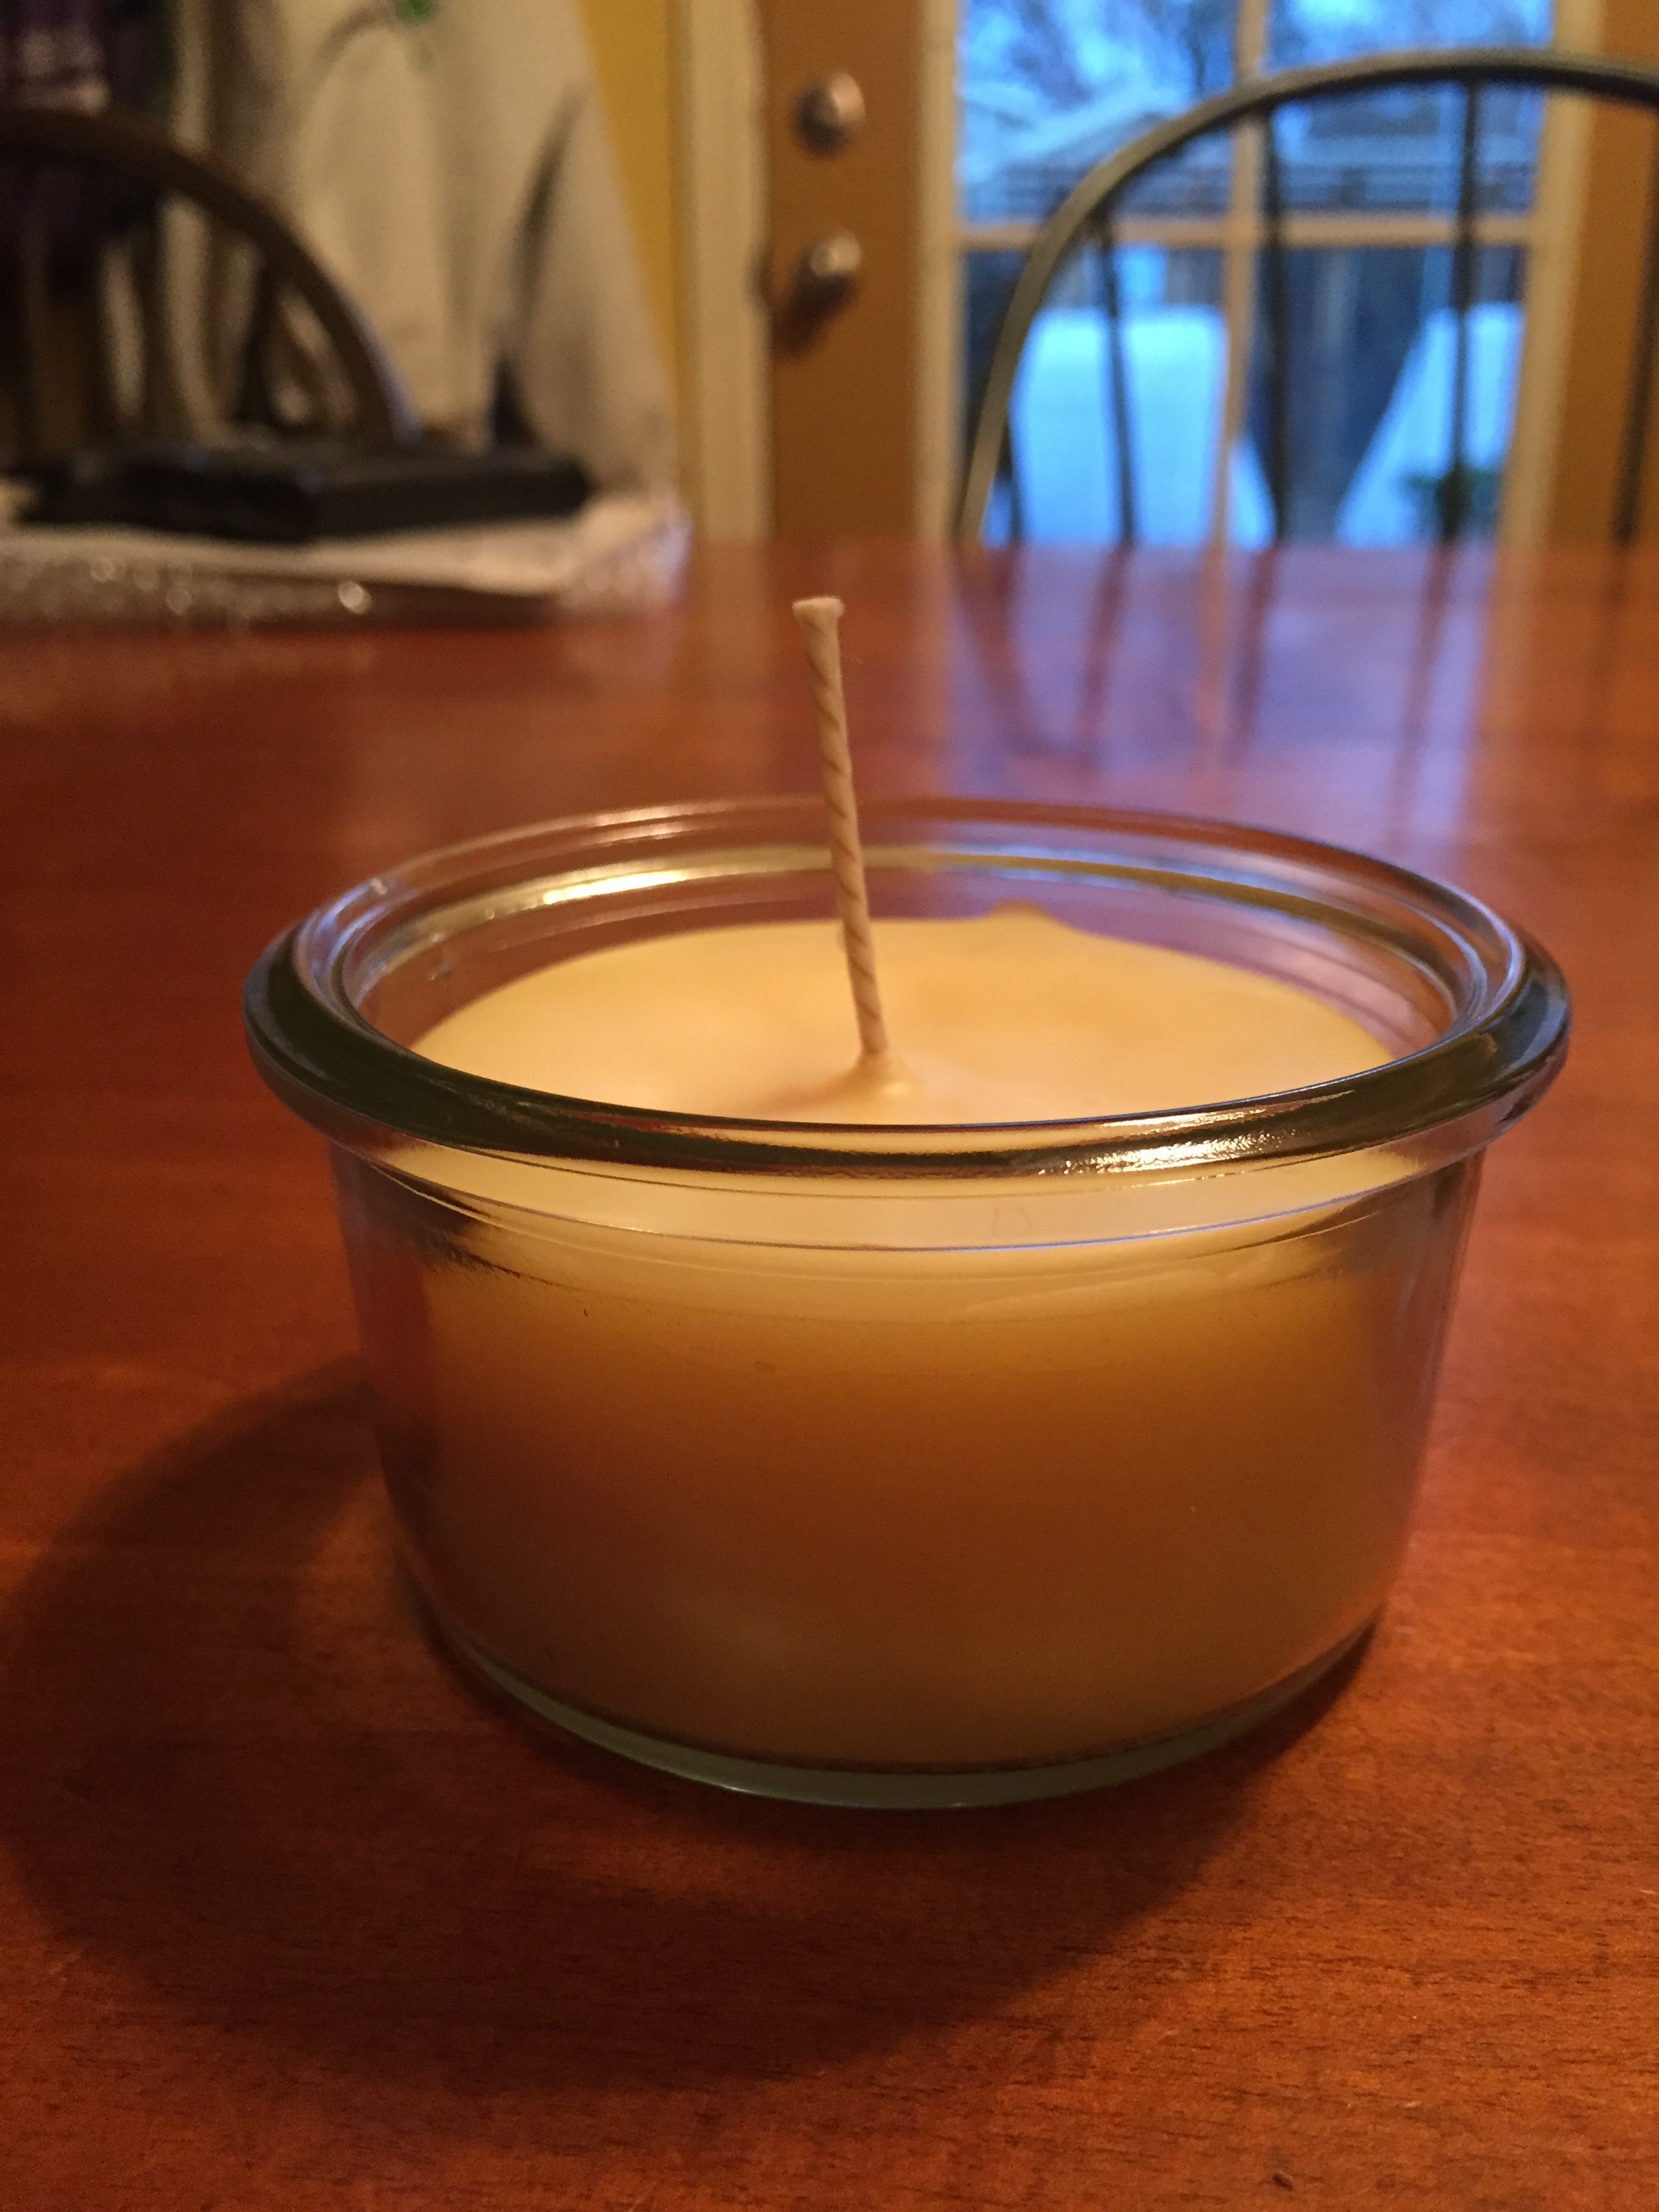
The candles look lovely and smell great. We can't wait to burn them, and I can't wait to make more, after we harvest more honey in the spring!