Weekend projects - raised beds, planter boxes, and bacon

Guest post by Tom today.

This long President's Day weekend, I worked on a few different projects around the house. It's nice to take a break from working at a desk, and it's nice to work on some projects that you can look at afterwards and say "I did that".

First off, there's the new raised beds that Elizabeth has mentioned. Last fall we'd covered the last of the grass in our yard, and so this weekend was a good weekend to get the raised beds built. The space we had to fill was a little oddly-shaped, and we wanted to break out of the square and rectangular mold with these beds, so there's a large center diamond and four smaller triangular beds.

new_beds.jpg

The redness of the new redwood will fade to match the other raised beds in the background, and of course we still have to get a bunch of dirt and fill them in (and run some drip lines to them). Elizabeth's still finalizing what will go in here – some perennial vegetables, a citrus tree? It'll get some shade during the summer, so that's something to consider.

The next project was to work on some planter boxes for the back patio. I built four in total, taking inspiration from a simple planter box design I saw online. These planter boxes will form the basis for our backyard hopyard. I sketched up plans for a big ol' arbor, but then started doing math on how much the lumber would set us back, and decided that the planter boxes would be this year's construction, and that we'll go with a more economical trellising system using 3/4" electrical conduit.

I was fortunate to be able to go over to Elizabeth's dad's shop and take my big pieces of lumber and break them down into many small pieces of lumber. Here's how the boxes came together:

Side panels were made with 4 two-foot sections of 1x6, with a 1x4 crosspiece top and bottom.

Legs that were slightly larger than the side panels were attached, along with a horizontal cleat, using 2x2's. (Note: in the final version, I moved the cleat to be 12" below the top of the side panels).

After combining the four side panels, I put 1x2 slats evenly spaced across the cleats:

I then stapled in a double-thickness of landscape fabric across the bottom, to keep the dirt in but let excess water through.

The final boxes are substantial – they probably come in at around 30-40 pounds, and that's without any dirt. Some of that is the water content in this very new redwood I'm working with, but I'm hopeful that this will be a solid base upon with to attach our vertical supports for the hopyard.

The final project of the weekend was bacon! It's been almost a year since I took that salumi-making class with Angelo Garro, and I haven't gotten the wherewithal to actually follow up that lesson with any salumi-making of my own (mostly because I've prioritized other things over making a temperature- and humidity-controlled environment for aging salumi and cheeses).

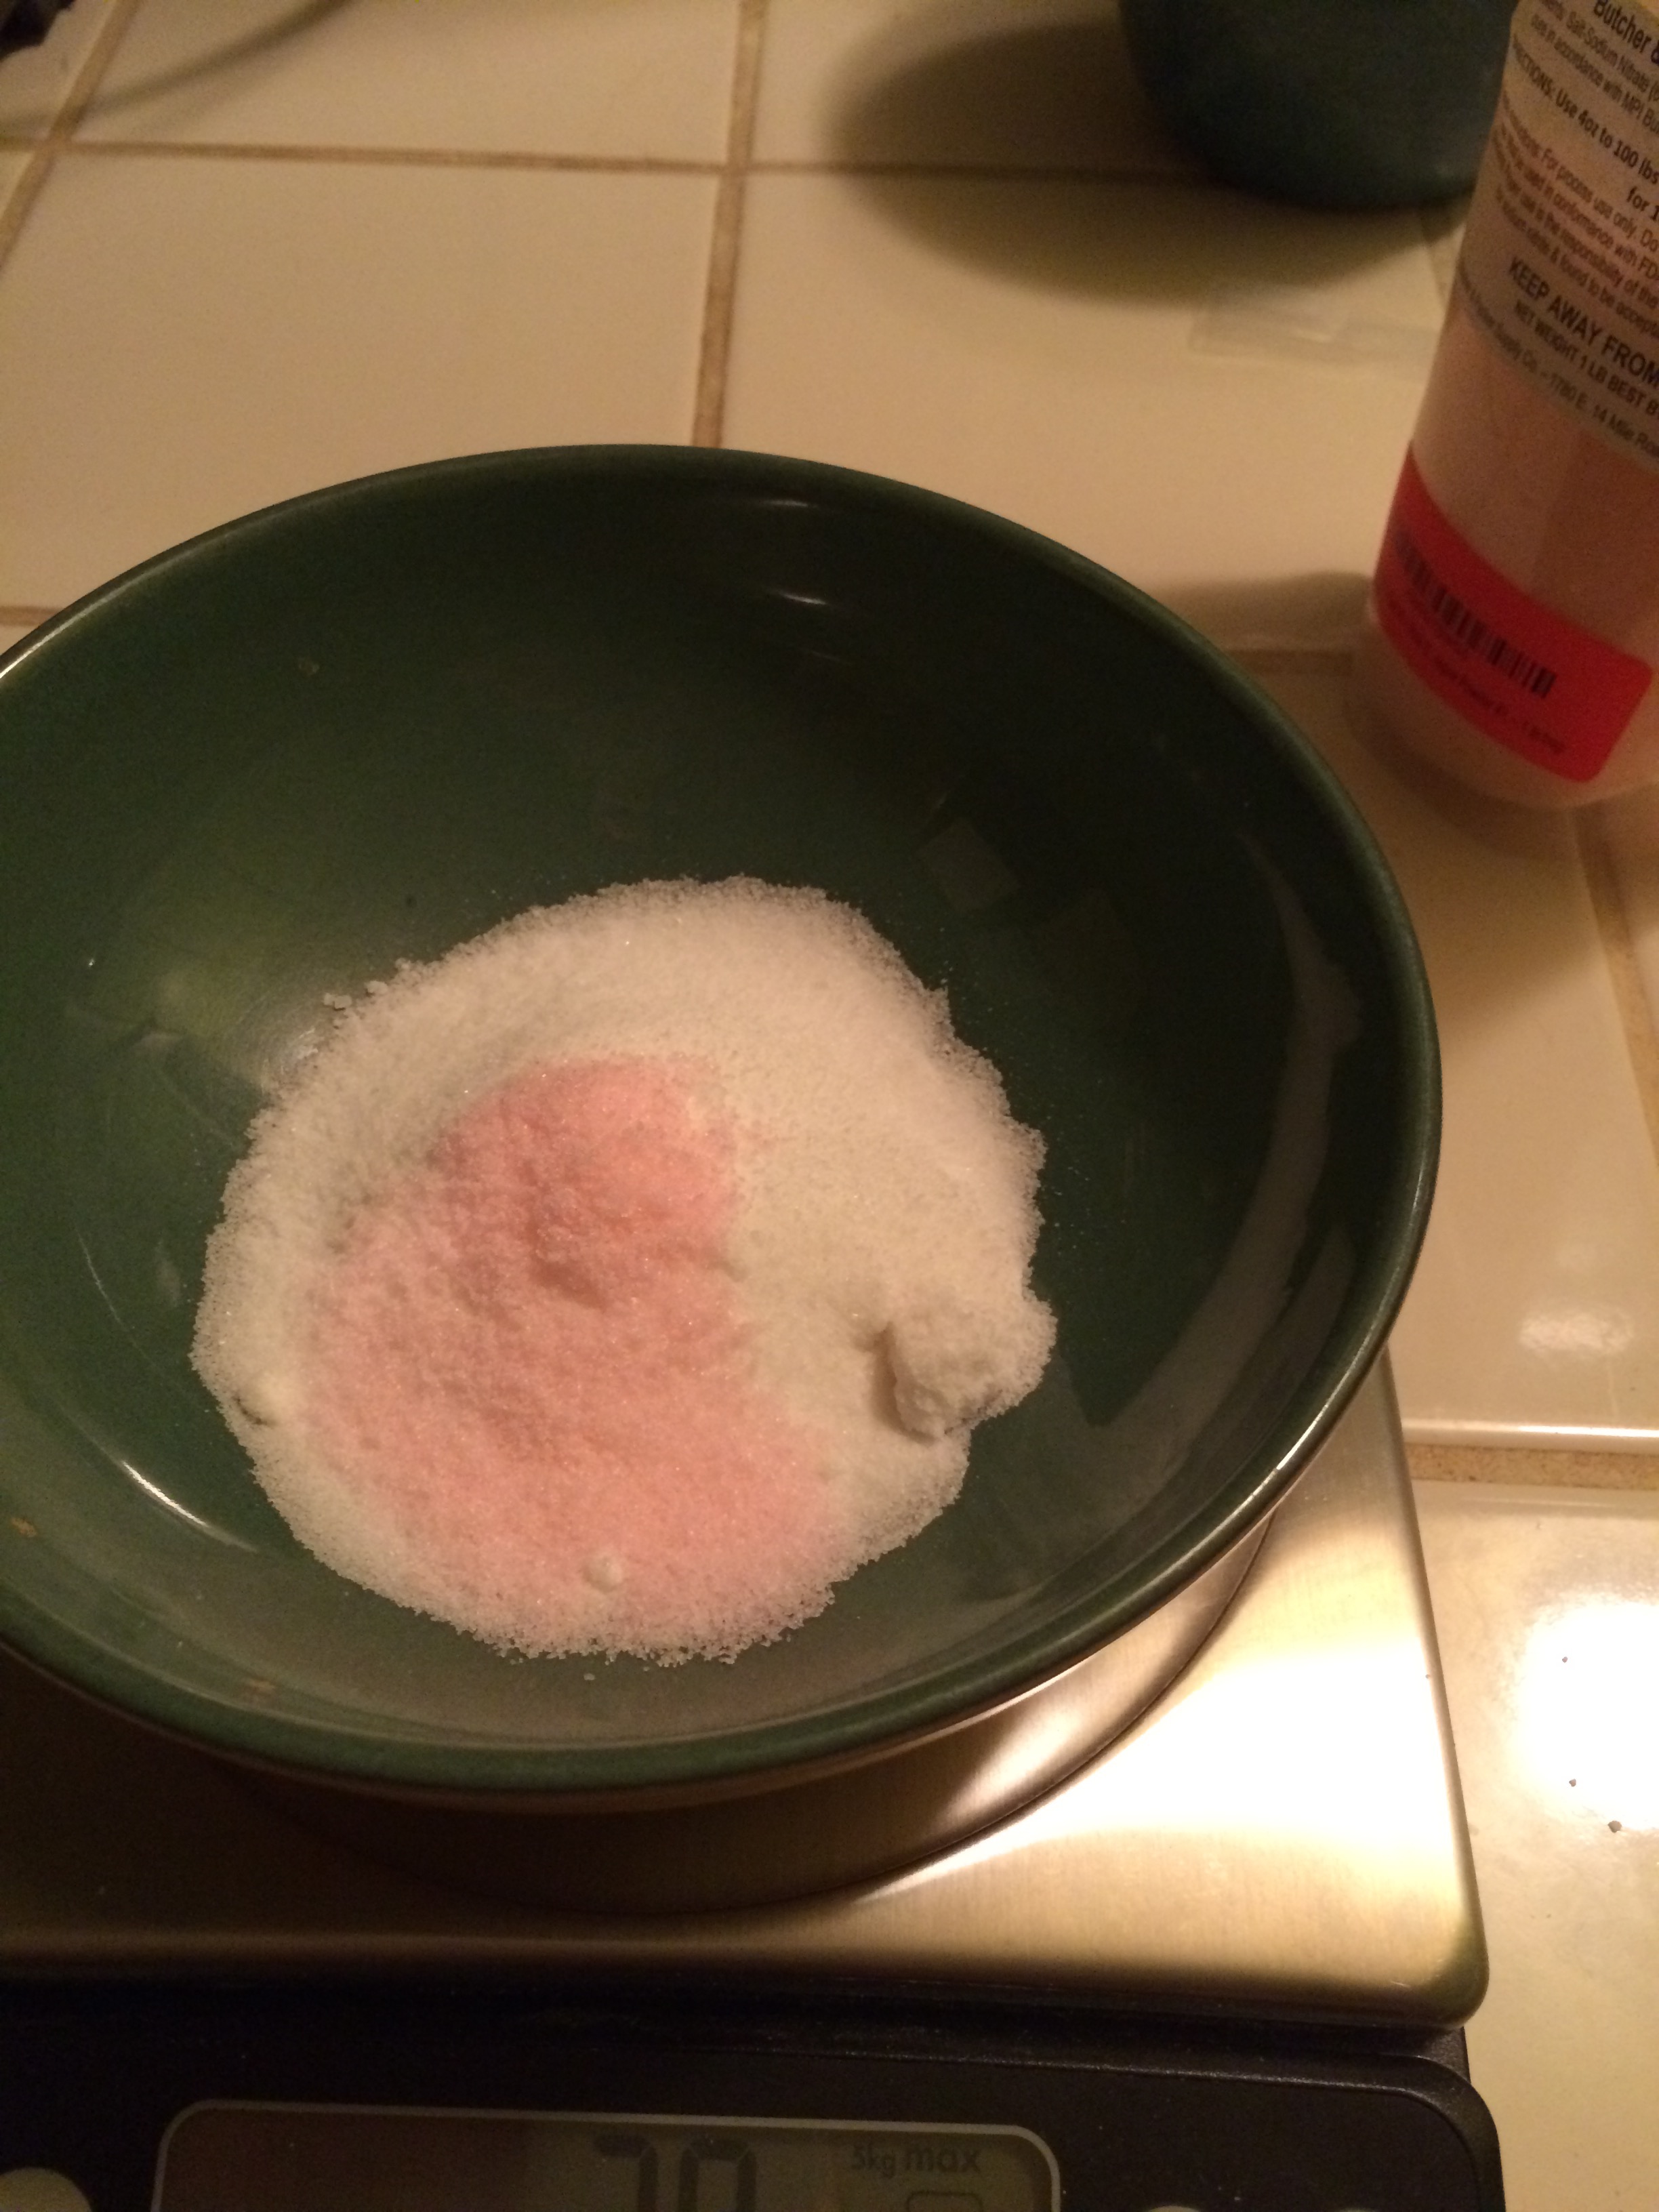
Anyhow, a couple of weeks ago I got my hands on a copy of Charcuterie, by Michael Ruhlman and Brian Polcyn, which talks about how to make all kinds of meat products, from duck confit to salumi and sausages to patés and terrines to – yes – bacon! Of all of these, bacon seemed to be one of the more straightforward things to attempt – it cures at regular refrigerator temperatures, and while it'd be nice if I owned a smoker so that I could make hickory-smoked bacon, it's not strictly necessary. There's only one speciality ingredient, "pink" salt, which is salt mixed with sodium nitrite. Pink salt is used to stave off the bacteria that causes botulism, and is readily available online. (Note: don't confuse the curing-meat pink salt with that fancy himalayan pink salt).

I worked with the basic cure mentioned in the book, which is just sugar, salt, and a teaspoon of the pink salt:

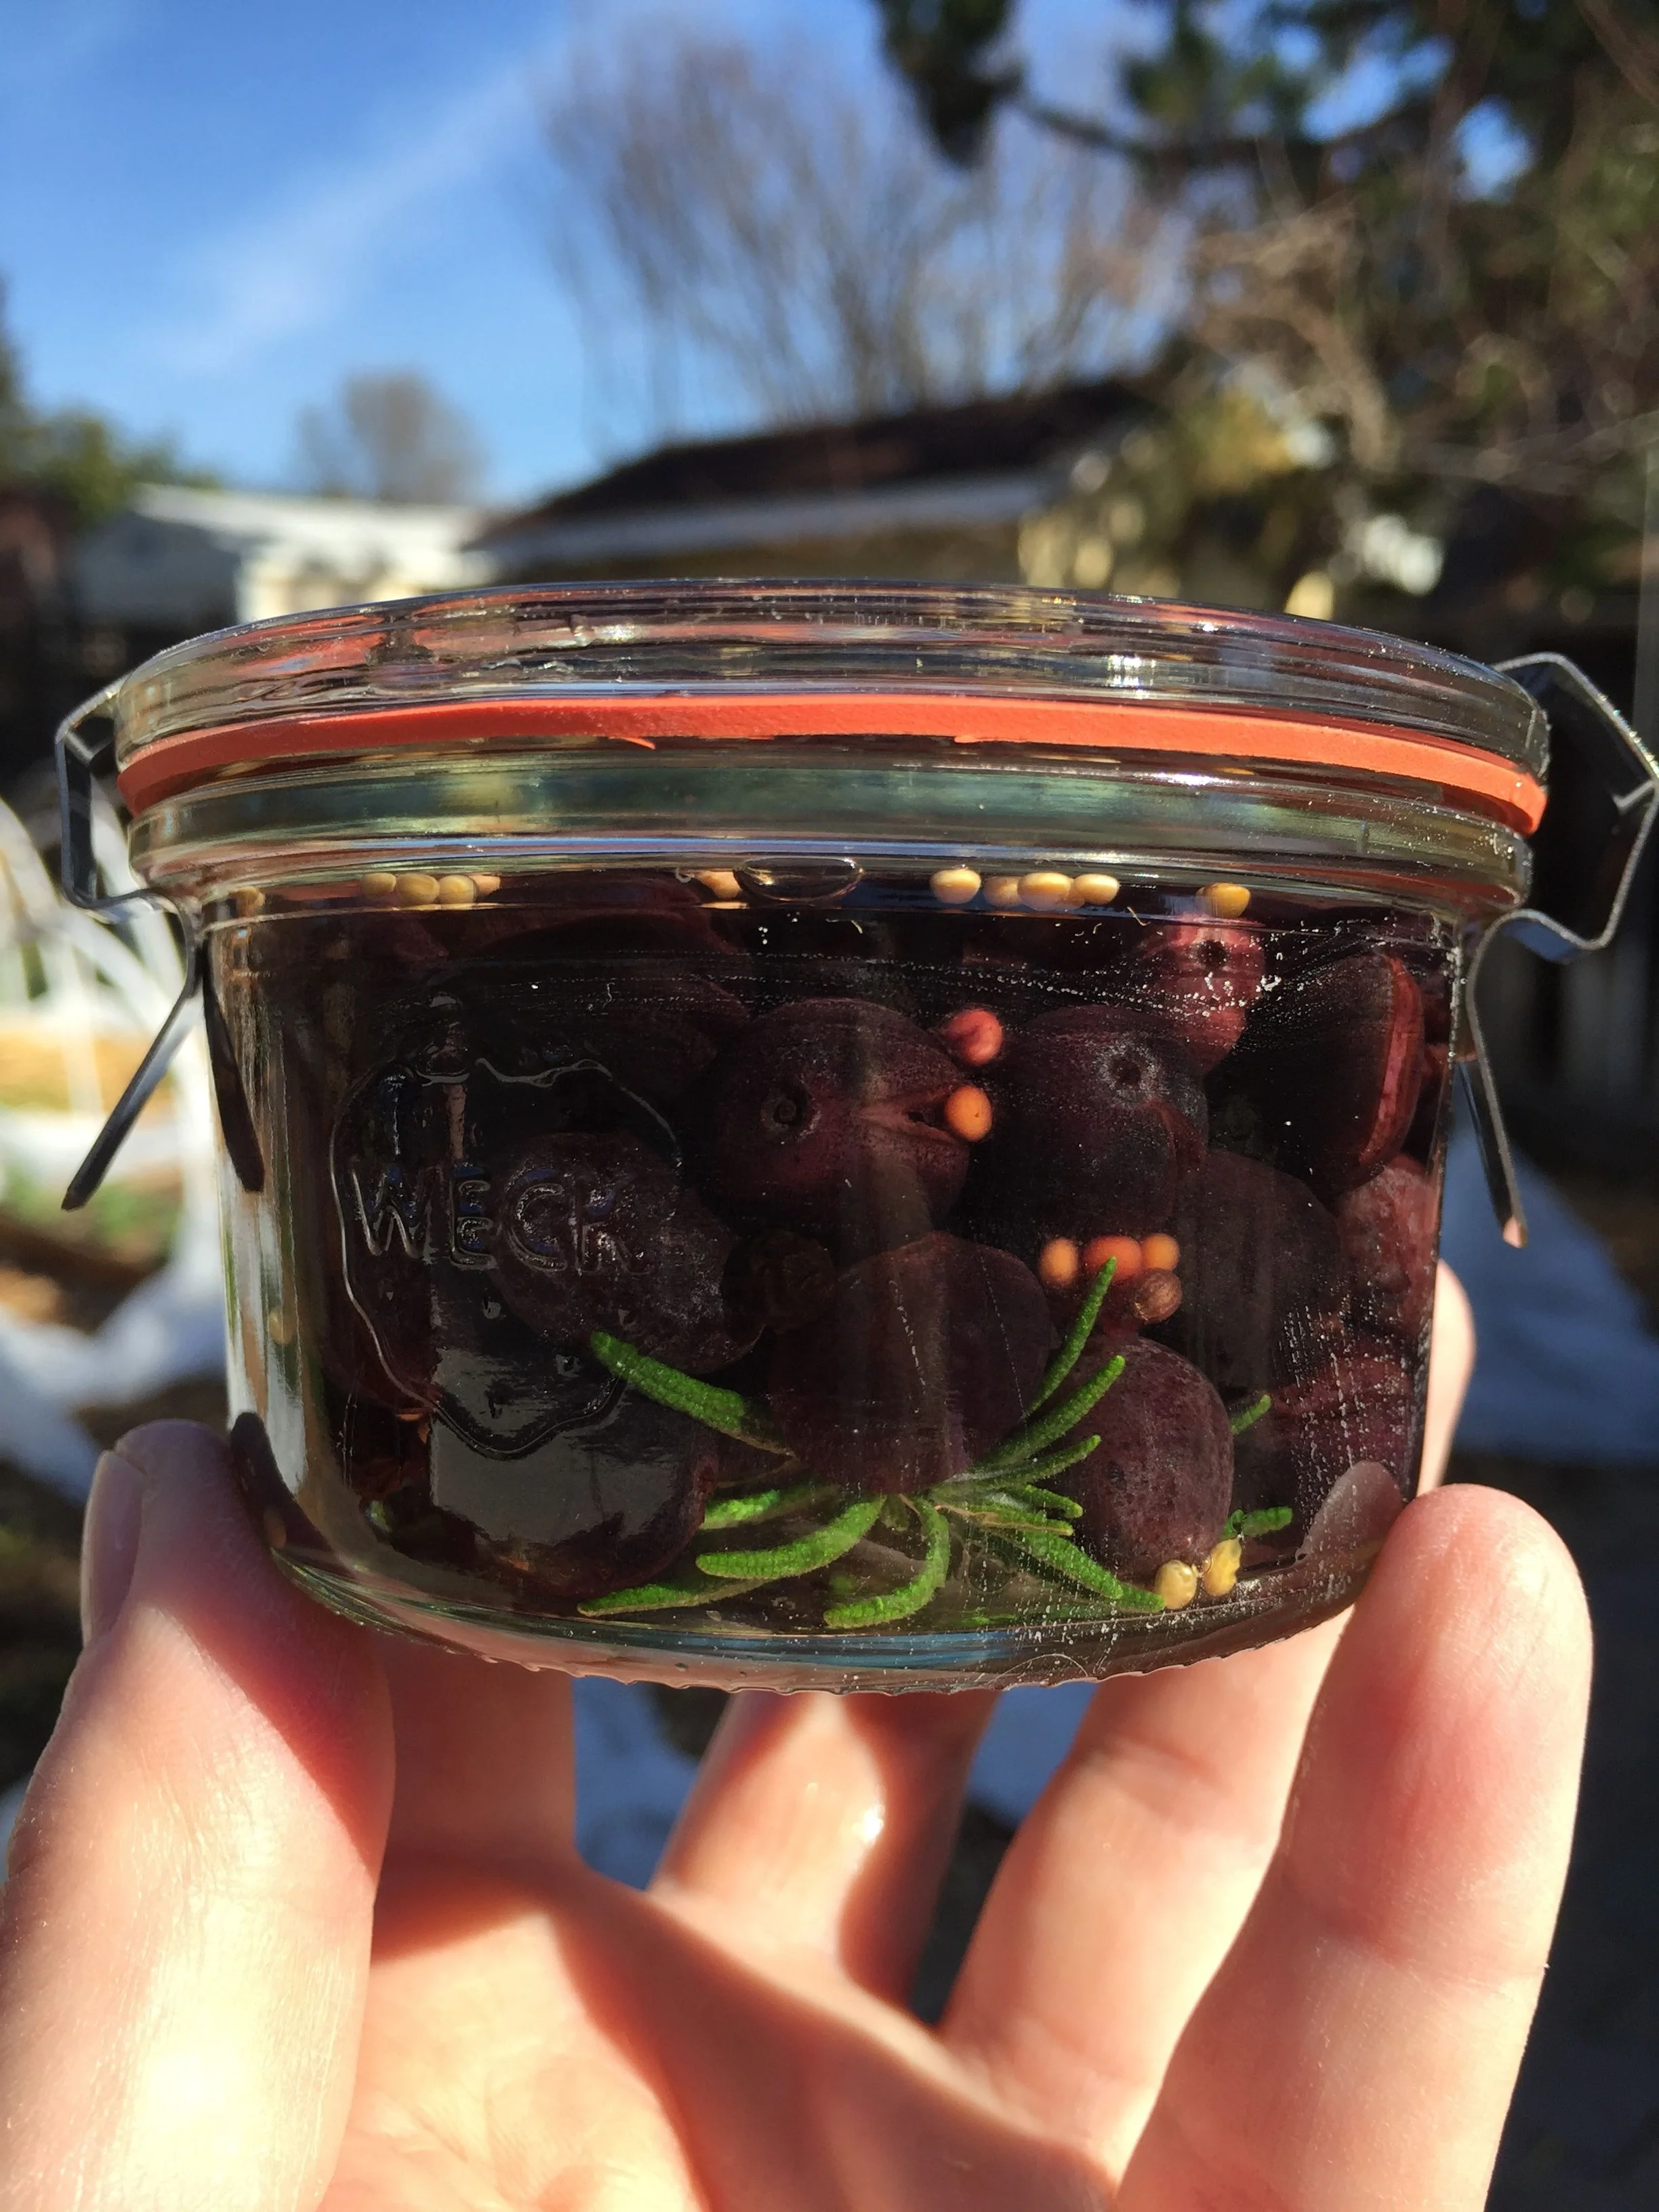
I squared up the edges of the pork belly that I got, slathered over the cure, and put it in a big (2 gallon) ziplock bag:

Mmm...

Mmm...

It now gets to sit in the fridge for seven days, with me flipping it daily. After seven days, I wash off the cure, and then heat up the pork belly in a 200ºF oven until it reaches an internal temperature of 150ºF (this would nominally be the step where I'd smoke it, if I had a smoker). Cool it off, slice it up, fry it up, yum. If this works out, we could have some very nice BLT's in the summer.

Well, I think that's about enough for one weekend. Time to enjoy the product of a previous weekend's work:

A really nice homebrew IPA. I'm thinking of calling it Hoppy Corners.

A really nice homebrew IPA. I'm thinking of calling it Hoppy Corners.


Honey, Beeswax, a Bird House, and an Olive Correction

Here it is.

Six half-pints (plus another quarter pint in the cupboard now) of lovely, golden honey. The best part is, we didn't expect it. And we're totally out of honey, so it couldn't have come at a better time.

Tom asked that we save the beeswax and render it, so I did some research on that. I finally found a method on a blog called Montana Homesteader  that sounded doable. 

First, I gathered the leftover wax into a cheesecloth package, securing it at the top with a rubber band.

Then, I plopped this whole parcel into a large pot of water which had been heating on medium-low for a while.

I probably let this go for about an hour, just on that low heat, while the wax melted out into the water, and the cheesecloth held on to the bits of bees and other gunk that was stuck in the wax. Then, when I thought it was close to done, I used tongs to smush the cheesecloth together and squeeze out all the melted wax. I threw that cheesecloth away. Then, you just have to let the pot sit and cool. The wax rises to the top and forms a disc floating on the water.

When it was totally cool, I ran an offset spatula around the edge of the pan, scooped out the disc (breaking it, darn) and put that on several thicknesses of paper towel. I then scooped out any random bits and pieces of wax and added them to the paper towel.

It's pretty, isn't it? Maybe we'll melt this down further and make it in to a candle or something, but I have to say the clean up from rendering wax makes me never want to do it again. Beeswax melts easily, so I just warmed up the utensils I was using over a hot burner flame (gas) and then wiped off the melted wax with paper towels. The pot was warmed over the burner and then wiped out with many, many paper towels, then given a coat of coconut oil and wiped again for good measure. This uses a lot of paper towels that can't be put in the compost, but on one beekeeping forum a guy said he uses these for lighting his smoker. This is a good idea, but I don't use the smoker very long, as I only have one hive to check, and I don't like the idea of melted wax all over it. So I just threw the paper towels away, guiltily.

If one was going to make a habit of rendering beeswax and melting it, one might consider getting a dedicated set of tools. Ahem.

I forgot to show you a picture of the new birdhouse we got, a gift from my parents who visit Williamsburg every year. This is an authentic Williamsburg-era birdhouse. Tom installed it behind a cover of ceanothus, as we find the birds are more likely to use houses we give them if they are behind cover.

One more thing I wanted to share with you today: I tasted the olives in that extremely salty brine I made, and holy shrunken tastebuds, it's waaaaay too salty. So I drained all the olives, rinsed them thoroughly, washed the containers, and made a new brine using a recipe I found on the UC extension preserving website. It involved a little salt, some red wine vinegar, and water. I re-packed the olives in this brine, again with herbs and garlic, and with a thin layer of olive oil on top. These will keep for a year at 60-80 degrees.

Super Bee Sunday

Ha ha. The game is on here, but we're not really watching it. It's been an interesting week in San Francisco with pre-game events and concerts, all of which we've largely ignored. There's been controversy about the homeless of SF, of which there are way too many, and 'where to put them' so the tourists wouldn't be affected in any way. To be frank, I'm tired of going to the morning paper and seeing Super Bowl news. Today at least, the hoopla is down closer to San Jose, about an hour/hour and a half south of us. 

Anyway, our list of chores didn't change any. We still had all kinds of stuff to accomplish in the garden and kitchen, and it all got done. Since it's a beautiful day, we decided to open the hive and see how the bees were faring. Over the past week (sunny and warm) I had noticed some limited activity, and I wanted to make sure the bees were ok. 

I tried this trick Dad said he uses, which is to set a timer for a minute and count how many bees come back to the hive (after foraging). He has two hives; one is very strong, and he had 30 bees come back within a minute. His other hive, which he thought he lost this winter, had 10 bees come back within a minute. Me? I had 5 bees come back. So I was a little nervous about the state of the colony.

But what we found was very encouraging. We really have very few bees, I mean it seemed like maybe a hundred (though I'm sure that's wrong). However we found the queen, we found a small bit of brood, we found plenty of honey still in the hive (and several bees were eating it) and new pollen being packed in to cells. So while they are extremely diminished in number, they are also beginning to recover.  

House bees working near the brood

House bees working near the brood

Sorry so fuzzy, but that's the Queen up top. She moves fast and it's hard to focus before she's gone!

Sorry so fuzzy, but that's the Queen up top. She moves fast and it's hard to focus before she's gone!

We rearranged some bars, moving those full of honey up close to the cluster. We saw an opportunity to take out some old bars on which the bees had built comb sideways (it's been a pain to work around these bars since last spring), as they were at the back of the hive and being completely ignored. As I've said before, bees won't travel to the back of the hive in cold weather, as long as they have enough honey nearby - they need to stay warm in the cluster. Now was the time to take these bars out of rotation.

And that meant we could have the honey from those bars!

We cut the comb off of five bars, dropping it in to bowls lined with colanders. We soon realized that this wouldn't be a large enough solution, so Tom ran to the hardware store and picked up two buckets, then drilled holes in the bottom of one bucket, making an impromptu drainage system that I think we will probably now use forever. 

Tom drilled the holes, then I washed the buckets with soap and water.

Tom drilled the holes, then I washed the buckets with soap and water.

Stacked one on top of the other, there's a good half foot between them inside.

Stacked one on top of the other, there's a good half foot between them inside.

Crushed comb goes in the top layer...

Crushed comb goes in the top layer...

... draining in to the bottom. Simple!

... draining in to the bottom. Simple!

This was a totally unexpected benefit of opening the hive today. How lovely that the colony made so much honey last summer that they still have plenty to eat, and extra to give to us! 

Home-Cured Olives

If you recall, on January 10 we picked about a half gallon of tiny wild olives on a nearby trail. That day, I sliced each olive about halfway and covered the lot with water. I changed the water every day for two weeks, at which time the olives had lost most of their bitterness. I then prepared a 5% salt brine and added it to the olives, along with garlic cloves, mustard seeds, peppercorns, a bay leaf, and a slug of red wine vinegar. That mixture sat on the counter for two weeks, with me giving it a stir and a taste every couple of days.

Today I decided it was time to jar the finished product, though the olives aren't quite at the flavor that I desire. 

Since the flavor of olives will improve as long as they continue to cure, I decided to pack these in a fresh brine with fresh herbs. I made the saltiest brine I could, so salty that it didn't even dissolve all of the way in the pot! To each jar, I added a fresh garlic clove (the last from our summer 2015 garden), fresh rosemary from the garden, a dried bay leaf from my mom's garden, and mustard seeds. I packed the olives in very tightly and poured the fresh brine over them.

This half gallon of olives made eight of these small Weck jars for gifts, plus a 12 ounce jar for our own use. I believe these jars were about 5 ounces each.

The olives look pretty and will be nice gifts. I think they will reach optimum flavor after another week in this new brine.

This was a fun project that was not hard, just time consuming. When I look online at prices for artisan olives, they run about a buck an ounce (for conventional olives). Since we had everything on hand other than these cute jars, we really saved quite a bit of money making our own. And, I know that these wild olives were unsprayed and untreated, and organic olives are nearly impossible to find. So! If you find a wild olive tree, you might consider curing your own as well.

*edited 2/8/16 This brine was too salty!!! Please see post of 2/8/16 for corrections.