When I started reading about permaculture, every single book mentioned hugelkultur. Here's a good description by www.richsoil.com:
"Hugelkultur is nothing more than making raised garden beds filled with rotten wood. This makes for raised garden beds loaded with organic material, nutrients, air pockets for the roots of what you plant, etc. As the years pass, the deep soil of your raised bed becomes incredibly rich and loaded with soil life. As the wood shrinks, it makes more air pockets, so your hugelkultur becomes sort of self tilling. The first few years, the composting process will slightly warm your soil, giving you a slightly longer growing season. The woody matter helps to keep nutrient excess from passing into the ground water - and then referring that to your garden plants later."
Everything I read raved about how good this system was - and how anything planted in it thrived.

I also couldn't get away from herb spirals. Here's an explanation from www.gardeners.com:
"Unlike a flat garden, an herb spiral is in three dimensions. The high spots get the most sun and have the best drainage, making it ideal for plants that thrive in sunny, well-drained sites. The bottom of the spiral is the right place for plants that like more moisture and some shade. Plants planted on the eastern side will get shade after noon, while plants on the west side will take the brunt of the afternoon sun."

So I thought, why not put the two together, and make a hugelkultur herb spiral? Sounded like a good idea. I have a place next to our driveway that gets a LOT of afternoon sun, and it's under a valley oak tree, so I don't want to use the sprinklers there too much. The only other things I had growing were some native plants seeds and some drought tolerant plants, plus some bulbs like daffodil and naked ladies. Perfect place, right?
I got some wood from our wood pile - not much, just some clippings from some trees in our garden. I also grabbed a bag of sawdust Dad had given me. I also had a ton of moldy leaves next to my compost bin. Then I went and begged grass clippings from the neighbors. I piled it all up.

And covered the whole thing with compost.

Our neighbor Pia donated the stones. She has a whole pile of them in her backyard - her ex-husband used to collect them. She has said anytime we need stones, just come get them. It was fun picking out the pretty ones.
Then, I planted 8 different herb seeds in pockets all over the hooba. (Tom and I call this the 'hoobastank' instead of the hugelkultur. I have no idea why - we never listened to that band - it's just a fun word to say, I guess.)
That was over a month ago. Since then, very little has changed in the hooba. There are a few sprouts. But nothing like what I expected.

I have a few theories about why the hooba's not taking off. One, I think I created a 'living' compost pile, with serious heat. Maybe the seeds burned up. Or two, all the neighborhood dogs and cats have decided this is their favorite pee spot, and the ammonia killed the seeds.
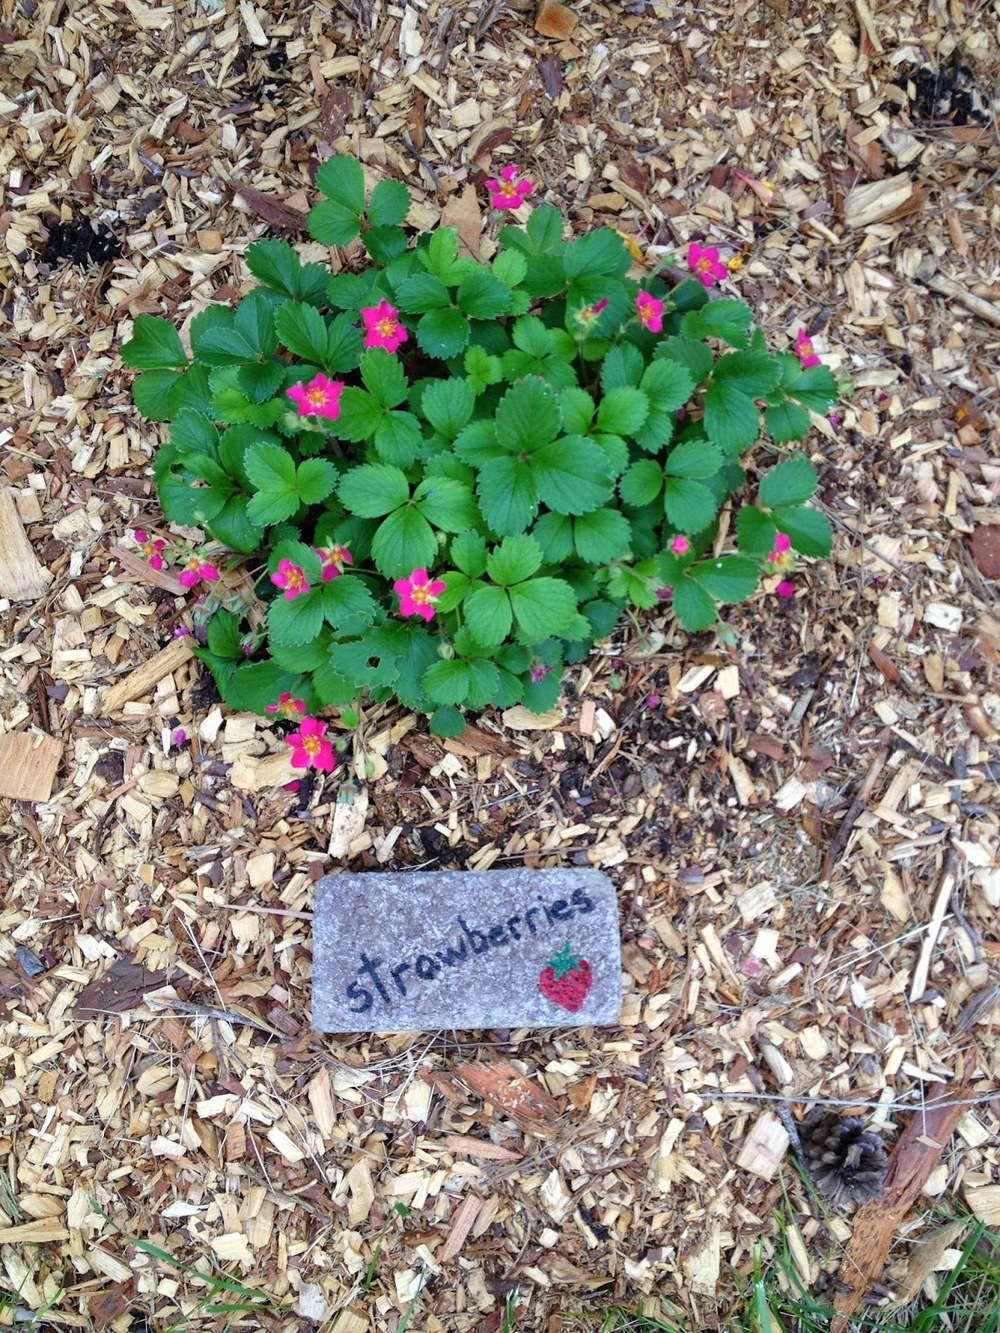
It's also possible that herb seeds just take more time to germinate than veg seeds. But I do have cilantro, oregano, basil, and borage seeds sprouting in the raised beds, and they were planted more recently, so I'm doubtful about this theory.
An interesting note is that seeds are sprouting on the cool eastern side, and nothing is happening on the hot western side. ???
So, I gave up and bought some small herb seedlings today, if for no other reason than to stop all the passerby from wondering what kind of Wiccan mound I was worshipping on my driveway, or what was buried there.
It looks better, even though the stones are all buried in soil now.
And hopefully, in a couple of months, there will be herbs all over this baby. I'm hoping it takes off.

We'll see. So far, the jury is out on the hugelkultur.
"Hugelkultur is nothing more than making raised garden beds filled with rotten wood. This makes for raised garden beds loaded with organic material, nutrients, air pockets for the roots of what you plant, etc. As the years pass, the deep soil of your raised bed becomes incredibly rich and loaded with soil life. As the wood shrinks, it makes more air pockets, so your hugelkultur becomes sort of self tilling. The first few years, the composting process will slightly warm your soil, giving you a slightly longer growing season. The woody matter helps to keep nutrient excess from passing into the ground water - and then referring that to your garden plants later."
Everything I read raved about how good this system was - and how anything planted in it thrived.
I also couldn't get away from herb spirals. Here's an explanation from www.gardeners.com:
"Unlike a flat garden, an herb spiral is in three dimensions. The high spots get the most sun and have the best drainage, making it ideal for plants that thrive in sunny, well-drained sites. The bottom of the spiral is the right place for plants that like more moisture and some shade. Plants planted on the eastern side will get shade after noon, while plants on the west side will take the brunt of the afternoon sun."
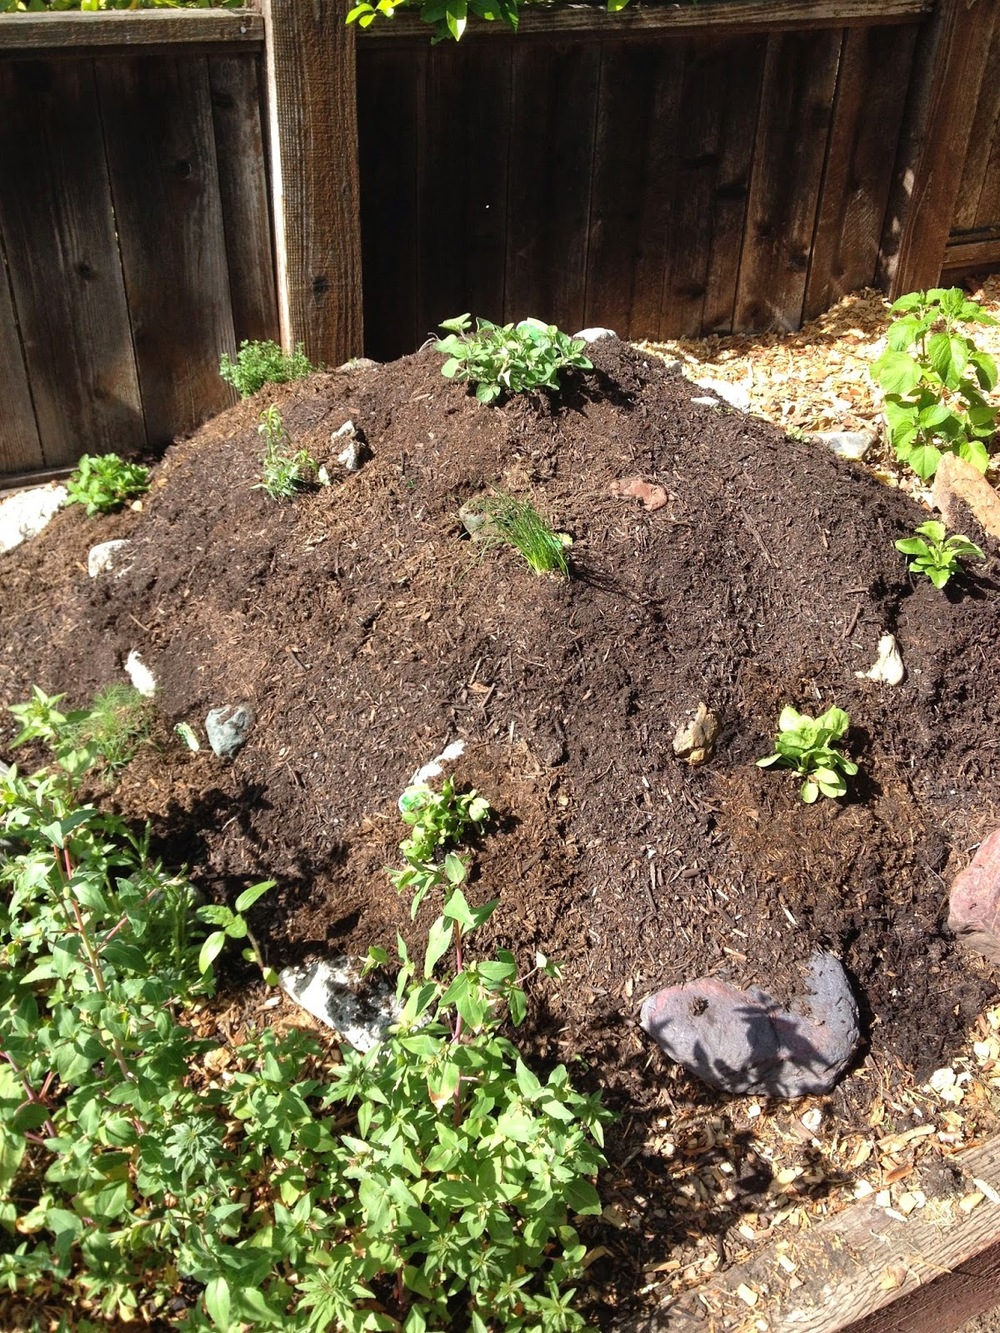
So I thought, why not put the two together, and make a hugelkultur herb spiral? Sounded like a good idea. I have a place next to our driveway that gets a LOT of afternoon sun, and it's under a valley oak tree, so I don't want to use the sprinklers there too much. The only other things I had growing were some native plants seeds and some drought tolerant plants, plus some bulbs like daffodil and naked ladies. Perfect place, right?
I got some wood from our wood pile - not much, just some clippings from some trees in our garden. I also grabbed a bag of sawdust Dad had given me. I also had a ton of moldy leaves next to my compost bin. Then I went and begged grass clippings from the neighbors. I piled it all up.
And covered the whole thing with compost.
Our neighbor Pia donated the stones. She has a whole pile of them in her backyard - her ex-husband used to collect them. She has said anytime we need stones, just come get them. It was fun picking out the pretty ones.
Then, I planted 8 different herb seeds in pockets all over the hooba. (Tom and I call this the 'hoobastank' instead of the hugelkultur. I have no idea why - we never listened to that band - it's just a fun word to say, I guess.)
That was over a month ago. Since then, very little has changed in the hooba. There are a few sprouts. But nothing like what I expected.
I have a few theories about why the hooba's not taking off. One, I think I created a 'living' compost pile, with serious heat. Maybe the seeds burned up. Or two, all the neighborhood dogs and cats have decided this is their favorite pee spot, and the ammonia killed the seeds.
It's also possible that herb seeds just take more time to germinate than veg seeds. But I do have cilantro, oregano, basil, and borage seeds sprouting in the raised beds, and they were planted more recently, so I'm doubtful about this theory.
An interesting note is that seeds are sprouting on the cool eastern side, and nothing is happening on the hot western side. ???
So, I gave up and bought some small herb seedlings today, if for no other reason than to stop all the passerby from wondering what kind of Wiccan mound I was worshipping on my driveway, or what was buried there.
It looks better, even though the stones are all buried in soil now.
And hopefully, in a couple of months, there will be herbs all over this baby. I'm hoping it takes off.
We'll see. So far, the jury is out on the hugelkultur.