Recently, a reader wrote to me with a big question: How do I make a garden? I think she was hoping that I’d give her a few brief tips to get started, but honestly it’s just not that simple, especially if you want your plan to be successful.
Planning a new project is extremely exciting, but it can also be quite daunting, so much so that it might be hard to know where to begin. Scaffolding can be helpful in this situation, allowing us to break the process down through a series of steps. I thought I’d share how I teach this in my classes, which are often design-focused and follow roughly the same process that I will suggest here.
These steps are just a suggestion, and you can also think of them in terms of cycles: You can go back to any of the steps at any time in the process and refine or change things. You will also be taking feedback from your garden throughout this process, and that might then change your plans. All of that is ok. The ultimate goal is not to think of these things as apart from each other, or separate components. Rather, all of these should work together like an ecosystem, with one part affecting, and being affected by, the others.
This is also a process which will never end (or, at least, it shouldn’t). Your garden will evolve. Your needs will evolve.
Let’s get started.
Step One: Identify your Goals
Allow yourself to dream. Get out a notebook, or your computer, or whatever way you like to take notes. What are your goals for the garden? Think of everything you want and need. Maybe you like to cook and want lots of delicious, healthy produce. Maybe you love flowers and want to provide beauty. Maybe you want a place to relax and listen to the birds. Maybe you have heard that insects are in decline and you’d like to create a safe space for them. Maybe you have dogs or kids and you need to reserve a space where they can play. Maybe you want to explore healing with medicinal herbs. Maybe you want all of these things! Write it all down, without judgement or considerations of practicality. That’ll come later.
Step Two: Observe
This is an important step that is often glossed over, but it will save you from a lot of mistakes that might cost time, energy, or money to undo. It will also ensure that you don’t come into your space and bully it into submission. As much as possible, we want to gently enter into the systems already in place. In order to do this, we must learn what’s already happening in our gardens, and we do this by spending time in them. Set aside some time every day to go out and sit in the space. Ideally, this would happen at different times of day, in different seasons, in different types of weather. Take your notebook with you. Watch the path of the sun. How does it cross your property in summer? In winter? What parts of the garden are in full sun, and which are in shade? Will that change in six months? Observe the way water moves over the property. Is there slope? Are there spots that are wet most of the day, and spots where it’s particularly dry? Is there wind, and if so, from what direction does it come? Do you notice animal behavior? Are there tracks or scat or holes? Do you hear birds, or see insects? Is there city noise that you’d like to filter? Are there view that you want to highlight? Does the garden need privacy, or can it be opened to the neighborhood? Write all these things in your notebook, and draw pictures if it’s helpful. Make a list of trees and plants already on the property, too (and if you don’t know what they are, you’ll have to figure that out!).
Step Three: Research
Spend some time determining the geography, geology, and history of your site. What’s your watershed? How much rainfall do you get, and is the amount higher at different parts of the year? What are your average temps, both high and low, over the course of the seasons? Over the course of the year? What USDA climate do you live in (which will tell you how hardy your plants need to be in cold weather)? If you’re in the West, which Sunset zone do you live in (which will give you more localized information including microclimates)? What’s your soil type (sand, silt, loam, clay)? What was on your property before your house was? Do you have toxins to consider, like lead? The answers to these questions will take some digging, but they are crucial to your planning, i.e. why would you plant an azalea in an arid desert region, or a yucca in a wet, humid climate? Your success depends on your research.
Step Four: Mapping
Now that you’ve got a sense of your site, it’s really helpful to do some simple mapping. This allows you to start to shape your future garden and see what’s truly possible in terms of allowable space. You don’t need anything fancy to do this, but it will take you some time and effort. You can use google maps for this, or a good old-fashioned tape measure and a piece of graph paper. Your footage will determine your quantities of materials and save you money in the long run. Plus, it’s fun to have a map of your site that you can refer back to. You can also add things like where the sun is in summer and winter, where the wet places or dry places are, or where you might want privacy. It’s helpful to see things from this birds-eye view.
You can use a copy of this map (you’ll probably want many copies) to draw possibilities, variations, or iterations of your plan. Maybe the sunny south corner would be best for veg beds? Maybe that wet place is good for your blueberries? Maybe this weedy spot is the future home of a wildflower garden? Maybe the place with the gopher holes is a good place for an owl box? Start to sketch out your ideas until you get to a place where you’re satisfied and are ready to start making the garden.
Step Five: Determine an Order of Operations
It makes no sense to install that veg bed before you’ve installed an irrigation system. It makes no sense to scatter those wildflower seeds before you’ve removed the weeds. It makes no sense to get chickens before you have a coop built. Think of the order of operations. What needs to happen first? You might need a delivery of compost, or to buy wood, or to hire a specialist, before you ever put a plant in the ground. Figuring this out first will save you a lot of heartache. Make a plan. Make a timeline. You might even want to break up your site into manageable sections, rather than revamping the whole thing at once. Consider your time and your budget and get real with yourself about what you can and can’t do.
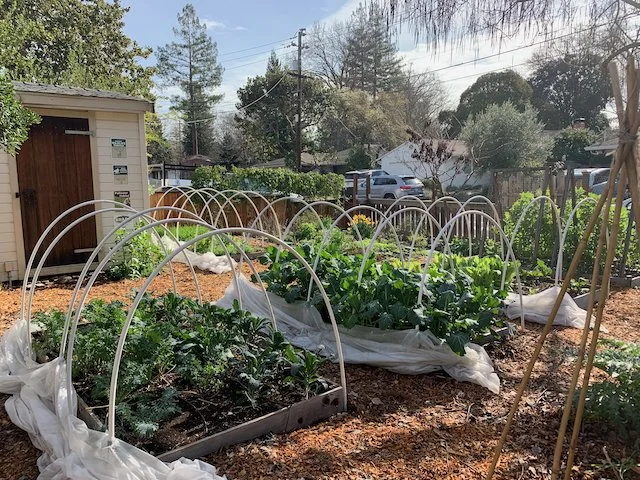
Step Six: Prepare the Ground
In an earlier step, you learned the texture of your soil. Whatever texture you have, you’re stuck with. But that doesn’t mean you can’t improve the structure of the soil. To do this, you’ll add organic matter, and lots of it. Compost and mulch are non-negotiables. Sometimes you need to add organic matter at the outset, and sometimes at the end – most likely both and more than once. This step will probably be done in conjunction with step seven, because your plants might determine what kind of soil you need, and/or your soil might determine what kind of plants you can actually grow.
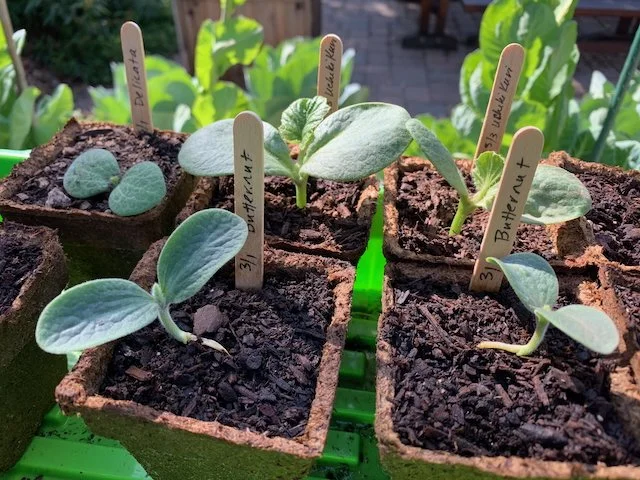
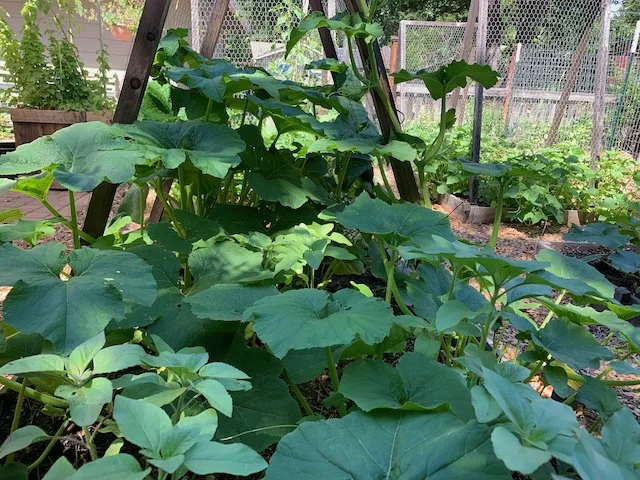
Step Seven: Choose your Plants
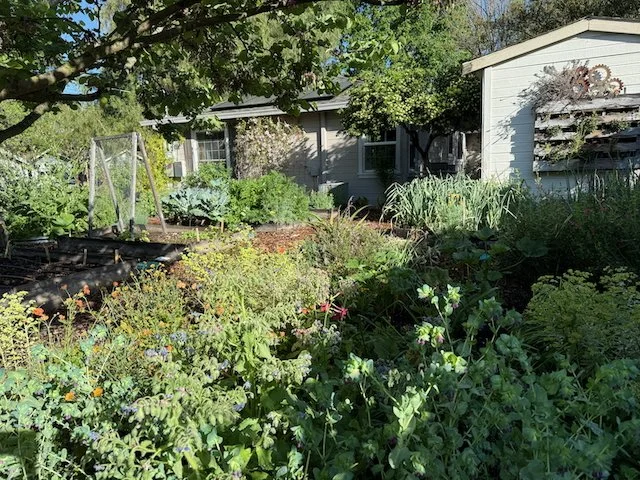
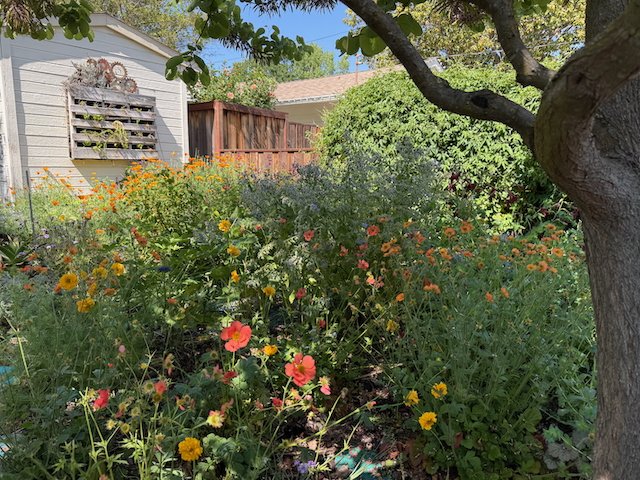
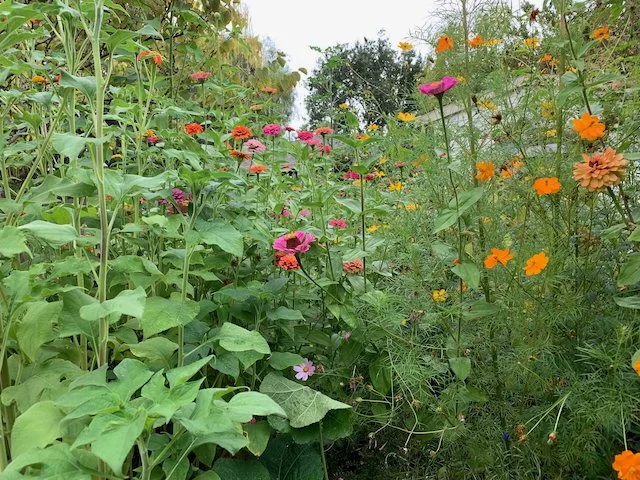
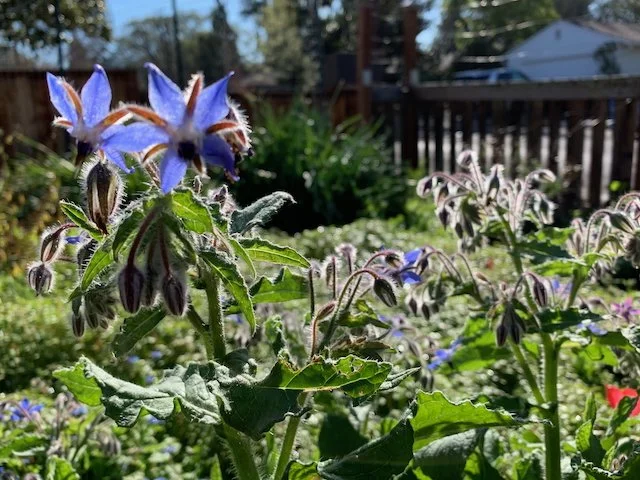
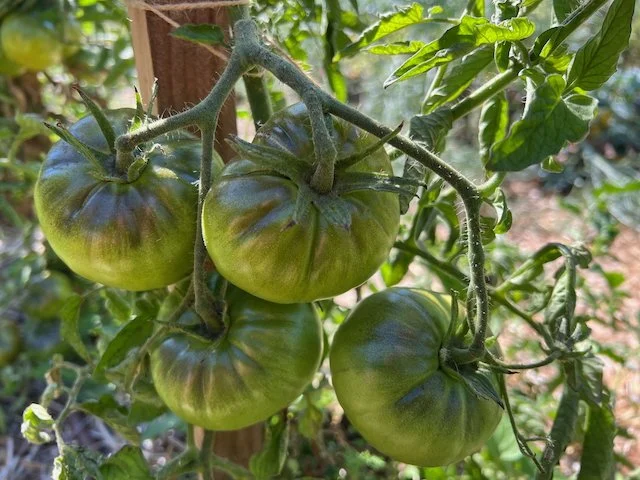
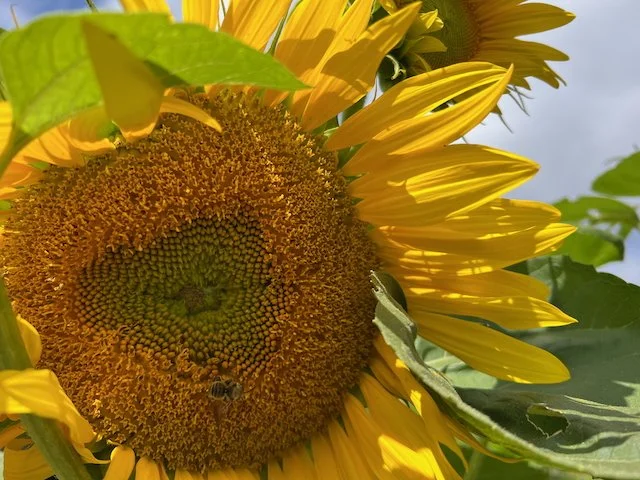
Most people like this step best and start here, and honestly, I’ve fallen into that trap. Browsing a plant nursery is my idea of heaven and I often come home with something I never intended to buy, only to realize that it’s a) inappropriate for my particular site or b) there’s nowhere to put it. It’s much better to have a well-thought out plan for your plant purchases. Again, this requires some research, and maybe some trips to local garden centers (please, do not go to Home Depot for your plants; give your business to small, reputable nurseries with knowledgeable folks to help you) to see what’s available. Be realistic about your site and what will grow there. Focus on plants that will meet your vision and your needs. Focus on plants that will provide something sustainable in the form of food for your belly, food and habitat for wildlife, flowers and beauty for the soul.
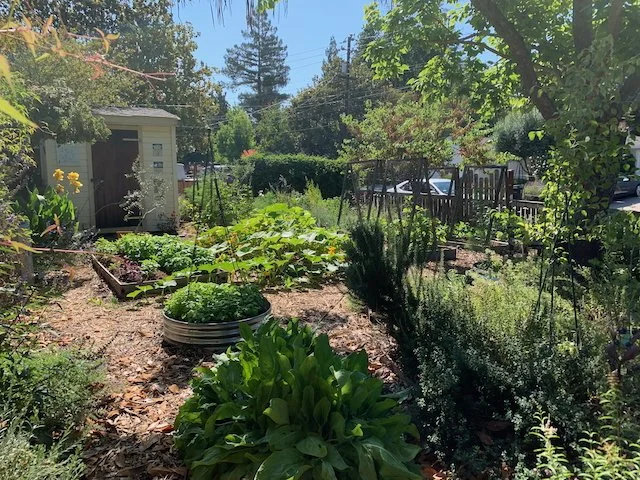
Step Eight: Install your Garden
This is pretty straightforward! Start the process, and keep at it, little by little.
Step Nine: Maintenance
You’re not going to spend all this time observing, researching, planning, purchasing, and planting just to let your garden slowly decline. What a waste that would be! Instead, you’re going to figure out a schedule; what needs tending and when? There will naturally be busier times in the garden, and you’ll need to reserve some days for that. There will be daily chores, weekly chores, monthly chores, and seasonal chores. You can keep track in whatever way works for you – your trusty notebook, calendar reminders, spreadsheets. But don’t let your garden languish. Take care of it.

Step Ten: Keep Good Records
It’s really smart to get in the habit of recording everything you do in the garden. The benefits of this are many but it basically comes down to having an institutional knowledge of your site, what you’ve planted, how you’ve taken care of them, what works (or doesn’t) and what you like about it (or don’t). I consult my garden records nearly every day. Again, the ‘how’ of this is really up to you, but I cannot stress enough how important this is.
Step Eleven: Enjoy your Garden!
Don’t forget to go out and enjoy your garden every chance you get. You’ve spent a good deal of time, effort, and money to make this beautiful place; hopefully you’ve included some places for sitting so you can go be in it. Invite your family and friends over and show it off. Invite other gardeners over and share ideas, information, and seeds. Watch and marvel at the wildlife you’ve attracted. Close your eyes and listen to the birds. Pick your produce when it’s ripe, and eat it. You’ve created a place to give yourself and your loved ones health and respite. That’s no small thing!
Step Twelve: Begin Again
As I said, this is truly a cycle, not something that is ever finished, and how great is that? We can always find new plants, skills, or creatures that delight us. Go back to any of these steps at any time as you learn from your garden.
This is just a brief introduction to the vast question of how to begin, and this list is not comprehensive or nearly detailed enough. I’ve written blog posts about nearly every aspect of this plan, so if you search my site, you’ll likely find more information to help with both the theory of the thing, and the practice. And if you’d like to delve even more deeply, I’d suggest signing up for a class with me at Merritt College in Oakland. This fall, it’s likely that I’ll be teaching Permaculture (LANHT 28A); in spring 2027, I’ll likely be teaching Edible Landscaping (LANHT 76). Both of these are design-focused. If you’re interested in learning more about food sovereignty and justice along with your garden skills, I’d recommend taking Intro to Urban Agroecology with me this fall (ENVMT 35).