• About
  • Blog
  • Contact
  • Favorites
  • Archive
Menu

Poppy Corners Farm

Street Address
Walnut Creek, California
Phone Number
Walnut Creek, California

Your Custom Text Here

Poppy Corners Farm

  • About
  • Blog
  • Contact
  • Favorites
  • Archive

Clover Cover

April 22, 2018 Elizabeth Boegel
Crimson Clover growing amongst the Red Shallots

Crimson Clover growing amongst the Red Shallots

I've already written about the excellent cover that our wheat/oat crop provided for the vegetable beds over the winter, but I failed to mention that I also seeded crimson clover at the exact same time I seeded the wheat, with the hope that it would provide nitrogen over time to other plants. It's done well everywhere I planted it, except the garlic bed, for some unknown reason. You can see it flourishing in the picture above. It's a lovely cover crop. But today I cut most of it down, because it's finally tomato-and-pepper-planting-time, hooray! However, before the clover is relegated to compost, chickens, or mulch, I wanted to show you what it can do for you in your garden, and why I planted it in the first place. 

Nitrogen nodules on the roots of the clover

Nitrogen nodules on the roots of the clover

There's a huge amount of nitrogen in the air around us, but it's in a form that is very difficult to access because it has a very strong bond. As you probably know, lightening can break apart those bonds and cause nitrogen to become available to plants in rain. Also, the Haber-Bosch process, used originally to make bombs, is what makes synthetic nitrogen for fertilizers now (like Miracle Gro). This process requires a huge amount of energy and personally I will never use synthetic nitrogen for many reasons including that one. However, some plants have evolved to provide their own nitrogen; those in the Legume family have this skill.

Clover is a legume, so like every plant in that family, it has the ability to form a relationship with a special bacteria which provides nitrogen to the plant. This rhizobia bacterium, when invited by the plant, invades the roots of those leguminous plants. The plant gives up some carbohydrates in the form of sugar exudates to the rhizobium, which in turn makes tiny anaerobic nodules on the roots which have the ability to fix nitrogen. Those are the pink nodules you can see on the roots above. 

This nitrogen generally is fixed within the bodies of the bacteria, and doesn't become available to other plants (through the soil solution) until the plant is cut down and the roots decompose. It's important to time all of this correctly: You want to grow the leguminous plants until nitrogen has been fixed, then cut off the tops of those plants before they set seed (if the plant sets seed, it has used up all the nitrogen stores for itself), and allow the tops to compost in place on the soil, while the roots and nodules decompose deep within the soil. 

The nitrogen-fixing ability is true of any leguminous plant - clover, peas, vetch, favas, alfalfa - as long as the bacteria is present, which it is in healthy soil. You can allow them to bloom and feed the pollinators, but chop it before it sets seed. Then mulch the next set of plants with the tops that you've cut off. Above are my sweet peppers, the soil totally covered with the clover tops. These will decompose in place, allowing nutrients back into the soil. You don't have to mix them in, the soil microbes will do that work for you. And as they break down, they will retain moisture, shade the soil, and prevent weeds from germinating. Plus add nutrients naturally!

IMG_8845.jpg

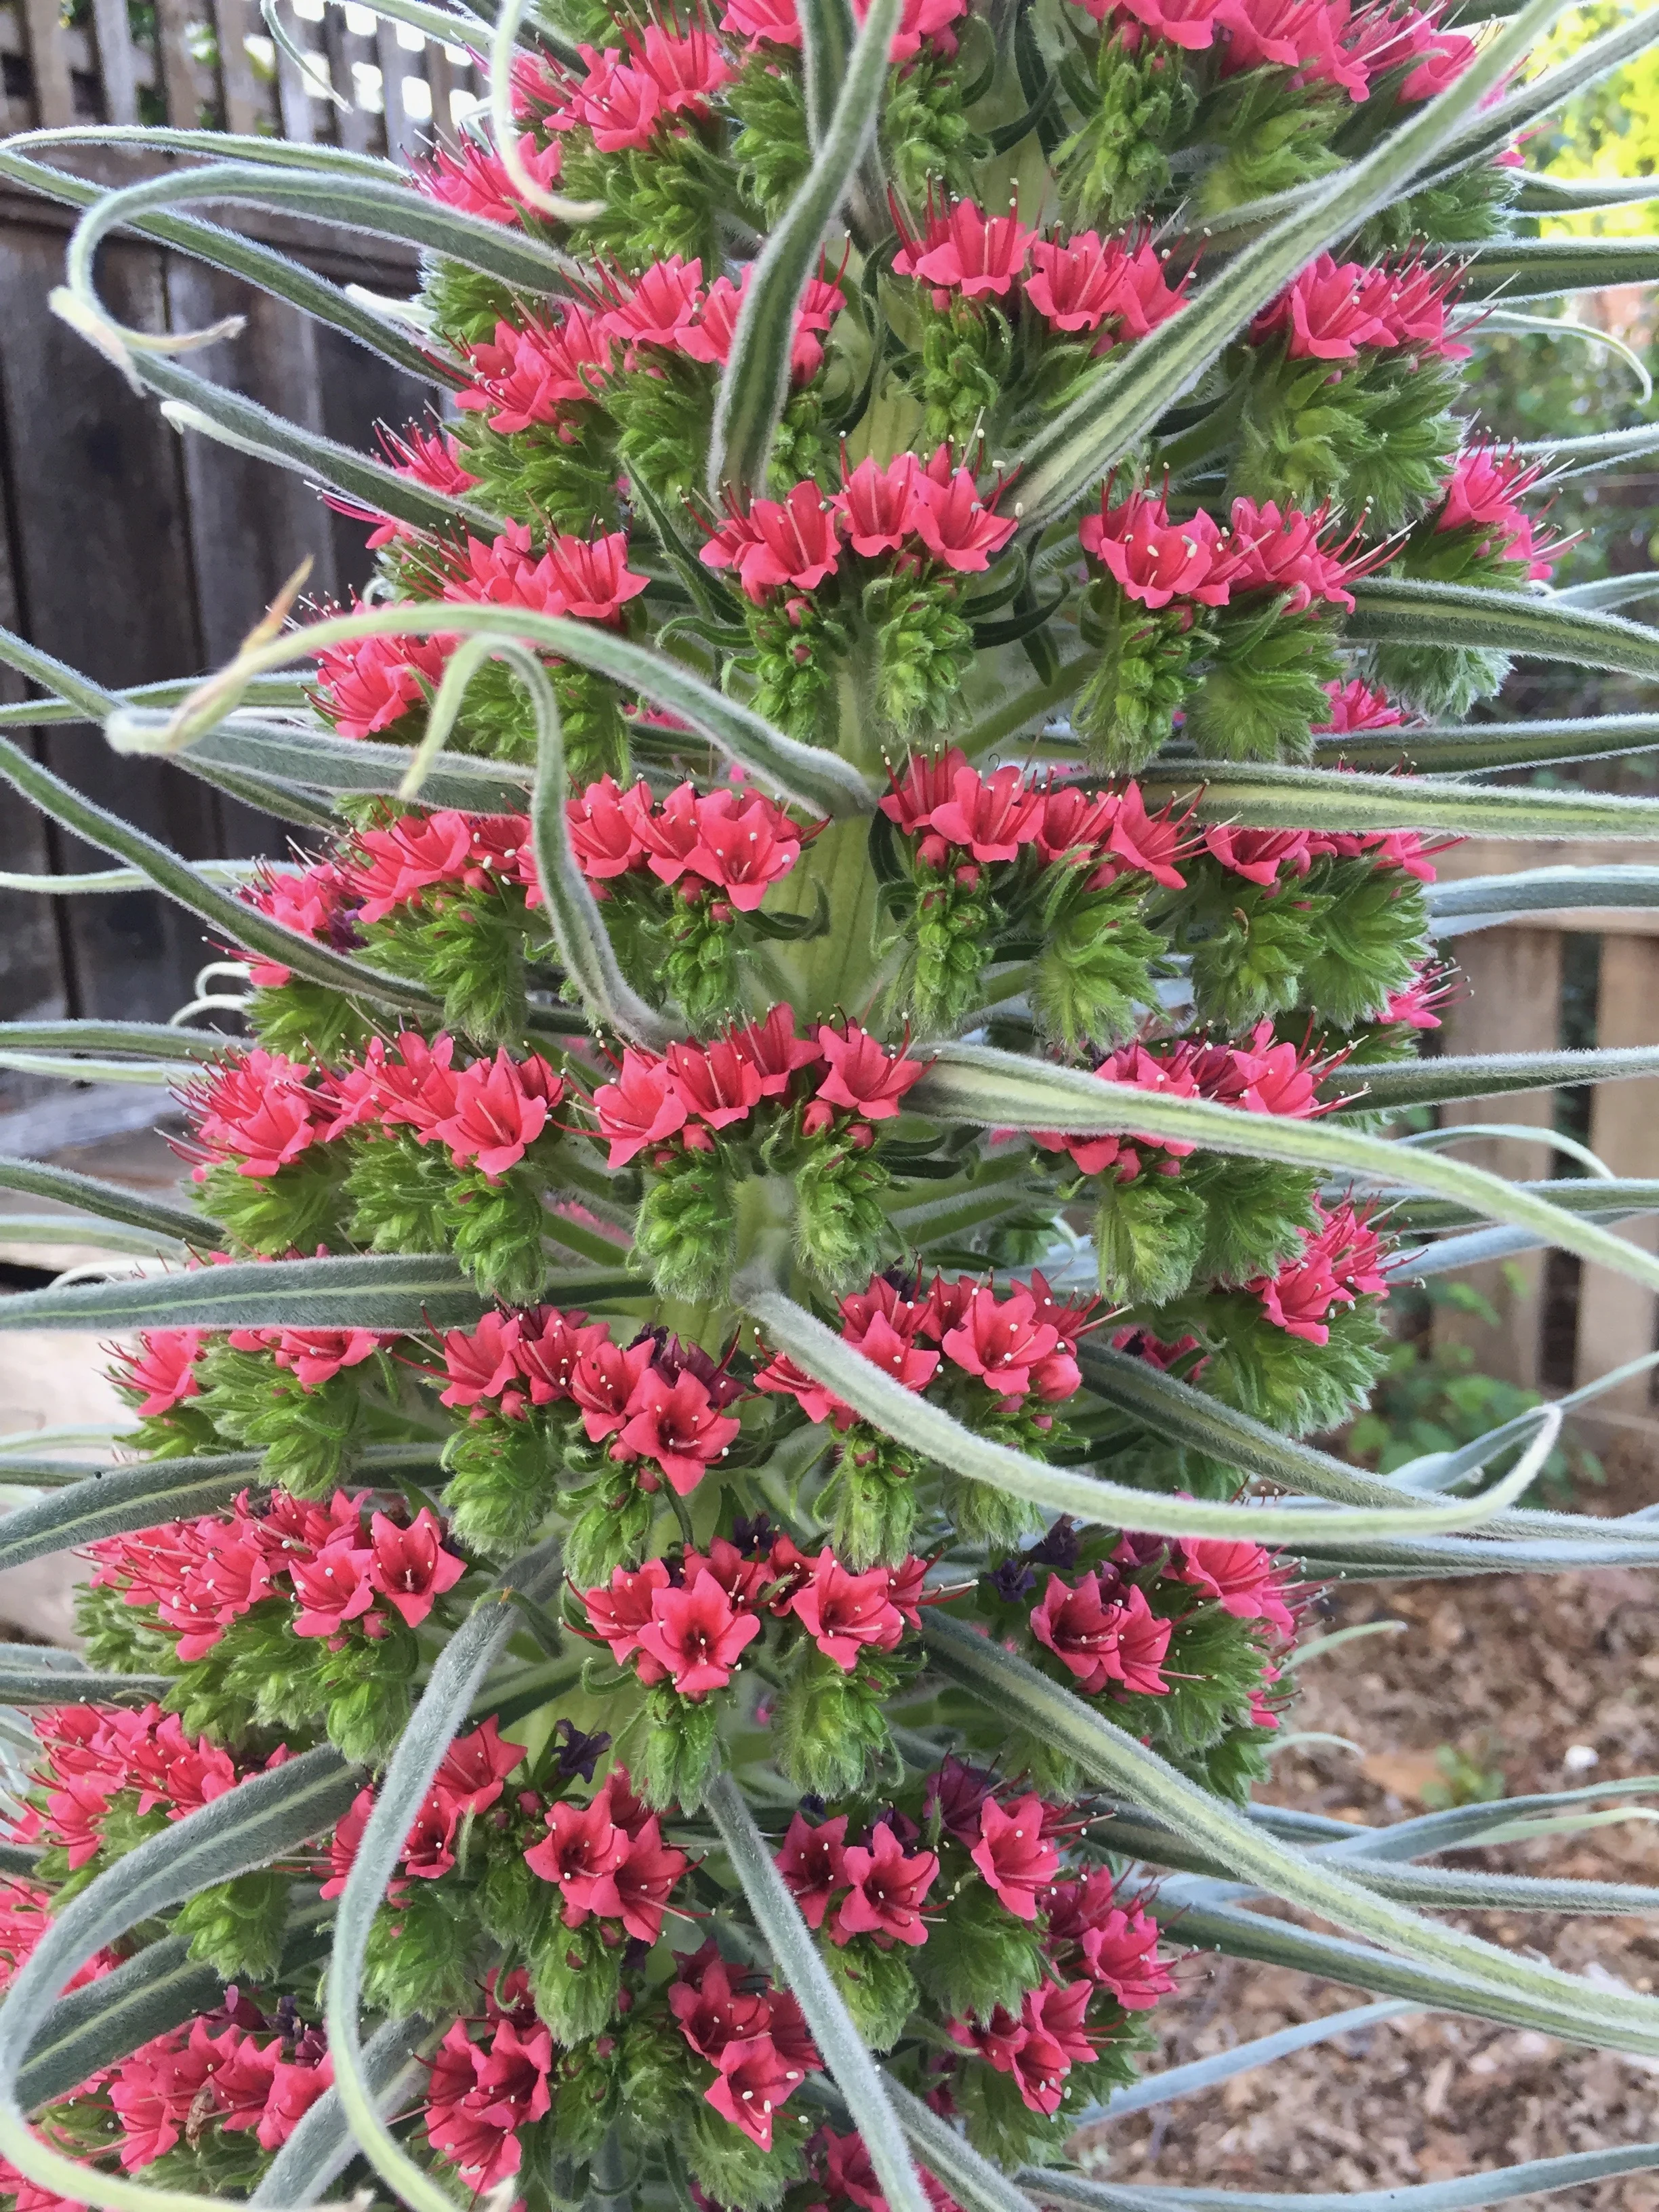
Meanwhile, it makes a beautiful flower display that my bees adore!

I've had such success with winter cover crops this year that I intend to use them every year; I'll just plant them within the rows of vegetables. I'd like to figure out how to do this with a summer cover as well. Buckwheat works well here as a summer cover and I've used it before by itself; the trick is to use it in between the growing food crops. I am doing a little of this already using intercropping with other vegetables. For instance, I'm growing pumpkins and butternut squash underneath the corn, and basil around and in the hot peppers. I'm always worried about growing anything below the tomatoes because of air circulation; but I have all our wheat and oat straw to cover the soil there. Beans and cucumbers quickly cover the soil with their own leaves. 

Have you used cover crops or intercropping in your garden? If so, I'd love to hear about your results. Please share in the comments. 


Tags cover crops, nitrogen, plant nutrition, pollinators
Comment

Syrphid Flies

April 17, 2018 Elizabeth Boegel
IMG_8499.jpg

This beautiful creature is a Syrphid Fly, also called Hover or Flower Fly. I found her on one of my Gaillardia plants a few weeks ago. I'm so excited that there are Syrphid Flies in my garden because they are so beneficial!

Syrphid Flies (of which there are many) mimic honeybees and wasps as a defensive camouflage; they do not sting, but want bigger predators to think they might. The adult flies are fabulous pollinators, eating both nectar and pollen. The larvae of some types are voracious predators of aphids, which is probably why I found this one in my garden. The eggs hatch and develop into larvae which eat a lot of aphids - in fact there are three larval instars (or phases) of some kinds of Syrphid Flies. I don't know about you, but I'm seeing way more aphids than I usually do, so anything that can help me control them is terrific! I'm hoping this fly laid lots of eggs on my aphid-ridden blanket flower. 

There are also Syrphid Flies that develop in stagnant ponds and eat decaying organic matter while in the larval instars. They form unique larvae called 'rat-tailed maggot.' The rat tail is a siphon that allows the larvae to breathe while in water. I first heard about this kind of hover fly from a professor in the UK that I like to follow - he has great books - and a great You Tube channel with lots of interesting pollinators. I'm not sure this kind of fly lives here, but I made his 'hover fly lagoon' anyway, to see what comes of it. It's quite easy - you just need a container filled with water and organic matter.

I went begging my neighbor for some of his long, weedy grass to use in this lagoon, since Dr. Goulson says this is the best kind of organic matter to use. I'll let it fester (I put it a long way from the back door!) and see what grows there in a few months. Should be interesting. One thing I'll need to do is check the water level frequently and watch that it doesn't dry out. I'll keep you posted!

Again, though, aphids will bring in the kind I took a picture of above. So you don't need to do anything except STOP USING PESTICIDES. Nature sends in predators when prey develops. And if you use pesticides (chemical or organic), you'll kill the good guys along with the bad. So far this year in my garden, the aphids have brought in: lady beetles, green lacewings, snakeflies, predatory mites, and syrphid flies. Plus probably others I haven't even noticed yet!

Here is the video from Dr. Goulson about this project. His books are worth reading, as well, if you have interest in native bees.

Tags insects, beneficials, wildlife
Comment

Tower of Jewels

April 15, 2018 Elizabeth Boegel

My Echium wildpretii is finally in bloom! Hooray!

This is a plant I have waited on for THREE YEARS.

It started out as a little silvery pom-pom-shaped thing in a 4" pot. Then it grew to a large, low, silver rosette that was quite lovely on its own. And then it stayed that way. Until now!

IMG_8677.jpg

What a spectacular plant. The only thing I can't figure out is, why did I grow only one???

Echium is in the Borage family, or Boraginaceae, and as we all know, flowers in this family are excellent for pollinators. In California, we are used to seeing Pride of Madeira, or Echium candicans, quite frequently. It can be a little weedy in riparian areas, as plain old borage can, and all Echium reseeds freely. Pride of Madeira is perennial and can be relied upon to bloom every year. This Tower of Jewels, though, is a one-timer. It's not an annual, it's actually biennial, meaning it blooms after two years and then dies. Mine took three years, and this is it. I get this one phenomenal inflorescence. I hope it re-seeds.

IMG_8667.jpg

The bees are loving it.

I bought this plant at Annie's Annuals, and she has lots of different Echiums you can buy. I do find that I have a little trouble with them when the weather is under 30 degrees consistently - many of my different Echiums have died. But the ones under trees were protected enough to survive. I have them in amended clay; they are all native to montane, rocky, lean soils, so it's a miracle that any of them grow in my soil. I have high hopes for several Echium plantagiuneum I planted this year.

I found this article from Longwood Gardens to be the best I could find on this marvelous plant. Look at how they have them grouped! Incredible! I will say that this plant is getting a lot of attention from the neighbors, it's a real show-stopper.

So if you're in zones 8 or 9, give this plant a try! It just needs some protection in the winters.

Tags flower garden
6 Comments

Container Media Experiment

April 13, 2018 Elizabeth Boegel
IMG_8662.jpg

One of the classes I'm taking this term is Plant Nutrition. The lab experiments are the highlight of this course; we have five experiments going all at the same time, and each is exploring a different nutrition issue. The first one we began was a study of different homemade container medias, and we completed it yesterday. The findings were interesting and so I thought I'd share them.

In my class we have six lab groups, each with between 3-6 people. My group started out with four of us, but now consists of only three students, and luckily we work well together. One student in my group is an engineer who is hoping to change careers; the other is a professional marijuana grower who hopes to own the first pot plant nursery in the Bay Area. I continue to be delighted by the variety of folks I'm getting to know and learn from!

Before I get too far into this, let's talk about what the average person is looking for in a container media. The "soil" (this is in quotes because most container mixes do not contain any soil at all) needs to be strong enough to hold the plant up, it must have good water holding capacity and yet good drainage, it must have enough pore space to provide the plant with gas exchange in the root zone, and it would be nice if it had a little bit of nutrition, although since plants in pots do not have the usual microbial activity that those in the ground do, it is necessary to feed them regularly in some way. 

Most commercial potting mixes are made of different percentages of peat, vermiculite, perlite, and some sort of organic matter. All are heated to kill pathogens (and this sometimes kills the good stuff too). Many have added mycorrhizae (which is part of another experiment we are doing and is a subject for another time). Some have added synthetic 'slow release fertilizer' which frankly I believe you should stay away from, as many of these are incased in tiny plastic 'pearls' which are causing all kinds of problems in the ocean. Organic matter will provide a slow release of nutrients, and again, you'll be feeding them regularly anyway, so stay away from synthetic stuff.

The seeds we planted (by luck of the draw) were Rainbow Chard. We made two four-inch pots for each media type (just in case one died). All were fed once weekly with fish emulsion. All were watered every day by the greenhouse misters.

We made and tested three different media. #1 was a 'cactus mix,' made of equal parts scoria (volcanic rock), pumice, perlite, and sand.

IMG_8601.jpg

#2 was equal parts compost and fir bark.

#3 was equal parts peat moss, perlite, and sand.

IMG_8604.jpg

Spoiler alert: None of the plants grew well. All of them got a terrible case of aphids. #2 compacted down to half the original size, which makes sense, because it was made up of all fine-pored stuff, which just keeps fitting together more and more with each watering. However #2 also had a first flush of great growth and was an early leader, because there was more nutrition in that media, but quickly succumbed to sodden roots. The one that did worst at the beginning was #1, because it had zero nutrition in the media. but it was also the one that did the best at the end, and that's clearly due to more air around the roots (big macropores).  Water holding was not such a big deal because it was getting misted every day in the greenhouse. But, again, NONE looked like something I'd want to EAT.

For comparison, here is a picture of a chard in another experiment, which was planted at the same time, in the customary potting mix the school uses for all greenhouse uses.

IMG_8633.jpg

This plant has great color, it's standing tall with good vigor and turgidity, it's bright and healthy with no mottling or chlorosis (only the seed leaf, or cotyledon, is looking a little tired, and that's because it's performed it's job), and the media is not compacted at all.

Yesterday, the last day of this particular experiment, we took the plants out of the pots and washed off the roots to see what those roots systems looked like. This was super fun. 

The top two are #1's, the middle two are #2's, and the bottom two are #3's.

The top two are #1's, the middle two are #2's, and the bottom two are #3's.

One thing I didn't know: the roots of the chard have the same color as the chard stems. So if it's a red-stemmed chard, it has red roots! Since I never pull my entire plants up, rather cutting off the leaves and leaving the roots to rot in the ground, I never saw this before!

The roots really completed the story for us. #2 and #3 both had shorter roots by far; they were also weaker, breaking when we touched them, and mushy with rot (too much water holding and not enough air). #1, the cactus mix, had the best roots, longer and very strong. These two also had a clear individual tap root, which developed at the beginning, going searching for nutrition. The weekly feedings helped this plant to do better than the others. 

IMG_8607.jpg

Is the conclusion, then, to use only stones and rocks for potting? I don't think so. After all, you want something with a little nutrition in there. But I would certainly err on the side of MORE pore space than less. We forget, often, how important it is for the roots to have adequate oxygen. And oxygen is key! The only caveat is to make sure you're watering often enough, if you're adding a lot of big-pored items to your potting soil. Another caution - things like vermiculite and perlite (the most available additions which add pore space) will add larger pores to the mix, but do compress and break down over time. There is also some environmental cost to both of these items; research them further if you are concerned about that. Speaking of environmental cost, peat's is ENORMOUS, but it's in nearly every bagged soil, and there's a reason for that - it works great. It's hard to avoid it.

What do I do? I generally don't make my own because I don't use enough to make it worth it. I buy organic brands that have composted organic matter mixed in; you can be sure that from now on I will make sure to check the pore space, and if it needs more, I'll add some chunkier gravel. 

Either way: most potted plants need a weekly feeding. Something organic, with very low nutrient levels, is the way to go. 

Tags learning, containers, soil
2 Comments

Predatory Thrips

April 10, 2018 Elizabeth Boegel
This was a month or so ago on a stem of oats.

This was a month or so ago on a stem of oats.

I'm at that point in my tomato-and-pepper- growing where I take the gallon cans out of the greenhouse every morning, place them on the ground, water them, leave them out all day, then put them back into the greenhouse before night falls and close the door. It's a pain (there's 34 peppers and 36 tomatoes), but I do it because it's not yet warm enough at night for these plants to thrive, without cover. This is why we built the greenhouse after all. I could leave them in there all day, and sometimes I do if it's cold or rainy; but if it's sunny, taking them out allows them to slowly harden and adapt to our daily temperatures.

Another thing it allows me to do is really inspect each plant, as I lift it and carry it back and forth. Today I noticed a smattering of aphids, scattered here and there among the plants. They had wings, which suggests they moved in recently from another plant. Aphids can undergo a hormonal change that allows them to grow wings, when the environment isn't to their liking any longer - the host plant is too crowded or when they decide to switch from winter to summer plants. It's an annoying trait.

The good news is that they aren't very good flyers, and they can't see terribly well, so that works in our favor. Another thing that works in our favor is predatory insects. I've talked before about lacewings, and snakeflies, and lady beetles. But over the course of the last month I've been noticing these other little guys. I finally figured out what they are.

Predatory thrips! These are good thrips that eat bad thrips. They also eat aphids, whiteflies, and mites. These are tiny little superheroes! 

So I didn't do anything to my tomatoes or peppers. I didn't spray them with pesticides (which I rarely do, not even organic ones). I didn't blast them with water. I may have rubbed a few baby aphids off the leaves. But mostly I just let everything be. If I kill the aphids, I also kill the predators, and I don't want to do that. I want the predators to multiply and FEED.

Tags insects, IPM, wildlife, vegetable garden, tomatoes, peppers
Comment
← Newer Posts Older Posts →

Subscribe

Sign up to get email when new blog entries are made.

We respect your privacy. We're only going to use this for blog updates.

Thank you! Please check your email for a confirmation notice to complete the subscription process.

Powered by Squarespace