Each evening lately, after the sun goes down, I've been working on cutting down flowers and saving seed. I've done this in the past with annual flowers, but I had always been haphazard about it. This year I knew I wanted to get as much seed as possible, so I've been keeping a close watch on the flowers.
One of the annuals I really enjoyed this year was Breadseed Poppies. I had two varieties, "Cupcake" and "Orange Chiffon," and both were gorgeous. When I saw the amount of seed they both produced, I knew I would want to save some for next year.

Orange Chiffon

Cupcake

Cupcake seed pods
When I noticed most of the flowers were done blooming and seed pods had formed, I cut down the plants and put the seed pods in a separate bin. There, I left them to dry for a couple of days. When dry, I split the pods and shook out the seeds. This yields thousands of seeds, not counting the ones that already self-sowed in the same spot.

some chaff on top
I've been doing the same with Clarkia, both "Mountain Garland" and "Farewell-to-Spring." These seed pods are much, much smaller and it takes a lot more time to collect the seeds.
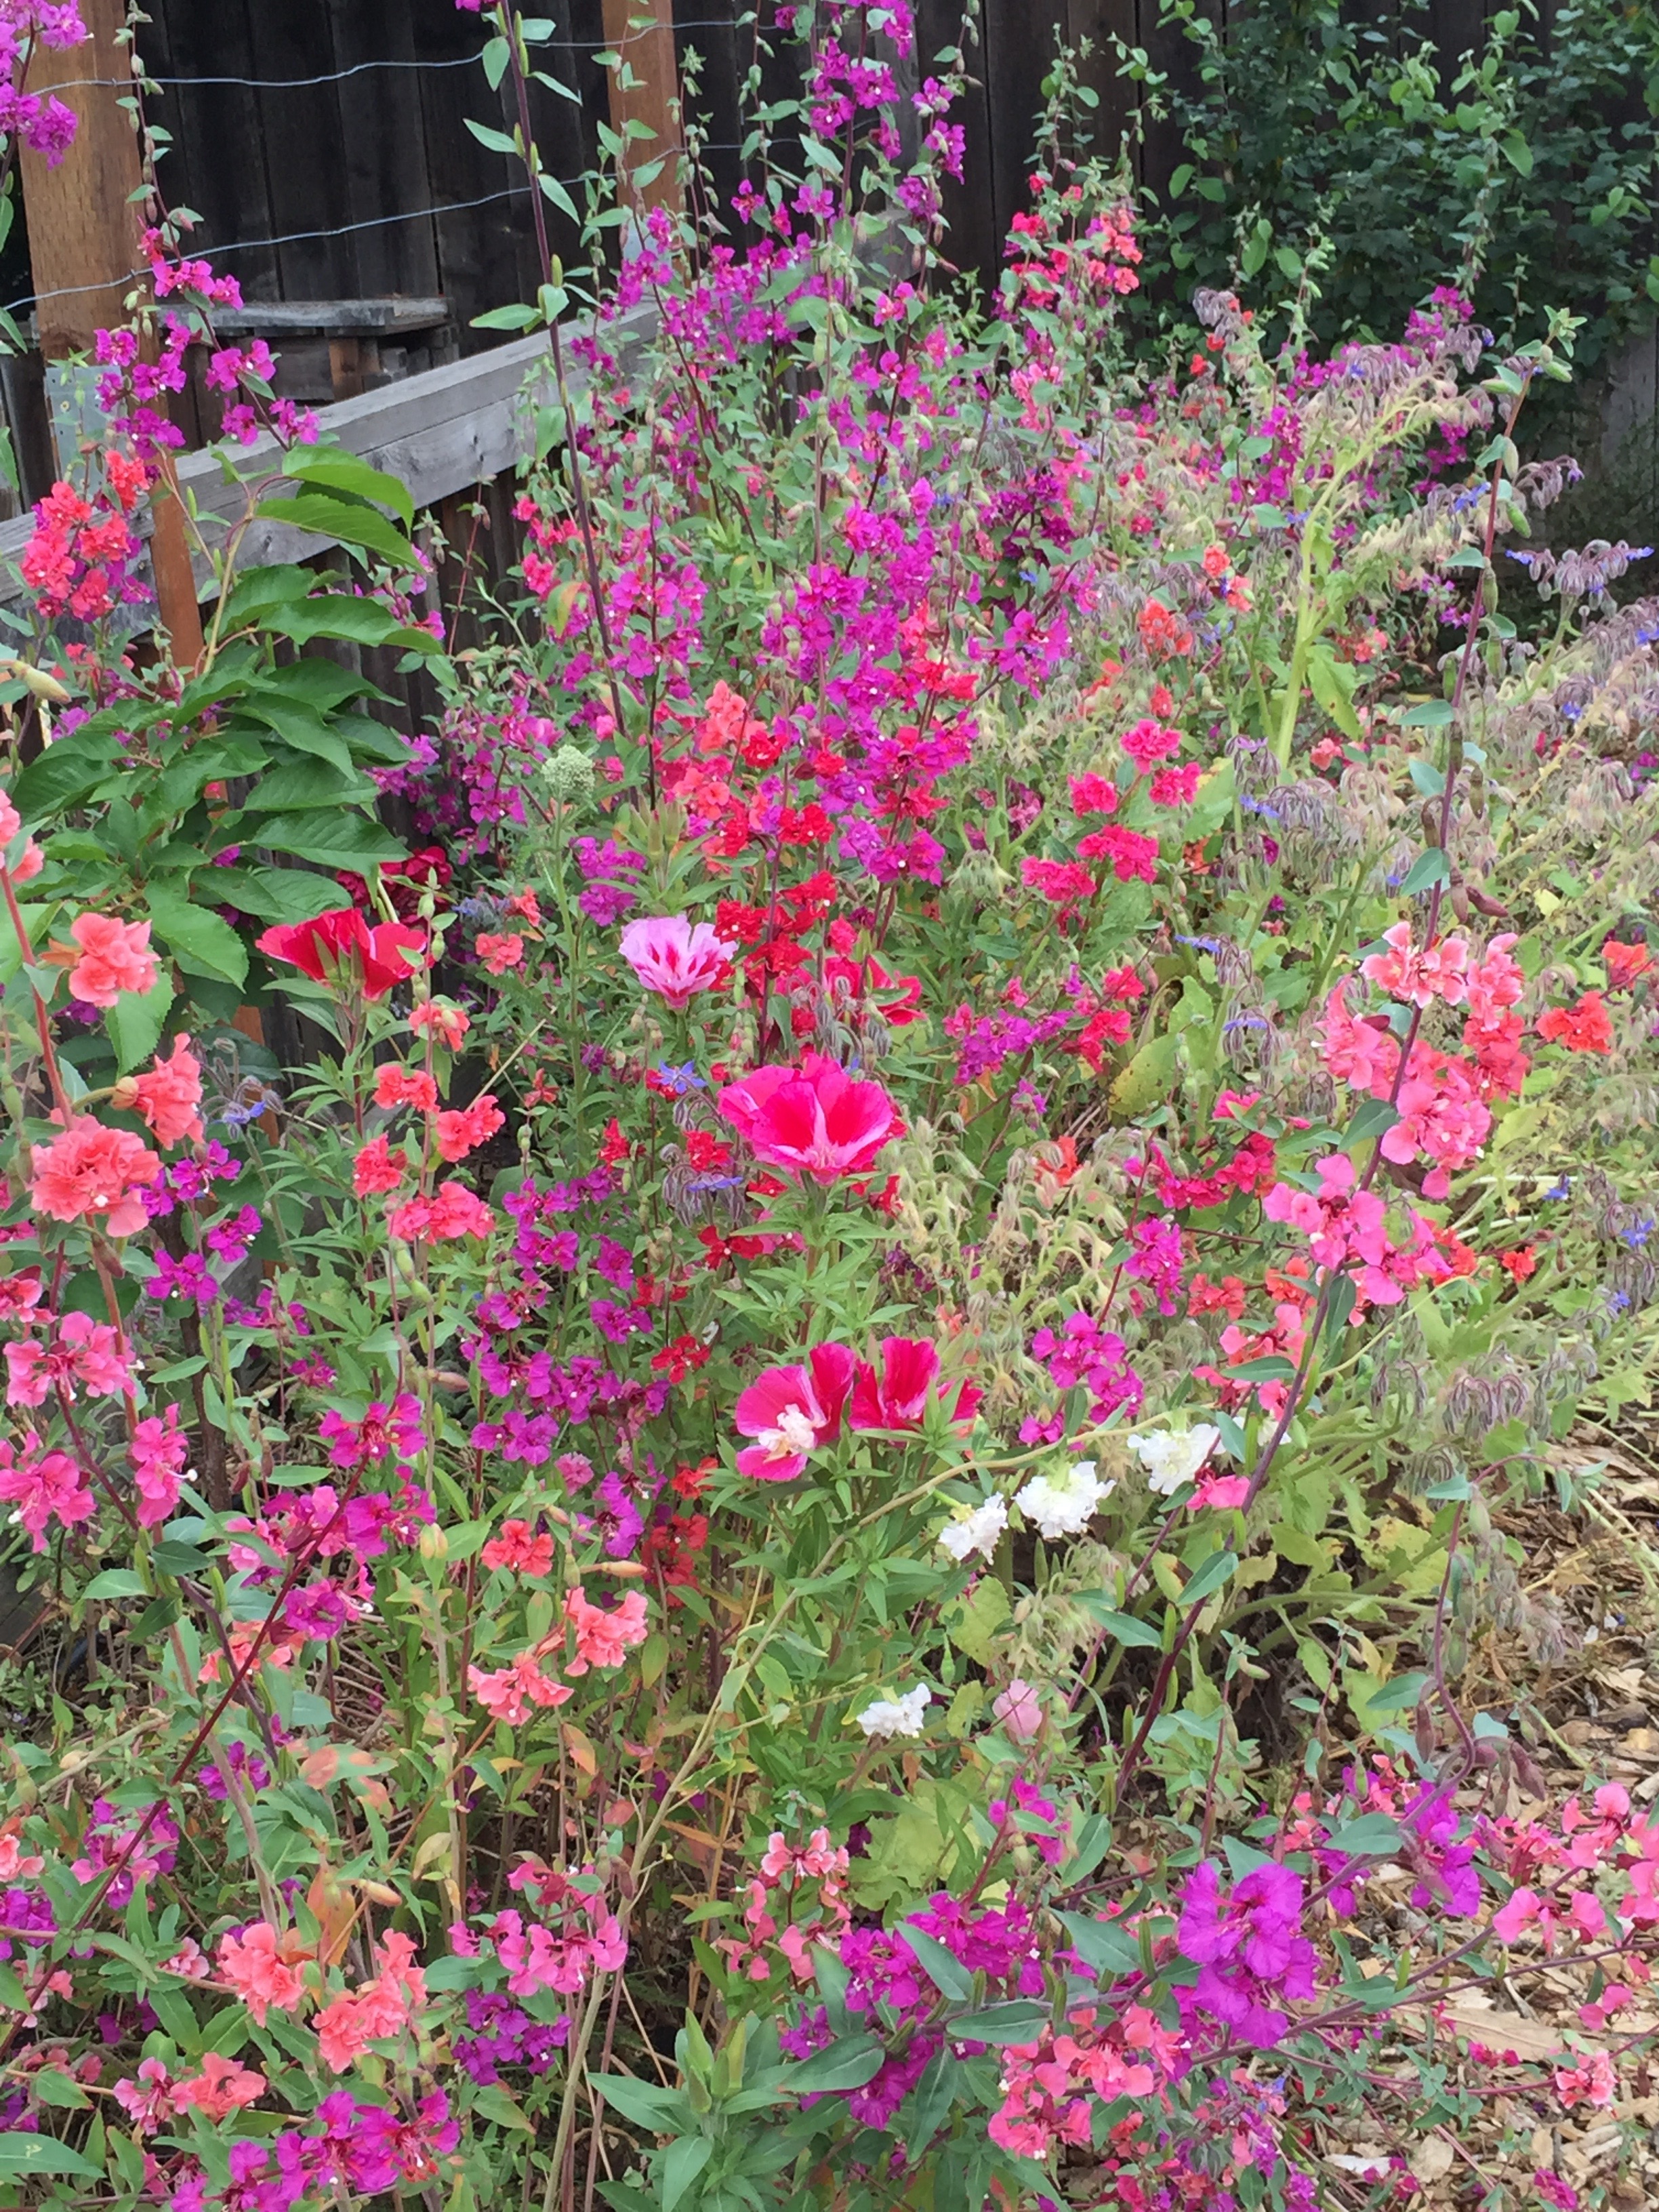
Mountain Garland are the flowers on tall stalks, Farewell-to-Spring are the shorter, cup-shaped flowers.

Mountain Garland seedpod

seeds and chaff
I'll store these in our garage refrigerator; the clarkias can be sown in late Fall, and the breadseed poppies in late Winter.
My eye is carefully trained on some cilantro that is blooming right now - I'd like to collect seed for both planting and for canning. We use a lot of coriander when we make pickles.

I also have my eye on some Love-in-a-Mist and some California Poppies. It's hard to get things at just the right time!
Now, about the turkey problem. The past few days, this turkey hen has been flying in to our yard and hanging out near the chicken coop.


She's not a wild turkey; those are everywhere around here but travel in very large flocks, and they are dark grey and black. This seems to be a Bourbon Red, which is a breed of domesticated turkey. I think someone in our neighborhood is raising turkeys and has lost this one. She is always alone. She is always hanging out near the coop. And she is always noisy. And - she is always hard to chase out of our yard. I've posted her appearance on our Nextdoor site, but if no one answers, I'd rather like to figure out if there is a way to catch her and keep her. Our chickens really don't like her; they get very agitated when she is near. And I certainly don't want her free-ranging in my vegetables. So we'd have to build her her own coop. But here's the conundrum: Do we spend time building her an enclosure of some sort, and then hope she comes back again? Or do we try to catch her, keep her contained, and knock together something on the fly? And doesn't she need company? And would she be a good Thanksgiving turkey, or would we want the eggs? The questions are numerous. Please do make suggestions.