Making Things Pretty

I was outside today, admiring the twine trellises Tom made for the clematis. He spent a good two days making these; they took math, knot, and art skills. The clematis' love them, and they are speedily climbing the heights.


Tom also made me some twine pot holders. These are simple, but should last forever.


As I was out looking at the pretty stuff Tom made, I decided to refresh some other places in the garden that needed prettying.

We have cheap concrete stepping stones that provide a path through our back yard, past the water feature, past the hive, by Adam's shed. These I paint with craft paint every few years. I like using bright, fun colors - why not?


They get dull after a few years, so I spend an afternoon and redo them. I'm always so happy when they are fresh. I love the pop. It's a simple and cheap project.

I found some interesting mosaic materials in the garage the other day, so I decided to add them to the stones below the water feature. This fountain is something Tom and I made when we moved in, almost 10 years ago. We dug a huge pit and filled it with water and a pump, then covered it with mesh and the pot, then the stones. It has reliably bubbled for us all these years, and it's been the single best thing we did in our yard for the wildlife. Birds visit this fountain all the time, not to mention larger creatures. We love looking out our kitchen window and watching hummingbirds bathing.

The stones had started to look a little boring, though. And I wanted to make sure the bees knew where to go to safely perch and drink. So, in went all the mosaic materials.


You can really tell which side of the path is awaiting paint, can't you?

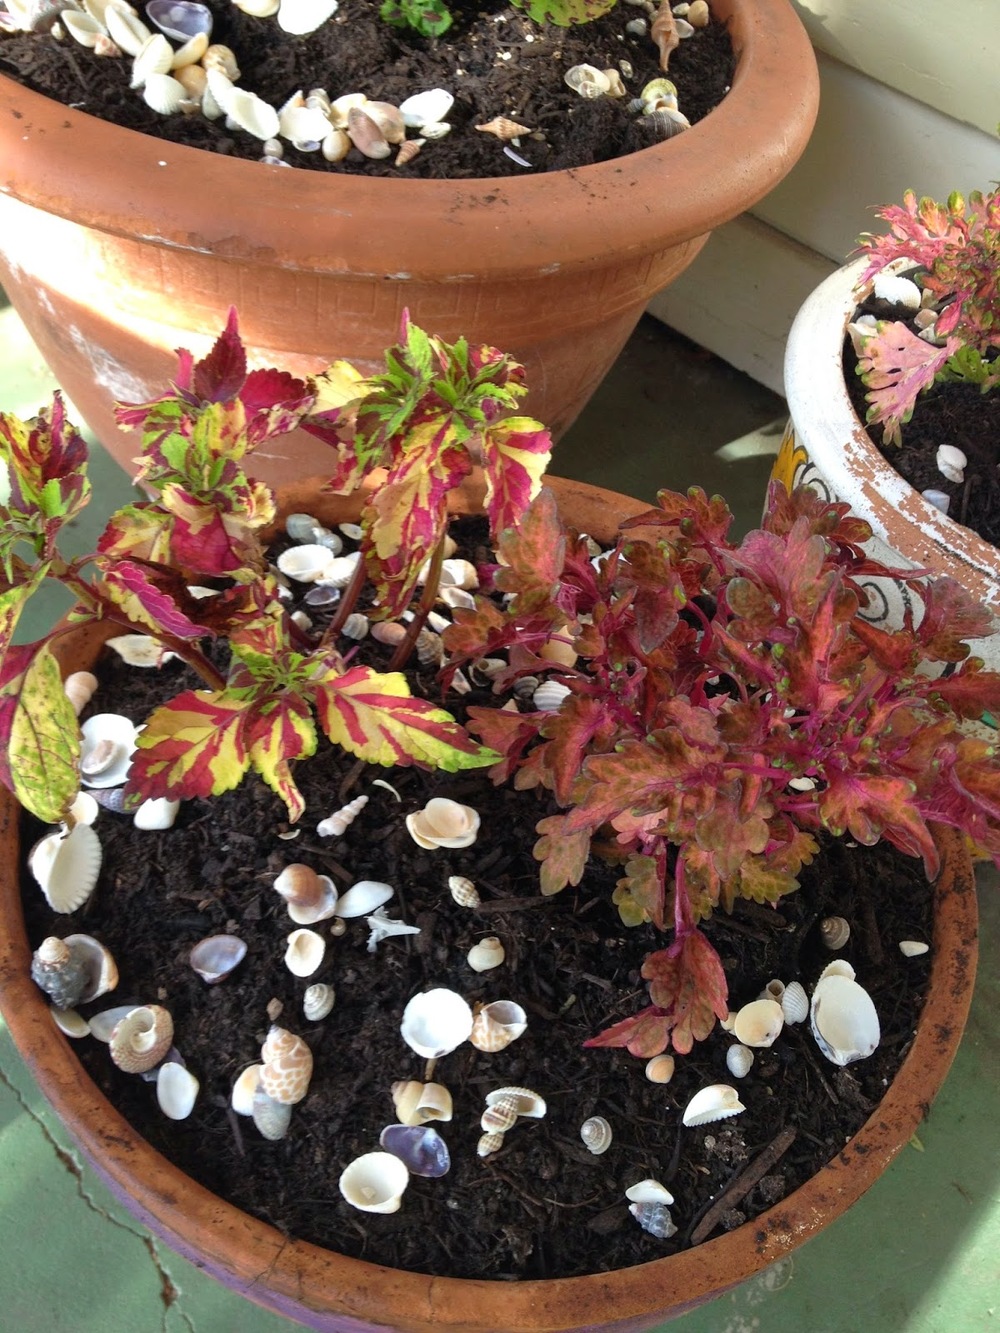
I also found a bag full of pretty shells. So I put it around in some pots that are waiting to grow in with coleus. It looks pretty in the dark dirt.


I've always liked looking around people's gardens and seeing little surprises.

We've long collected interesting stones from the beach, and logs from our trees. They add little touches in the yard.


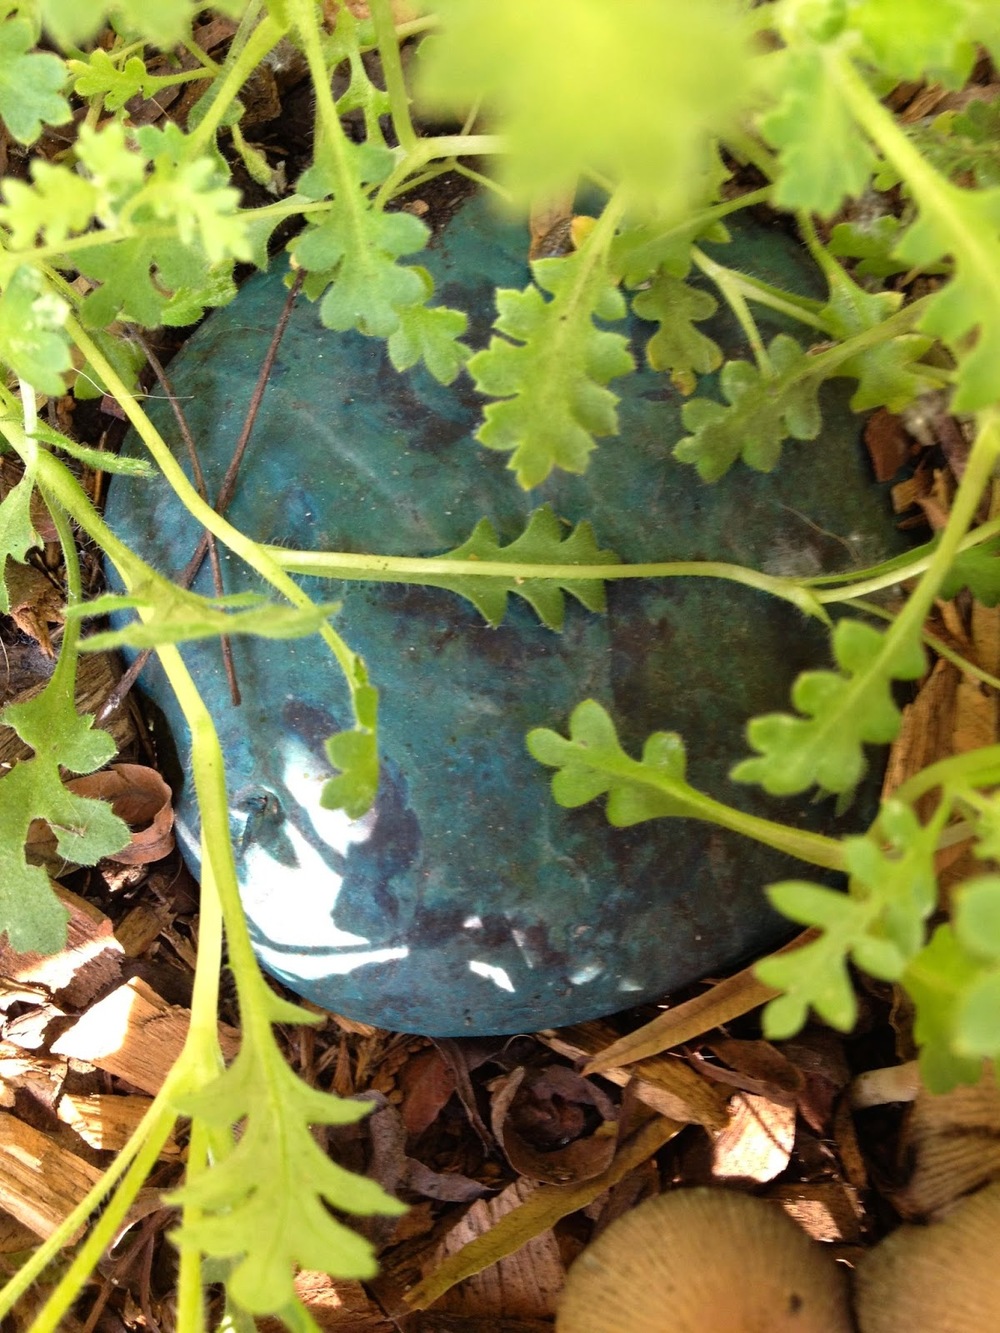
The kids have also added their own flavor, with colored rocks (heat the rocks, then draw on them with crayon - it melts and lasts for years). This one is nestled in some yet-to-bloom nemophila:


All this to say, you can decorate in the garden cheaply, as long as you think creatively and look around the places you visit for interesting collectibles.

That said, I do love when folks give me presents of garden art - thanks Mom!


I have yet to see any real quail in my garden, so it's nice to have these pretty guys around.

Mushrooms

When it's wet in the garden, we notice lots of wild mushrooms popping up on the mulch. Some are lovely, some are quite ugly, but I delight in all of them, knowing that there is a wonderful web of mycelium down in my soil. Mycelium breaks down organic compounds and makes the nutrients more available to the plants. Heavy toxins can be safely consumed by mushrooms and make the soil safer for vegetable growing. If you have a healthy mycelium, you have a healthy soil!

Recently I dug out a neglected part of my back yard, getting some spots ready for some strawberry transplants. When I turned the top six inches over, I found a beautiful webby network of mycelium. Seeing that, along with earthworms in the soil, means our frequent additions of organic matter over the years have really made a difference to our heavy, clay dirt.

A month or so ago I read a wonderful book called Edible Landscaping with a Permaculture Twist, and  there is an entire chapter about growing mushrooms in your yard. On-purpose mushrooms, not the wild ones that come up and are hard to identify. It turns out you can grow mushrooms in almost any decomposing matter; sawdust, wood chips, coffee grounds. I decided to try it in logs.

First I ordered the spore, from a company called Field and Forest. (If anyone knows a more local company, please let me know. I used this one because it was recommended in the book.) The website has a great sort of flow chart that helps you know what to grow in your yard and when. I determined that the best ones for me to try are oysters. So I picked a variety called Golden Oyster, or Pleurotus cornucopaie. I stored them in the refrigerator until we were ready to inoculate the logs.


The amount of interesting things in my fridge continues to grow.

We picked a log of California Live Oak out of my parents woodpile, trimmed from the trees in their yard. And then we trimmed our Chitalpa tree, and kept a small portion of that to inoculate as well. We'll see which one is better for the job - old cutting, or new?

Today we finally had some time to get the job done, so Tom and I assembled our supplies.


The author of the book highly recommends some good beer, but we didn't have any available. We weren't sure we could carry on without it, but we soldiered through.

The log on the left is the oak, chitalpa on the right. We had a drill with a 5/16" bit, the spore plugs, a lighter, some candles, and a hammer.

First Tom marked the drill bit with tape about an inch down, so he would know how far in to drill the holes. Then we started drilling. We placed the holes in rows with the holes about 6" apart. We made 5-6 rows all around the logs.


Then we took out the plugs, which are inoculated with the mushroom spore.


We put one in each hole, then pounded it in with the hammer...


... until the plug was flush with the log.

We did this with every hole.

Then, the instruction is to fill in around each plug with melted beeswax, using an old dish to melt it in, plus a brush. We didn't have any of that stuff. What we did have was old Halloween candles, so we used those.


By the end, the logs looked like they'd been through some weird party, or were wounded.


I placed the logs in our wettest, shadiest spot in the front yard. They'll stay on the ground for the next few weeks, then I'll lean them up against the pepper tree. They'll need to stay wet and cool, even though they are a heat-tolerant summer mushroom.


There's already quite a bit of natural fungus growing on these logs, so I don't know if that makes me more hopeful for the mushroom crop, or less. Maybe the oyster mushrooms will get crowded out by these other fungi. I'll report back and let you know.

Bees!

Several months ago, Dad and I agreed that I would take his old hive to my house, and I would begin to keep bees here at Poppy Corners. I went ahead and ordered a colony of bees, and we've just been waiting for them to arrive.

A couple weeks ago, I was walking the dog in a local park, when I came across this swarm:


I called Dad, and he said we should go pick it up. So, we did. They were attached to a mock orange tree branch, quite low to the ground. All we had to do was suit up, clip the branch, and put the swarm in a cardboard box, which we then taped up. Dad took them home to his house and put them in the old hive. They are doing well there, collecting both nectar and pollen, but Dad isn't sure there is a queen, or at least there are no eggs yet. We'll see what happens in the next few weeks.

Meanwhile I wondered what I would do for a hive, since Dad's was now being used? He said he'd make me a new one, and so then I knew I could choose a different design if I wanted.

You see, most people use Langstroth hives. You've seen these millions of times:


I decided, after much research, that I wanted to try a Top Bar Hive. They look like this:


They don't produce as much honey all at once, you need to check them more often in the beginning and near harvest; but the method seems more natural to me - the bees build their own combs in the shape they prefer - and it seems easier to get inside the hive and see what's going on. Also, I think it's interesting looking. And different.

I remembered a house near the open space where I walk Joe... it had a box in the front yard that looked a lot like this. Dad and I drove up and knocked on the door, introduced ourselves, and asked about the hive. This sweet young couple opened up the hive, in the rain, so we could see inside and take pictures.


Then, they actually GAVE US the blueprints for the hive. This kind of thing seems to happen all the time with beekeepers, what a great bunch of people.

So Dad built me a top bar hive, and it's been waiting... and waiting...

Finally, today I went to pick up my bees! I had ordered a colony of Italians from one of the people at the Mt Diablo Beekeepers Association. Today they had their spring workshop; folks could come pick up the bees they had ordered, watch hives being opened, taste different honey, and get to know each other. It was at someone's house, and there were hives set up all around the yard!


There were large stacks of bees waiting for pick up.


The bees all seemed quite calm.


I wandered around a bit, met some folks, looked inside a few hives, and purchased a hive tool. Then I got my bees. The queen was attached inside in her own cage, inside the big crate. I left with instructions on how to replace the plug of her cage with some candy. The worker bees will eat the candy to get to the queen; this allows them to get to know her before she is released.

The crate of bees rode home on the front seat of the car.


There were several bees hanging on the outside. I guess they were from the yard where these bees were awaiting pick up. I tried to gently brush them off, but they just kept hanging on. During the drive home, two of them let go and drifted around my head and finally out the sun roof. The others remained on the crate. Guess they belong to me, now.


The bees hung out on our cool and shady front porch for the day, until late afternoon when it was finally time to set up the hive and release the bees. Every so often, I would spritz them with a 1:1 sugar/water syrup.


Then the bees would stick out their long tongues and lick up all the sugar water.


Dad came over late today, with the hive. (Experienced beekeepers recommend that you release your bees later in the day, so they have time to get to know the joint and decide to stay, rather than flying off right away to a nicer place. Not that there's a nicer place than Poppy Corners.) We set it up in the backyard, near the water feature, away from heavy traffic.


Then we had a 'rehearsal' of sorts, talking about the process and figuring out the steps. We took off the roof of the hive, and made room in the bars so we could get the bees inside. A top bar hive uses bars instead of frames. The bees build natural comb downward from the bars.


Then we suited up, opened the bee crate and took out the queen.


We replaced the cork in her tiny cage with a candy plug - that's the part that the workers will eat to get to her.


The queen was frantic. I was glad to get her cage attached inside where the workers would start letting her out.


Then it was time to release the workers into the hive. We had to really shake 'em out of that crate.


Finally they were all in, except for a few stragglers who were still hanging out in the old crate. We left that down on the ground beside the hive - they'll figure out where to go.


Then we closed it up, and hung out and watched the bees explore their new home.


This is the entrance. Next to it is a feeder; they'll need food for the next few days, maybe even longer, while they build comb. Soon they'll start collecting nectar and pollen, and it won't take long before they can feed themselves. Meanwhile, I'll keep the sugar syrup feeder full.


All done. Isn't that hive gorgeous? Aren't the sawhorses cute?


Poppy Corners has a beehive!


Now, how am I going to tear myself away from watching them???

Flowers

As I mentioned before, I've considered myself primarily a flower gardener in the past, with an emphasis on native or drought-tolerant plants. So I've planted a lot of salvia, sage, ceonothus, mallow, manzanita, toyon, ribes, heuchera, penstamon, monkey flower, poppies, figwort, etc. A great place to find ideas for these sorts of plants is the Bringing Back the Natives garden tour. I went six years in a row, and the gardens are all drool-worthy.


I also have a lot of flowers that are non-native, and not exactly drought-tolerant; I just like them.


I think that I've always felt as though I wanted the weird plants, the ones that were more unusual, not what everyone else had in their yard, and not what you could find in any parking strip. No oleander, no petunias or begonias, no azaleas or camillas, not that there is anything wrong with any of those things. It's just that I wanted different things. The closest I have come to being 'mainstream' with my flowers is my spring bulbs, and I have all the usual suspects. The roses in my garden were here when we moved in. They bloom reliably despite my diffidence, and they provide the deer with food, which keeps them away from the stuff I really care about. I do have to admit, though, that roses can be quite marvelous.

This year, I kept reading what bees and other pollinators like. It sounds like they often go for plants with tiny flowers, like dill, alyssum, fennel, or yarrow, the latter which I grow. But they also like wide blooms like cosmos, calendula, marigolds, and sunflowers.

So I bought a host of those sorts of things, in seed form, this year. I've planted them all over my garden. I have to admit it was freeing to buy things I've always admired (chocolate cosmos, anyone?) but felt were too 'mainstreamed' for me. Why did I put that restriction on myself all these years? I have no idea.

The way I plant my annual native wildflower seeds, and the way I planted all these other seeds, is that I fill a bucket with good compost and mix the seeds in. Then I broadcast them around the area in my garden where I want them to grow. Sometimes it works. Sometimes they come up three years hence. But I can usually rely on a good show. In a couple of weeks, I expect an explosion of baby blue eyes, and I'll be sure to share that with you.

It's still early in the flower garden here. By the end of the month, my flower beds will be full of blooms; at least I have a few for the new bee colony, which arrives tomorrow.

The Plan

I've never had an actual plan before. In fact, sometimes I even forgot what I planted, and I'd have to wait until the vegetable/fruit came up, before I knew what I had placed there! This year, I decided to be more methodical about the process.

I started planning weeks ago when I ordered my seeds. I thought about the sun, and watched its patterns at different times of the day. (I thought I knew a lot about the sun in my garden, but until I spent time actually sitting and experiencing it, I really didn't.) I thought about the size of the plants, and how some large plants might shade smaller plants. I researched companion planting, and looked at how the Native Americans used to organize their fields. I read about succession planting, something else I've never done before. (For those of you who, like me, didn't know about succession planting, what it means is that you plant something in a bed early in the season, and then when it's played out, you plant something else in that same bed for later in the season.) I came up with a plan. Then scratched it. Then came up with another. Then trashed that. Finally this is what I decided on:


The bottommost bed is planted with things that will be done with by early June, depending on the weather - Romaine, Chard, Lettuce, Cilantro. I'm not sure yet what I will plant there later on in the season - though I know I'll want more cilantro for salsas. Likewise, the top 4x4 bed will need to be replanted once the peas and carrots have been harvested. And I'll want to save space for a fall planting of kales and chards. (I like having sautéed greens in my morning scramble and want to have plenty.)

The lettuce bed already has seedlings.


I am planning to start spreading coffee grounds around the edges of that bed, as it's supposed to deter slugs. (I'll believe it when I see it.)  I may need to go to a local coffee joint and get more, as our morning pot only provides so much.

The corn bed isn't completely planted yet. Well, the corn is. But I have to wait until the seedlings are several inches tall, before I plant the pole beans and the pumpkins. The pole beans fix nitrogen, which is good since corn is a heavy feeder. The corn provides a living trellis for the pole beans, and the pumpkins will provide a living mulch underneath to hold in moisture and prevent weeds from sprouting.

This is the first time I've ever put flowers in with the vegetables and fruit. I added borage, nasturtiums, and marigolds throughout, and added other beneficial plants around the garden, to attract insects. I'll save flowers for another day, because of course I also planted a lot of new varieties. I also planted a lot of herbs in different places in my garden, which I'll share with you some other time.

I'd love to know how other gardeners plan their gardens. Please share in the comments.