• About
  • Blog
  • Contact
  • Favorites
  • Archive
Menu

Poppy Corners Farm

Street Address
Walnut Creek, California
Phone Number
Walnut Creek, California

Your Custom Text Here

Poppy Corners Farm

  • About
  • Blog
  • Contact
  • Favorites
  • Archive

Fennel

December 7, 2016 Elizabeth Boegel

My sister-in-law asked me at Thanksgiving: How do you cook fennel? I'm sure many of us have wondered the same thing. Heck, there was a time in my life when my question would have been, Why would I eat fennel??? But these days, I find it one of the best vegetables for winter eating. Even my 15 year old loves it. When fresh, fennel is strongly anise-flavored, crisp and bitter and clean. Roasting gives it an entirely different flavor - deep, rich, sweet. It's really worth it to grow (or buy) this veg for your winter cooking. 

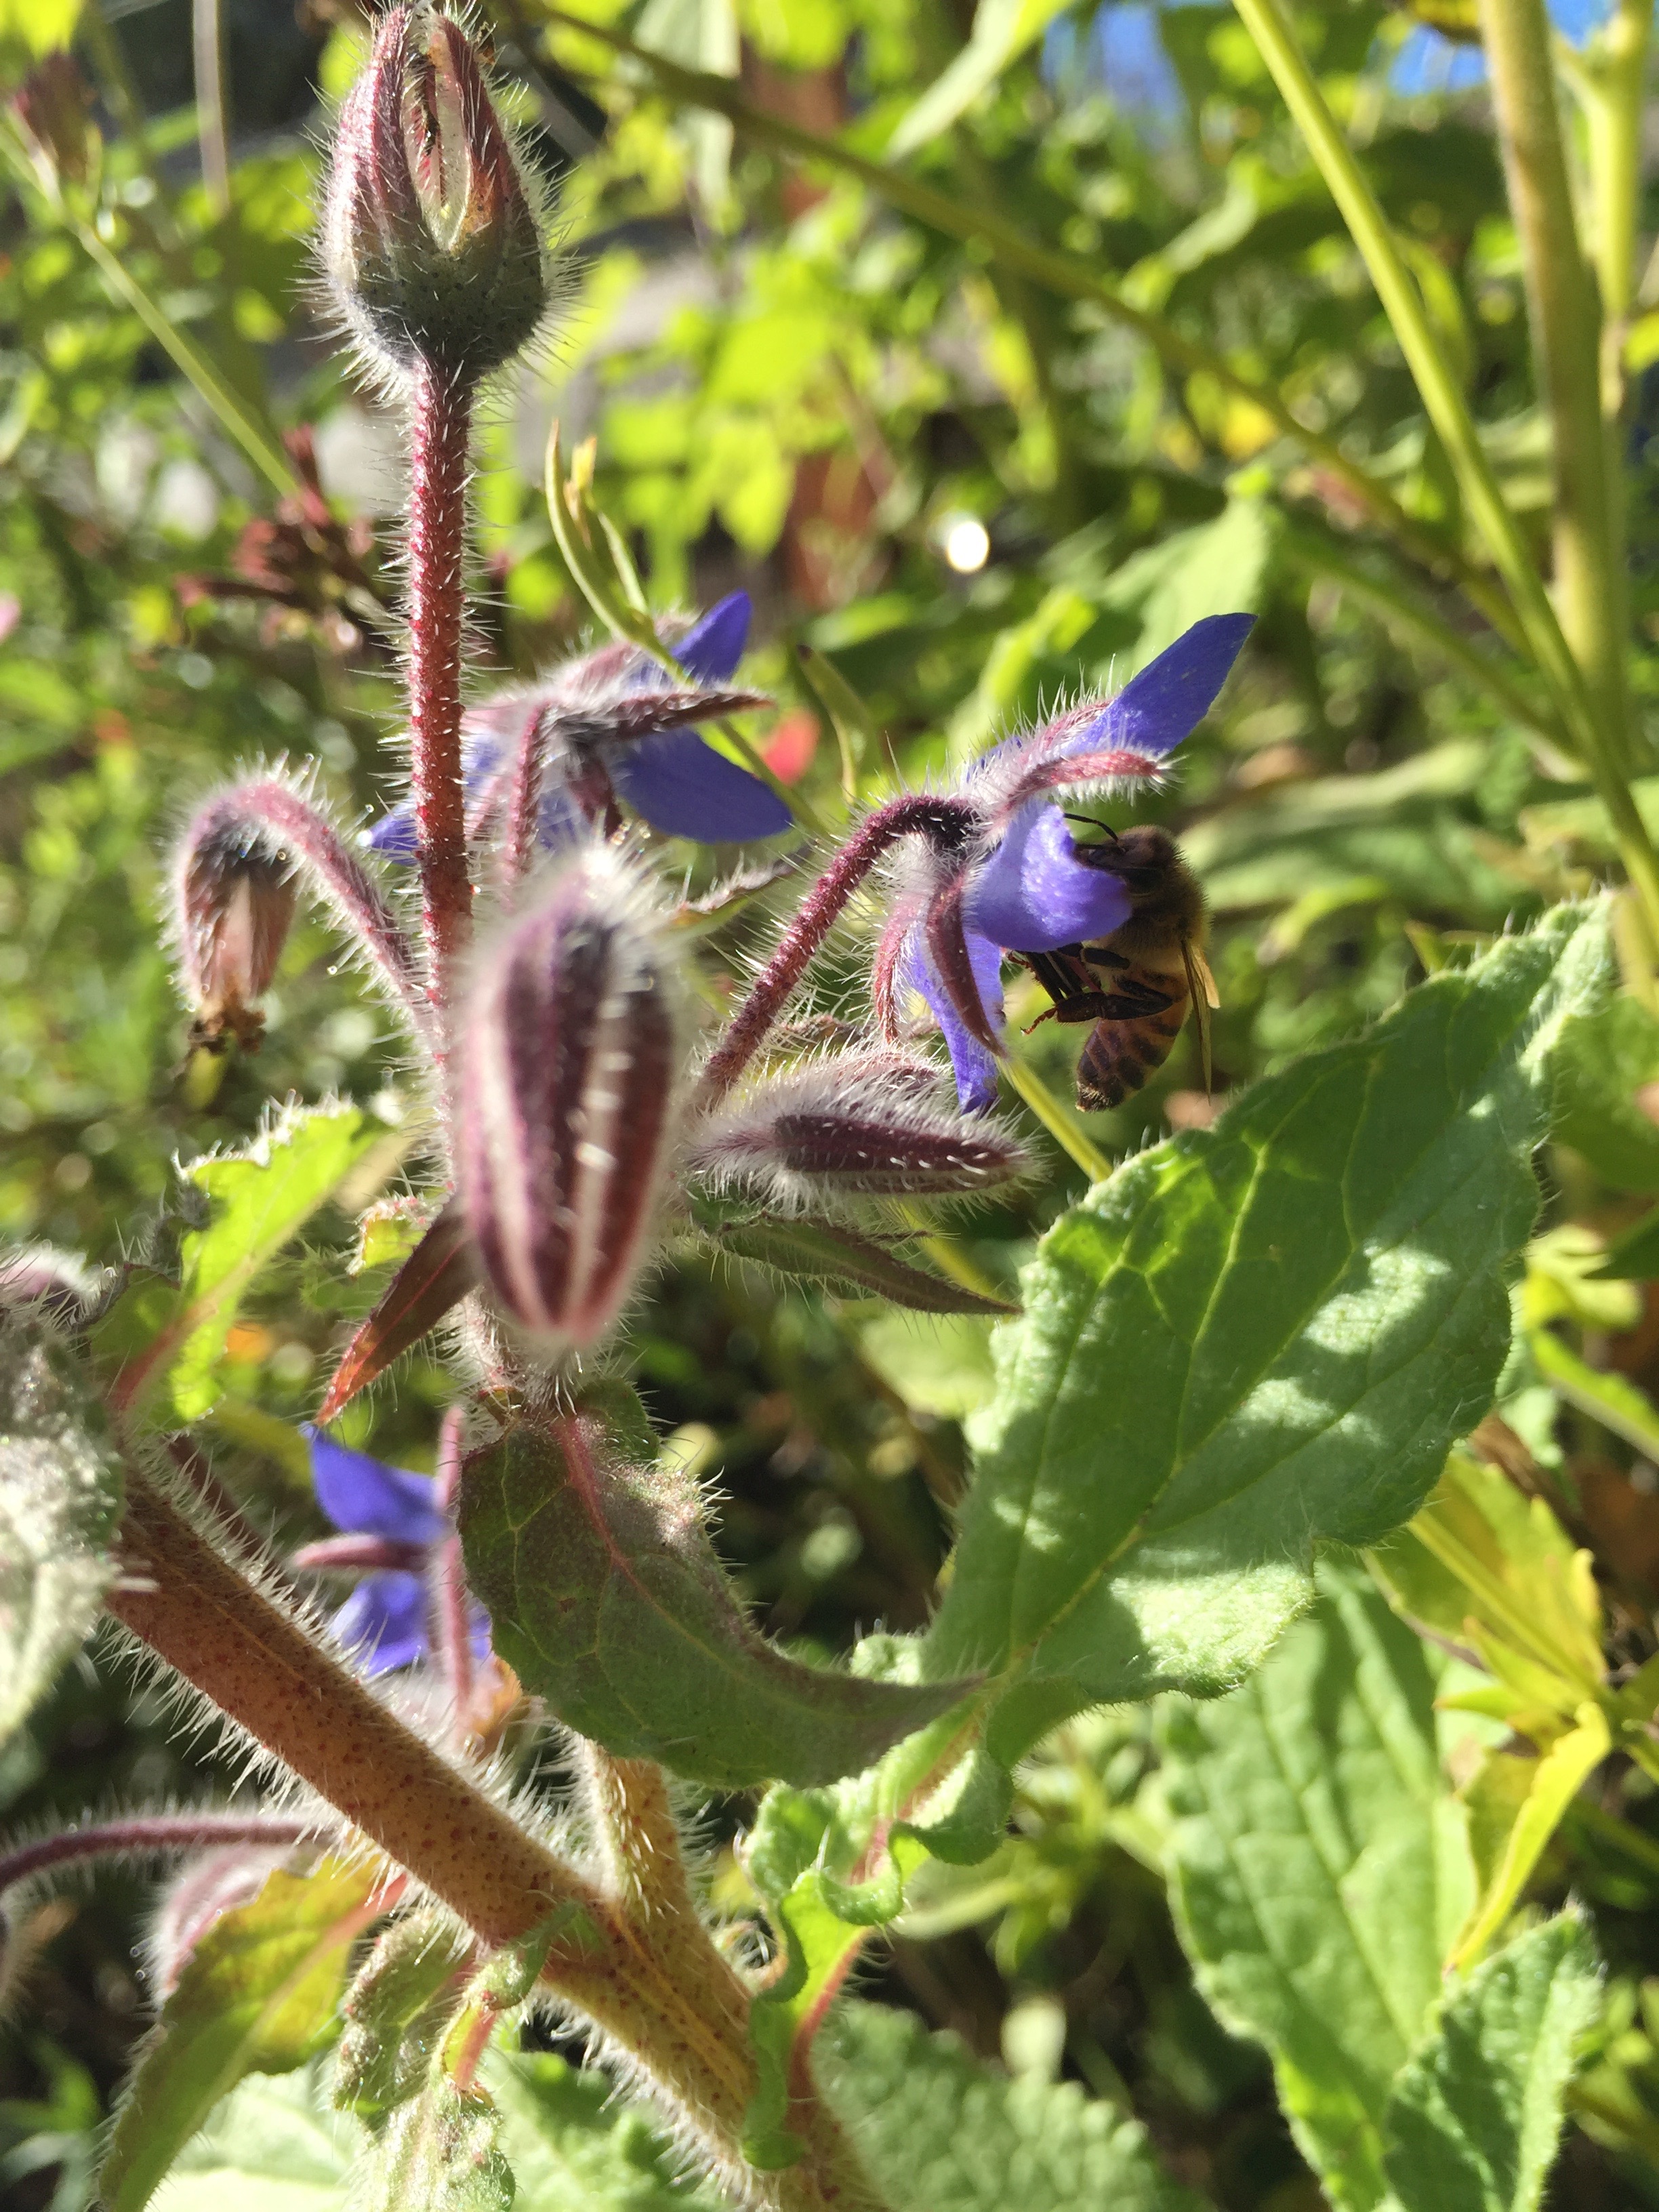
A couple of years ago, a friend gave me a packet of fennel seeds. I had read somewhere that fennel doesn't get along with other vegetables, that it's not a good companion plant. I didn't research that any further, and because I was worried about it being even near my vegetable beds, threw the seeds into a flower mix and scattered them in one of the pollinator gardens. Not long after, I started seeing fennel in many other edible gardens with my own eyes, and it was getting along with everything just fine. So I planted two seedlings in my herb bed. Well, those have done very well; but the seeds that I scattered two years ago found purchase right near the fence line, and for some reason liked the lean soil there. That little patch has grown very large and full, so full that this past summer I had to tied it up to the fence so that it wouldn't grow completely over the sidewalk. Around that same time, I noticed the instars of Anise Swallowtail Butterflies all over it. This made growing fennel worth it, even if we never used it!

Unfortunately, those little caterpillars didn't make it very long before a bird snapped them up, but it was a very exciting find nonetheless. In late summer, the plants seemed to die down and get brown; I clipped them almost to the ground. Lo and behold, over the autumn they grew again, even fuller and more lush, and started producing bulbs. (I've cut back the two seedlings in the herb bed with hopes of this same kind of growth.) We have some favorite fennel recipes, and the bulbs were getting to a nice size, so I went out the other day and cut two of them off.

I washed these to a fare-thee-well after taking this photo, and separated the fronds from the bulbs. We like to eat the stalks and fronds in fennel cakes, a recipe that Tom got from Angelo Garro (of pasta and charcuterie fame). Angelo posted it on his website, so I don't think he'll mind us sharing it here.

Finely chop four cups of fennel stalks and fronds. The fronds can go right into a big bowl; but the stalks will need to be parboiled in salted water for a few minutes, then added to the bowl. Add 1 cup of coarse bread crumbs (I like the crumbs made from our stale sourdough bread, natch), 2 cups freshly grated parmesan, 5 cloves of finely minced garlic, a pinch of crushed red pepper, and some sea salt. Mix together with 2 eggs (I find that 3 works better with our smaller homegrown chicken eggs). Heat up a slick of oil in a big skillet - I like a combination of coconut and olive. Drop rounded tablespoons into the hot oil, fry a few minutes on each side. The 'cakes' will be very loose when you drop them into the pan - sometimes it helps to mold them with your hands - but will come together as they fry up. Drain on paper towels and serve warm. A little dollop of creme fraiche on top would not be amiss. 

Now, what to do with the bulbs? You could just slice them and roast them in a hot oven, 425 ish, for 30 minutes, with a little oil and salt. Yum. We also enjoy the bulbs in a sausage and fennel ragu, which I have adapted from The Kitchn. 

In a large heavy pot, brown a pound of bulk spicy Italian sausage. (You need the spicy version, because the end product isn't spicy at all, trust me.) Add some chopped onion or a couple of chopped shallots, plus two fennel bulbs, chopped coarsely. Add 6 cloves of minced garlic. Let that go for about 15 minutes until the fennel is starting to get tender. Add salt and pepper. Add some canned tomatoes. If you have home-canned, add two quarts of crushed or whole tomatoes and one pint of tomato puree. If you're buying, get two 32 ounce cans of diced tomatoes and one 15 ounce can of tomato puree. Add to the pot. The original recipe called for adding a sprig of rosemary, but I find it conflicts. Stir it all together, adjust the salt. Let it simmer for a good hour. Depending on the water content of your tomatoes, you can do lid on or off. Then just watch it for a while - the longer it cooks the better it will be, but you'll want to make sure there's enough liquid. Serve over a thick noodle with plenty of freshly grated Parmesan.

I have so much fennel that I'm planning to make a warm fennel and parmesan dip with crostini and take it to several pot lucks (which we all have this time of year, yes?). I found that recipe here on Martha Stewart's website. I can't say how it tastes because I haven't tried it yet, but it sure looks yummy.

I also really love the smell of fennel. I am not a big candle person - I dislike all the fake scents - but I have found that ROOT (beeswax, natural oils) makes a candle called 'Village Herb Shop' which smells basically of fennel. It's lovely to have it burning on these cold days.

Hope this inspires you to try out this delicious and important-for-the-pollinators vegetable, in your garden and on your table!


Tags cooking, herb garden
Comment

Fungus Fair

December 5, 2016 Elizabeth Boegel
The 'woodland' mushroom garden just inside the door

The 'woodland' mushroom garden just inside the door

As promised, here is my report on the 47th Annual Fungus Fair, organized and hosted by the Mycological Society of San Francisco. I had hoped to attend with a similarly-interested friend, but that didn't work out, so I was on my own. What that means is that I wasn't as brave as I normally am and didn't to talk to as many people as I normally do. In a small group, for some reason I find myself more able to speak up and ask questions, but on my own I am a little bit shy. Therefore I spent only about 20 minutes wandering around the fair, absorbing what I could, and only about 10 minutes talking to a volunteer about identification. It was still fun and interesting. But would have been better with my courage-giving buddy.

Walking into the fair, the first thing you see is the kid-friendly area, and there were many projects for kids to do, from making mushroom paper to crafting their own mushroom out of curved paper bowls. Next was a dying station, with yarn being dipped into various vats of color made from mushrooms, and every color was represented. Then there were various tables for the different mycological societies in each county, plus a California lichen table (fascinating), plus a table for psychotropic mushrooms (natch). There were the requisite number of craft sellers, displaying everything from mushroom-themed socks to handmade scarves printed with mushroom spores. There were vendors selling mushroom kits, spore-laden sawdust and dowels, and of course t-shirts celebrating the event. 

Probably the highlight for me was an enormous rectangle made out of tables taking up most of the room, lined with leaves and forest duff, with hundreds (thousands?) of mushrooms nestled within it, all labeled by group. 

Just a very brief section of the tables filled with mushroom varieties

Just a very brief section of the tables filled with mushroom varieties

Classifying fungus seems a tedious business, with many thousands of different kinds of fungus in any given area. Upon speaking to a volunteer, I learned that common names are virtually useless, and that all mushrooms should be identified by their Latin names. 

The real educational opportunity came when I went to the 'Mushroom ID" station and asked the volunteer there if he could identify some of the mushrooms in my yard from the photos on my phone. He looked a bit skeptical but said he'd try. Sensing his discomfort, I changed tactics and asked if he could teach ME how to ID the mushrooms in my yard. He smiled big and said, "Now THAT'S the right question!" We got right to work with an ID book that he had on hand (the author was there selling them).

Which leads me to offer this side note: This volunteer said that Californians should really consult only these two books: California Mushrooms by Dennis Desjardin, Michael Wood, and Frederick Stevens; and Mushrooms of the Redwood Coast, by Noah Siegel and Christian Schwartz.

Here's the mushroom that we worked on together, found in the wood chips by the asparagus patch (oh, and he said wood chips are the greatest surface for finding all kinds of mushrooms - apparently fungus loves wood chips):

The volunteer said nearly nothing could be discovered from looking at the tops of mushrooms, you really have to look underneath. Luckily I knew that and had taken a picture of that part, too:

The first thing you noticed is that this is a 'gilled' mushroom, which is in the group "Basidiomycetes." Basidiomycetes are further divided into Agarics (gilled mushrooms), Boletes (tubes, no gills), Chanterelles (veined and trumpet shaped), Club & Coral (simple or multi-branched), and seven other categories including truffles. 

So, we go into Agarics, or gilled mushrooms, in my guide (NOT one of the approved guides) and then the next thing you look at are the spores. Well, the spores are inside the gills and it's complicated to retrieve them. However my guy taught me a 'cheat' - if you look at the mushroom above, can you see, directly below the umbrella, on the stalk, a line of color, sort of yellowish brownish? The bottom mushroom is the one that has a defined mark. That's called a 'veil' and is often the same color as the spores. So I know that this mushroom has a brownish yellowish orangish spore, kind of rusty. So that's a 'brown spored' mushroom. I look at that category next. Then it's a matter of looking at pictures and habitats until you find the right one. The stalk on this one has striations, or stripes, and there is some white mycelium on the base, so given its size and placement on rotting wood chips, I can be almost sure that this is Gymnopilus sapineus.

I like knowing things, and I like naming things, but naming a mushroom isn't terribly satisfying because, honestly, am I going to remember that? Um, no. So the next time I see one I'm going to have to go through the whole stupid process again, unless I keep a record. Which maybe I will.

Let's try another one, this one I'll do here on my own, without my star volunteer.

These are all over our garden.

Ok, it's gilled, so we start there. I don't see any veil at all, but the volunteer said that the edges of the mushroom umbrella are often the same color as the spores, so that would be black. Here I run into trouble. Are the gills 'decurrent?' Gee, I don't know, I'll have to look that up. Now I'm going down a rabbit hole about how gills are attached to their stems. I think these gills are adnexed. But that's not a choice in the book I'm using. So I'm going to go with 'free to adnate.' But then it wants to know if the cap is 'viscid' - so I have to look that up. It means sticky. I don't know, I didn't touch it, I will next time. Then it wants to know if the gills are 'autodigesting.'

You can see why this is frustrating. I have a new respect for mushroom scientists. And those that forage for mushrooms and manage not to kill anybody.

Screw it, I'm just going to look at ALL the pictures for gilled mushrooms with black spores. I just realized there aren't that many. Aha! I've come up with the same name that I came up with last year before I knew any better - Inky Caps - or Coprinopsis stercoreus. Lo and behold, the description says it has adnexed gills. TAKE THAT YOU STUPID GUIDE.

Ok, that's it for today's mushroom ID lesson, I'm starting to get heated. If any of you out there are expert mushroom identifiers, maybe you can come to my house and we'll go over all of this in person. I'd really appreciate it.


Tags learning, mushrooms
Comment

Weekly Walkthrough: Peach Tree, Compost, Ginger, and more

December 3, 2016 Elizabeth Boegel

Here's this week's walkthrough - we talk about protecting peach trees from fungus, the importance of turning compost, a fun seed catalog, planting ginger, green tomatoes - and more, including a surprise guest (spoiler alert: it's a bee). 

Tags video, fruit garden, herb garden, bees, composting
2 Comments

An Eco-Friendly Holiday

December 2, 2016 Elizabeth Boegel
California Buckeyes in a dry creek in Briones Open Space 

California Buckeyes in a dry creek in Briones Open Space 

I've been thinking about how to make our Christmas more earth friendly. We're not exactly riotous consumers, buying a bunch of stuff we don't need, and we're thrifty at home, but I still think we can do better in some areas. For instance: Which tree is better, a fresh-cut real tree or a fake one that you can re-use? Are there organic Christmas tree farms? Is there a better, less wasteful option for wrapping gifts? Can you purchase recycled cards? 

CHRISTMAS TREES: Let's tackle this question first. For this one, I turned to Nature Conservancy, who spelled it out clearly: Real trees are better for the environment than fake, and there are lots of reasons why. Fake trees are often made in China and then shipped here - two strikes against them, because it's not a local product, and it takes a lot of energy to get the trees here (and also, not a rabbit hole I wanted to go down, but there is some suspicion about the wellbeing of factory workers in China). Also there is some evidence that damaging invasive species are being found in overseas fake trees. Studies seem to show that most folks use a fake tree for 3-5 years before trashing it, because it looks so bad after storage, and there's nowhere to put those trees but in the landfill. However if you already own a fake tree, the best thing to do is to store it carefully and use it for as long as you possibly can (Nature Conservancy says to use it at least ten years). 

Alternatively, a real tree, while growing, provides absorption of carbon out of the atmosphere, and there is an awful lot of acreage sunk into Christmas tree farms, which provides an awful lot of carbon absorption! In cut-your-own farms, there are 1-3 seedlings growing to replace every tree cut down. Also, a cut-your-own farm is eminently local. And, the tree can be composted in your yard afterward, or chipped for mulch, since you know its origin. If you buy an already-cut tree, try to find as local a source as you can. Here in CA, most of our cut trees come from Oregon and Washington, which is ok, but not great as they still have to be trucked here and may harbor invasive species from those other regions. So if you buy a cut tree, the best thing to do with it after Christmas is let your local company pick it up and use it in city-or-county-wide composting programs. I assume that most places have a special pick-up for trees that goes directly to these composting programs, but if that's not available in your area, you're going to have to research a better option than just throwing it in the landfill.

If you have the space and inclination, a live, growing tree would be your best bet. It's especially fun for children to have a tree in their yard that started out as their holiday tree. When our kids were born, we bought a live tree on each of their first Christmases, and planted it, and always told them it was 'their tree.' The downside to this practice is that folks move. We did, and the kids have totally forgotten about their trees. However, every so often, we drive by the old house and look to see how much they've grown!

As for organic Christmas tree farms, there's a great resource HERE. The options are, sadly, few. 

GIFT WRAP: When I was in my early 20's, I worked at a Mail Boxes Etc store in Lafayette CA (they've all converted, now, to UPS stores). One of the services we provided was gift wrap, and a surprising number of people came to us for this. Christmastime was extremely busy - there were many well-to-do ladies who went shopping, bought all their gifts, and then brought the piles to us, to gift wrap and ship for them. I kind of hated Christmas in those years because the lines were often out the door and our hands ached from making bows, and our fingers had all kinds of cuts from the ribbons. Ouch! But one thing that did for me was make me appreciate a well-wrapped gift. I like thick, heavy paper for wrapping (it makes crisp corners), and for many years I made large, extravagant bows (still do, sometimes). But in the last few years I've been looking for less wasteful ways of making a package look pretty. Most inexpensive wrapping paper rips too easily and has kooky patterns, and while I like hemp cord for bows, it's so thin, it sort of disappears on the package. I haven't found any reasonable alternative. 

One way of wrapping a package in a completely eco-friendly way is to do so with fabric, which you can reuse year after year. But honestly, I don't have a place to keep a pile of fabric through the whole year - our house is the size of a cabin and our garage is already full-to-bursting with things we absolutely need and use every day. 

So I turned to recycled paper, and I found a lot of options.

Wrappily makes paper out of recycled newsprint, and if you look through all of their patterns, there are some really pretty ones.

Bambeco is a very sustainable company, and they sell all kinds of products made in the kindest possible way. 

For something really elegant, check out For the Earth, which makes thick paper from plant fibers that can be reused many times, and also papers that are embedded with seeds for planting after using. 

Fishlips uses 100% recycled chlorine-free paper, and soy ink. This means it can be composted after ripping it off your gift!

For ribbon, the choices are simply not as abundant. You could go with the aforementioned hemp twine, but I think I might buy some recycled yarn from Darn Good Yarn, which has some really beautiful choices. Or I might look for a local yarn made from local sheep, and colored using natural dyes. Dying yard is something I've always wanted to try. 

RECYCLED CARDS: Almost every major company offers a recycled option, but I really like this company, Paper Culture, because they plant a tree for every order they receive. I so wished I had found this company before we made our holiday cards this year. I will certainly remember them for next year!

I hope all this information helps you plan your holiday in a way that doesn't hurt our environment. I'm also thinking about ways to decorate using only natural items that I've found or manipulated (such as using dried citrus slices for decorating). I'd love to hear your ideas, too!

Tags learning
Comment

Giving Tuesday

November 29, 2016 Elizabeth Boegel

I'm not sure how I feel about all these 'named' buying days. "Black Friday," "Cyber Monday;" both of these are occasions I can easily opt out of. But today is "Giving Tuesday," and while it seems to me that it's a sad state of affairs if we're not giving the whole year 'round, I'm also glad that the whole country gets this reminder to be generous. So where are you giving today? We give regularly to various local community organizations and schools, but I also support programs that help to restore native plants and open spaces. Today I decided to support a new (to me) organization called The Pollinator Partnership. As a beekeeper and a lover of native pollinators, I am concerned about the growing lack of habitat for insects, as well as the overuse of pesticides and herbicides that are really affecting their populations. This is an organization that does good work, through education, research, and conservation. 

There are so many worthy places to donate your hard-earned money, and we can never contribute to all of them. But I hope you'll pick a cause that's close to your heart and give a little something. Wouldn't it be amazing if donations today exceeded amount spent on Black Friday or Cyber Monday? What a statement that would be.

I'm procrastinating a little this morning, because it's cold outside - it was 35 degrees overnight. But I need to get out there and pull out the tomato vines. They're just taking up space at this point, space that I intend to fill with Brussels Sprouts and Asian Braising Greens. A very close family friend asked me, "What can I plant in my raised beds right now?" which is a question I love, because it means he's inspired to get out there and have a winter garden! It's easy to do in parts of Northern CA, and where he lives (about 10 miles from me), it rarely frosts, so he doesn't have to worry about row covers. And, if he plants the right things, they'll be even tastier in winter. I told him to get started on greens - spinach, kale, arugula, and chard. They can be started from seedlings or seeds, just be prepared for them to take longer to germinate and/or grow.

The lovely thing about the hardier greens like kale is that you can harvest the outer leaves every other day, and the plant will produce new ones. So just a few plants will keep you in fresh produce for many months. You could also plant beets, turnips, and carrots now for an early spring harvest. And planting garlic is super easy - just buy an organic bulb from any store and break it in to cloves, then plant them. Cover with some straw or leaves and leave them all winter. In May or June you'll have a harvest. (This bears repeating - buy an organic clove. Conventional are often sprayed, like potatoes, to keep them from sprouting.)

Ok, enough procrastinating! Time to get out in that chilly sunshine and get some work done. Hope you all have a lovely day!

Tags flower garden, bees, bee plants, vegetable garden
Comment
← Newer Posts Older Posts →

Subscribe

Sign up to get email when new blog entries are made.

We respect your privacy. We're only going to use this for blog updates.

Thank you! Please check your email for a confirmation notice to complete the subscription process.

Powered by Squarespace