Tomato Gratin, Pineapple Sage, Extrafloral Nectaries

I've got several little tidbits to share today. First off, a recipe for all of your late season heirloom tomatoes. My thanks to Jacques Pepin for this recipe, which I have tweaked just a touch (I love him, love him, love him). 

Thickly slice as many tomatoes as will fit in the roasting dish you want to use. I used a 9x9 glass casserole dish, and two large tomatoes fit perfectly inside.

Sprinkle on a generous amount of salt and pepper, and drizzle some olive oil on them too.

Tear up several slices of stale bread and put in your food processor. I used about half a loaf of leftover homemade sourdough, with most of the crust going to the chickens. Add a good amount of parmesan. I like the raw whole milk parm I can buy at Whole Foods, and I used a couple of ounces. Just cut it into chunks and throw it in with the bread. You could use gruyere too I suppose. Pulse this mixture in the processor until you have coarse bread crumbs.

Toss the crumbs with some olive oil. As Jacques charmingly says, the olive oil helps the crumbs to brown without burning. Spread this mixture on top of the tomatoes and bake for 15 minutes at 375. Delicious and really quite simple. 

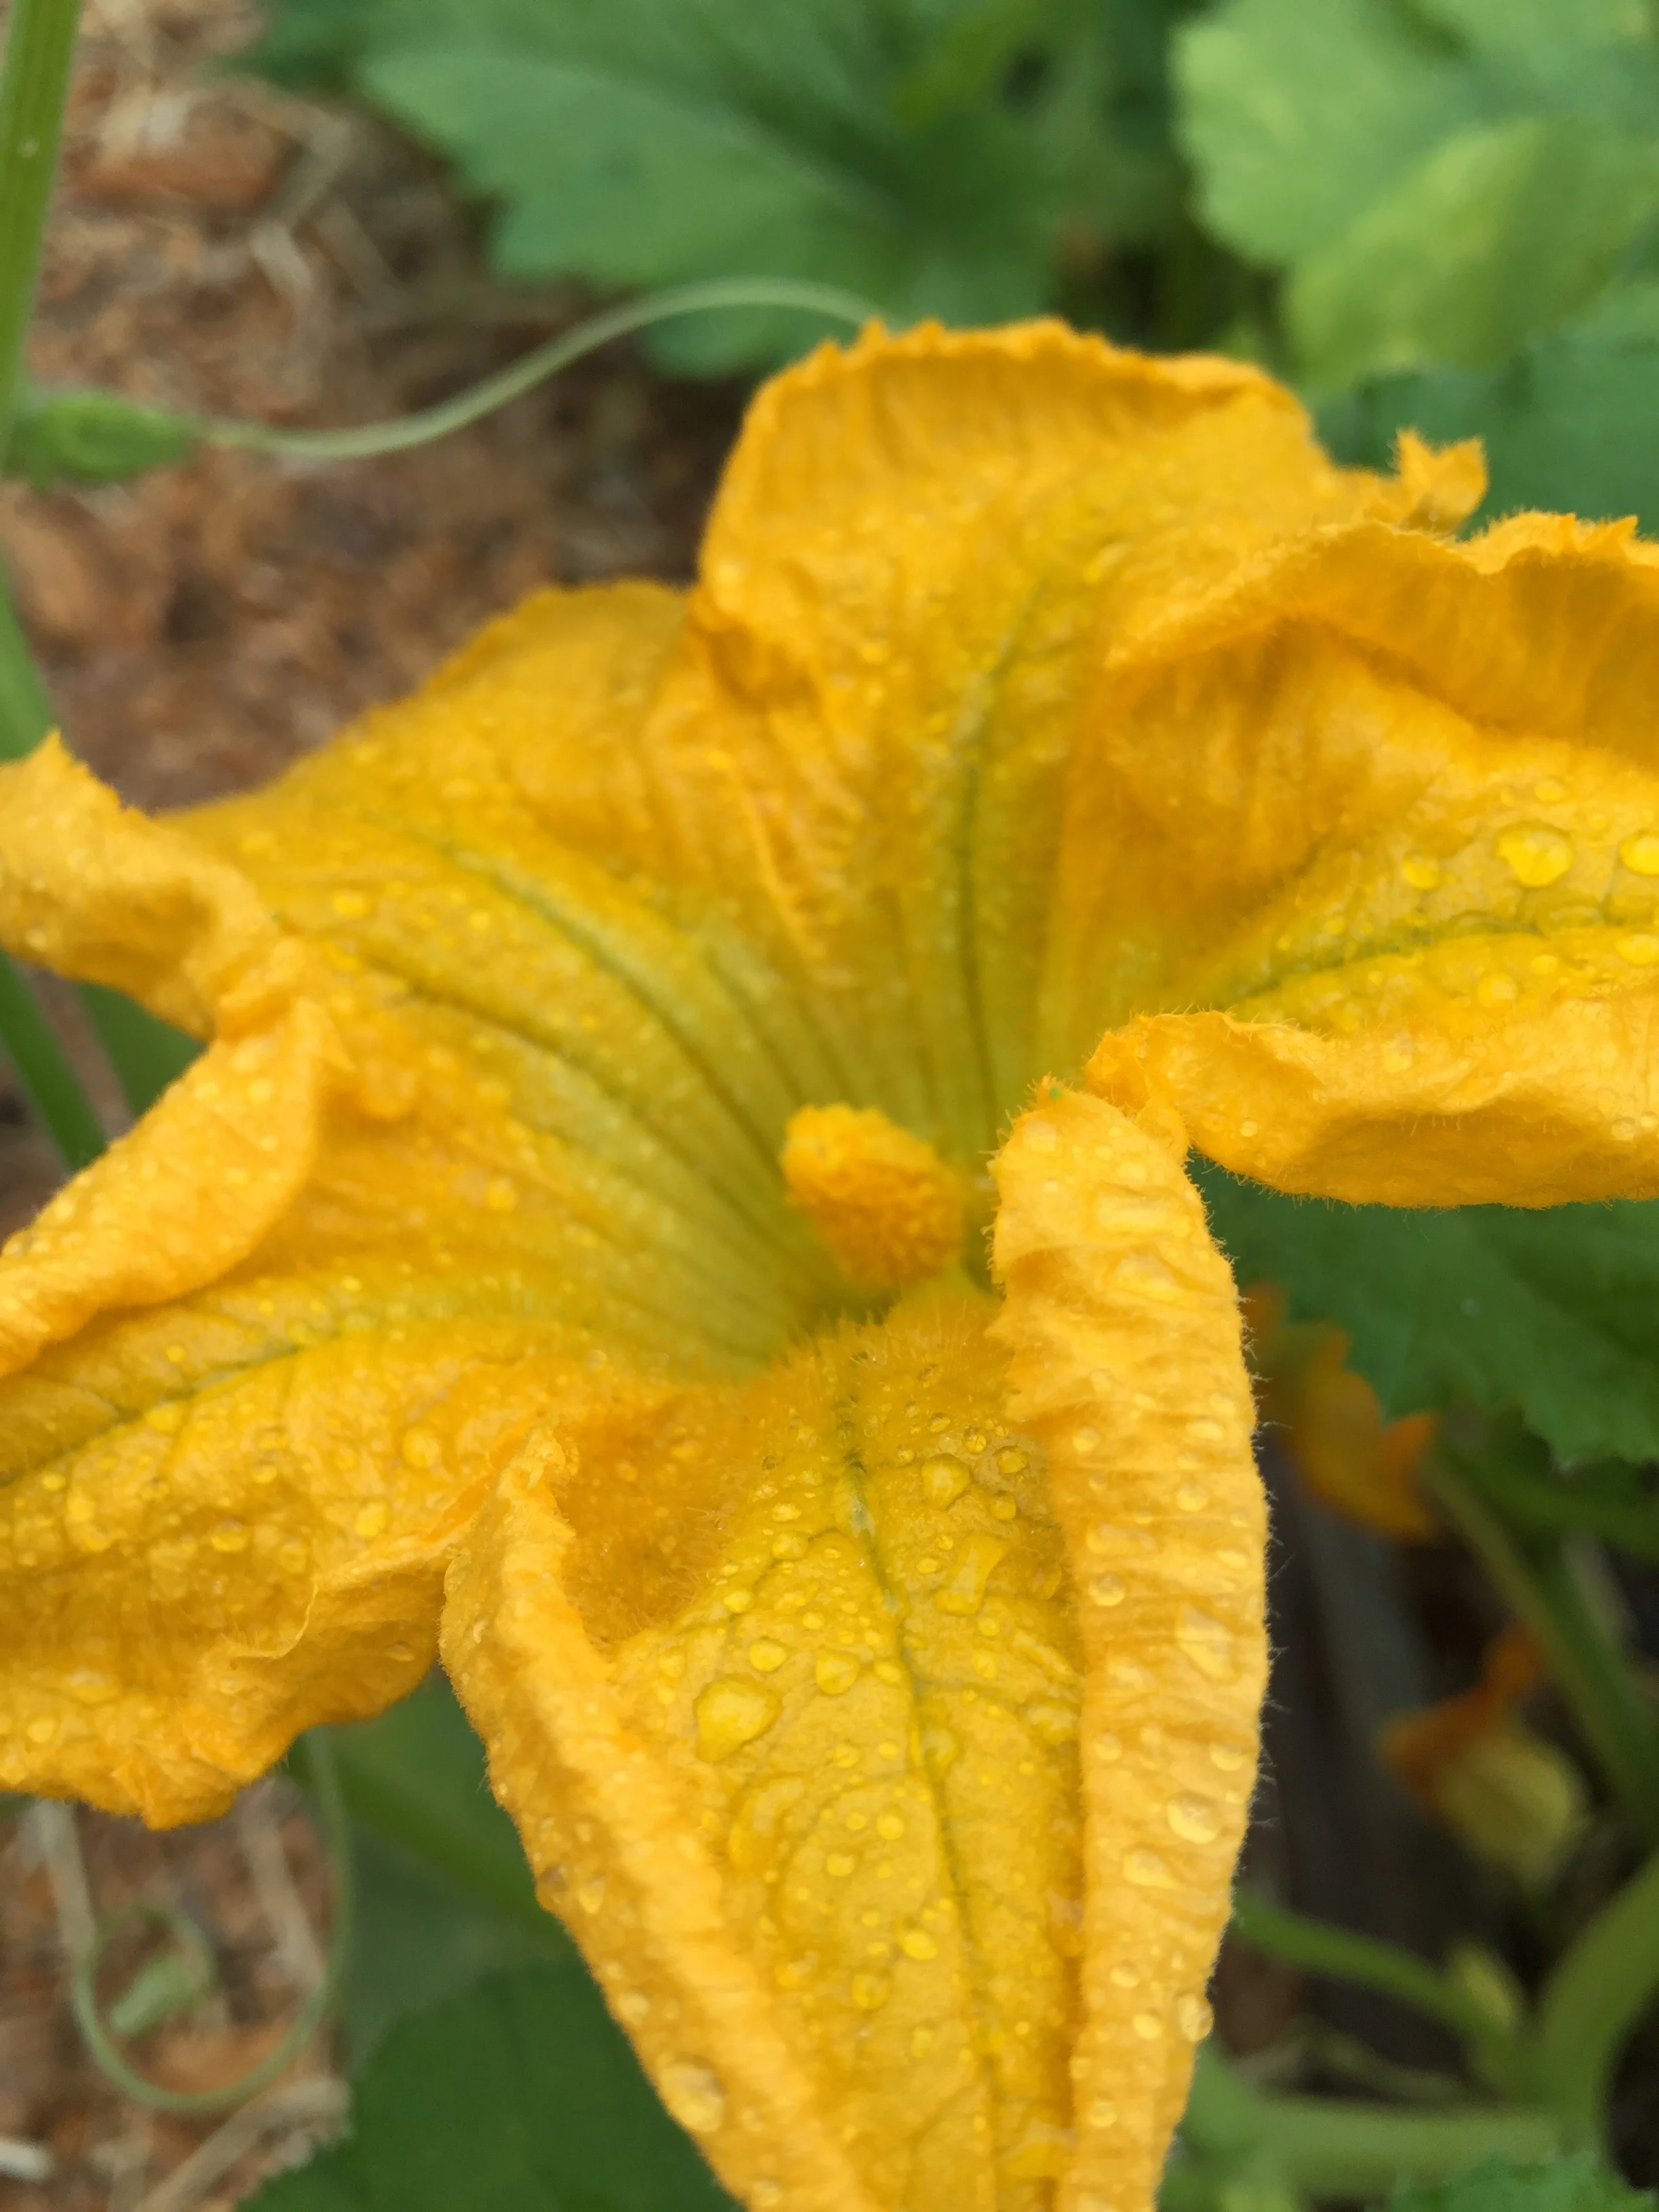
Jacques did this with roasted eggplant as well as tomato, but I didn't have any of that so I didn't include it. I also don't particularly like eggplant. I don't like zucchini either but that would probably be a good addition if you have lots of zucchini to use up.

Now, on to the pineapple sage, or Salvia elegans. This is the first time I've grown this plant, and I am simply delighted with it. This is my view of the herb bed out my bedroom window.

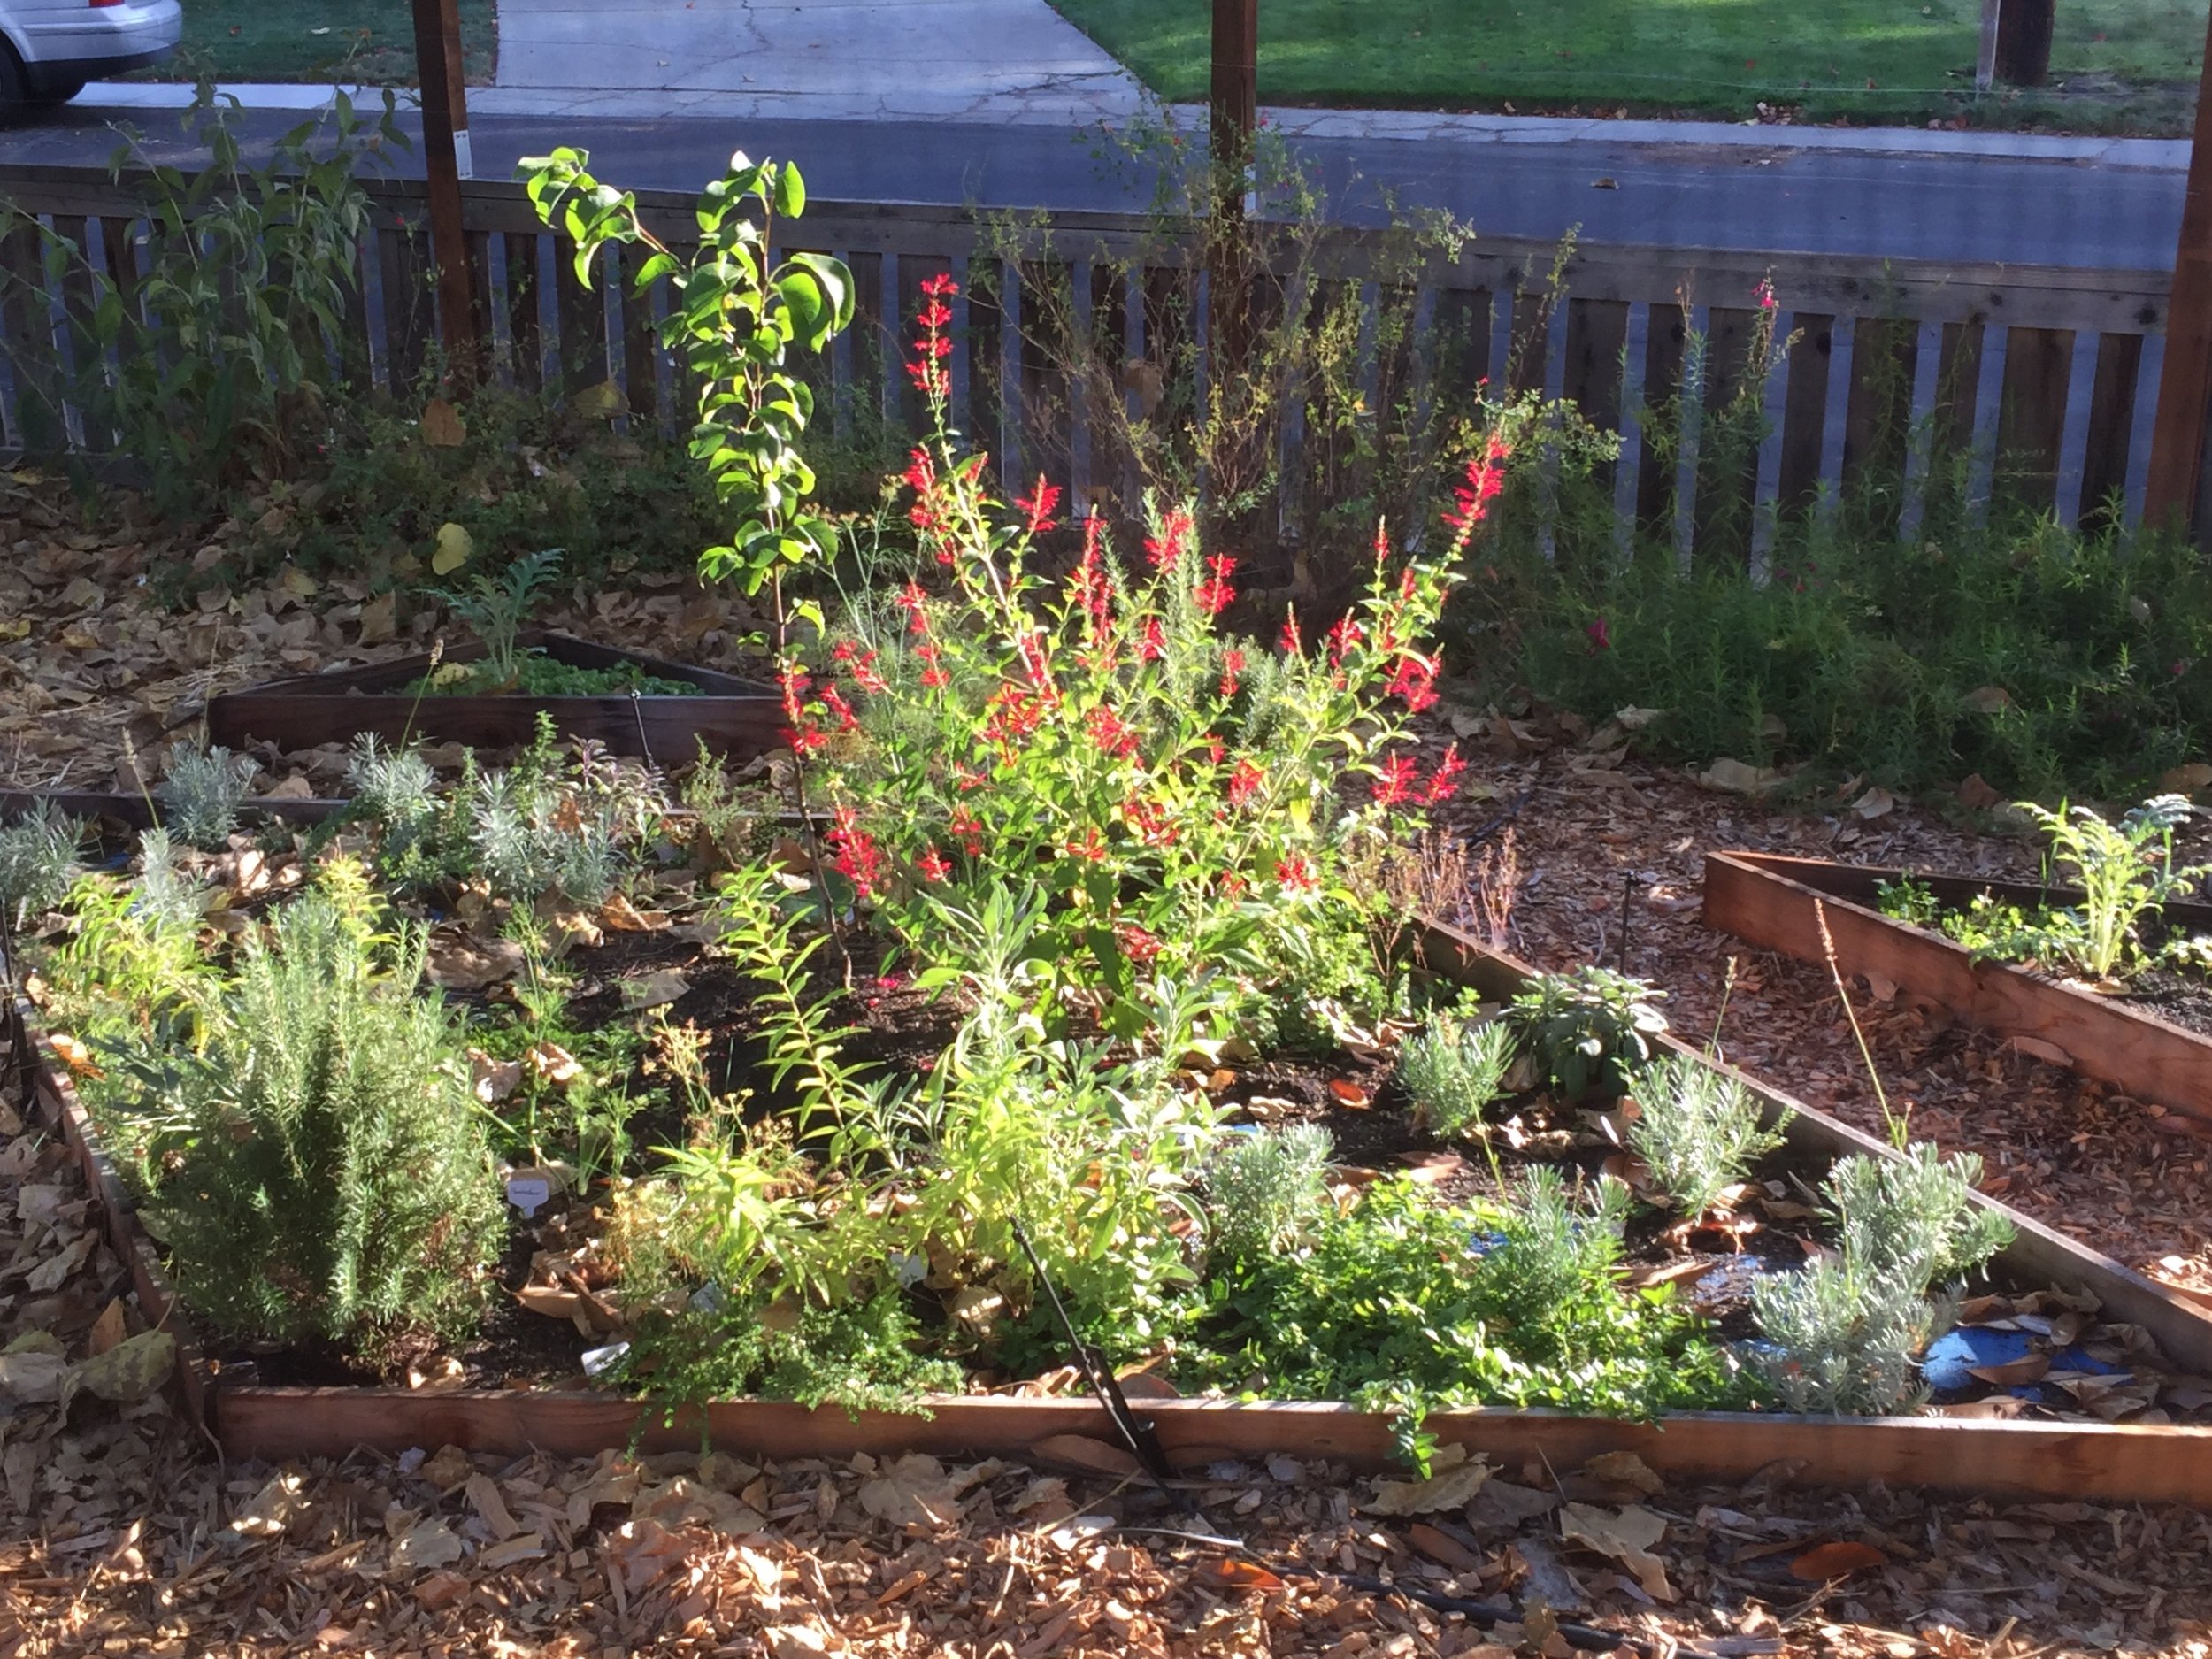
You can see right off the bat one of the reasons I like it so much. We take pains to have as many flowers blooming as possible, right up until the first frost (mid-December-ish), and this plant is a definite plus for the fall garden. It's gorgeous! Spikes after spikes of red tubular flowers that the hummingbirds LOVE.

The leaves have a delicious pineapple scent, hence the common name. The leaves and flowers are both edible and make an interesting tea. There are some apparent health benefits as a calming, anti-anxiety remedy (unproven, your mileage may vary, I'm not a doctor, blah blah blah). The plant is native to Mexico but does very well indeed in our zone 9b garden.

If you like herbs, or salvias, or flowers, or feeding the hummingbirds, or plants that bloom late season (and honestly, who doesn't like at least one of those things???), you simply must add one or twelve of these plants to your garden.

And finally, some information about a subject I didn't even know existed until today, and that is Extrafloral Nectaries. As far as I knew, nectar was a lure to get insects inside the flower in order to pollinate it. And yes, that's true. But some plants provide nectar in other areas of the plant that has NOTHING TO DO WITH POLLINATION. It's apparently only to provide food to beneficial insects!!!! My mind is fairly well blown. Check out this video (long on country-afternoon-ambience, short on facts) which shows a cover crop patch feeding all kinds of beneficial insects. 

For actual facts, I swear I read a bunch of academic papers which I barely understood, but the upshot is that this is a well-documented part of nature. Fascinating huh? 

The Whole Pig

Guest post by Tom today:

On Saturday I attended The Whole Pig, a class on pig butchery sponsored by the Institute of Urban Homesteading. I've taken classes with them before (cheesemaking), and we were a stop on their farm tour last year. Our instructor for this class was Seth Peterson, who lives in Berkeley and has worked in a variety of restaurants.

(Note: this post will contain pictures of pig parts. It mostly won't be anything you haven't seen in a grocery store, but if this isn't your thing, perhaps you'll want to read an archival post on shallots or bees instead.)

The pig we worked with was from Devil's Gulch Ranch, an 873 acre farm in Nicasio, CA, in Marin County, pretty close to the Point Reyes National Seashore. They supply pigs to all kinds of high-end restaurants in the area, but they'll also sell to regular folks.

We started our class with a discussion of knives and knife safety.

It's such a delight to use really sharp knives. That's a bone saw, too.

It's such a delight to use really sharp knives. That's a bone saw, too.

The pig came in two halves, or sides; Seth had picked it up the day before, and it spent the night in the big spare freezer he keeps in his house. We next talked about how we were going to break down each side into its four quarters, and then take each quarter and break it down into the different parts you're used to seeing. For those of you counting at home, yes, one pig gives you eight quarters.

Before separating it into four quarters, we had to prep each side, which involved removing the hangar steak and skirt steak, the leaf fat (internal fat that's really good for pie crust) and the tenderloin.

Next, we removed the leg quarter (the hind leg and back side) and the shoulder quarter (with front leg) from the midsection. The midsection is then cut in half, into the loin (around the spine) and the belly (mmm, pork belly). Here's a good picture:

Shoulder quarter on the left, leg quarter on the right, and a classmate separating the loin and belly.

Shoulder quarter on the left, leg quarter on the right, and a classmate separating the loin and belly.

Here's a closeup on the loin and belly, pre-separation:

Soon-to-be pork chops on the left, belly on the right.

Soon-to-be pork chops on the left, belly on the right.

A big part of the rest of our discussion was on the choices a butcher has to make. Consider this picture of the belly and loin, post-separation:

We'd made the choice to cut where we did to kind of maximize belly, but had we cut a little further down, we'd have loin chops with that bit of rib on the end. See all that back fat on the loin? You might think about separating that out if you were going to make salumi. When separating the ribs from the belly, you've got to decide how much meat to leave on. With the loin, you've got the choice of cutting them into pork chops (which is what we did), but you could also cut a big section to make a loin roast.

Once quartered, we got to work on breaking things down. We decided to make pork chops:

The leg and shoulder quarters were separated out into roasts.


And the belly was cut into squares so we could all take some home.

Seth, our instructor, was wonderfully enthusiastic with us. We were all a little nervous about the process, and he was very encouraging about us just getting in there and cutting things. Our cuts were by no means expert, but it all worked out. We each got to take home 10 pounds of various pig parts -- some belly, a chop, a bit of ham hock and leaf fat, either some tenderloin or some ribs, and then some roasting bits. I cooked up a variety of our take for Sunday dinner.

Cooking up a pork chop...

Cooking up a pork chop...

Ribs, chop, and roast.

Ribs, chop, and roast.

A couple of takeaways:

If the only pork you're eating is tenderloin, that's maybe 3-4 pounds out of a 180-pound pig.

Seth paid $3.50 a pound for the pig, which is astoundingly inexpensive. This whole experience definitely made us think about going in with a few people and doing this ourselves. You need some pretty significant freezer space to store half a pig, but knowing exactly where and how your pig lived, and getting money directly into the hands of farmers, makes a lot of sense. (Two of my classmates were a couple that just started New Growth Farm in near-to-us Castro Valley, so we'll have to check them out).

We watched some video from Farmstead Meatsmith in preparation for class. This video about side butchery gives you all of the basics.

Joe the dog thought I smelled fabulous when I got home. He would have enjoyed this class, too.

You gonna eat all that?

You gonna eat all that?